 When was the last time your technical knowledge was put to the test? For most of us, it’s hard not to become overly confident in our skills after working within the same niche for years, especially when the task is repeated a couple of hundred times a month. LockNet’s team of Project Managers is no exception to this rule and after managing thousands of rear door replacements over the years their knowledge was put to the test when we replaced our own exit door a few months ago.
Ok, that’s not entirely true. To be honest, it was almost a year ago but somehow none of the 5,000,000 pictures I took during the installation process made it into a blog post, newsletter article, or even a social media update. Rest assured, now that I [re]found the pictures we’re sharing them with the world, there’s too much exit door installation information to be greedy!
Exit Door Replacement – The Product & The Team
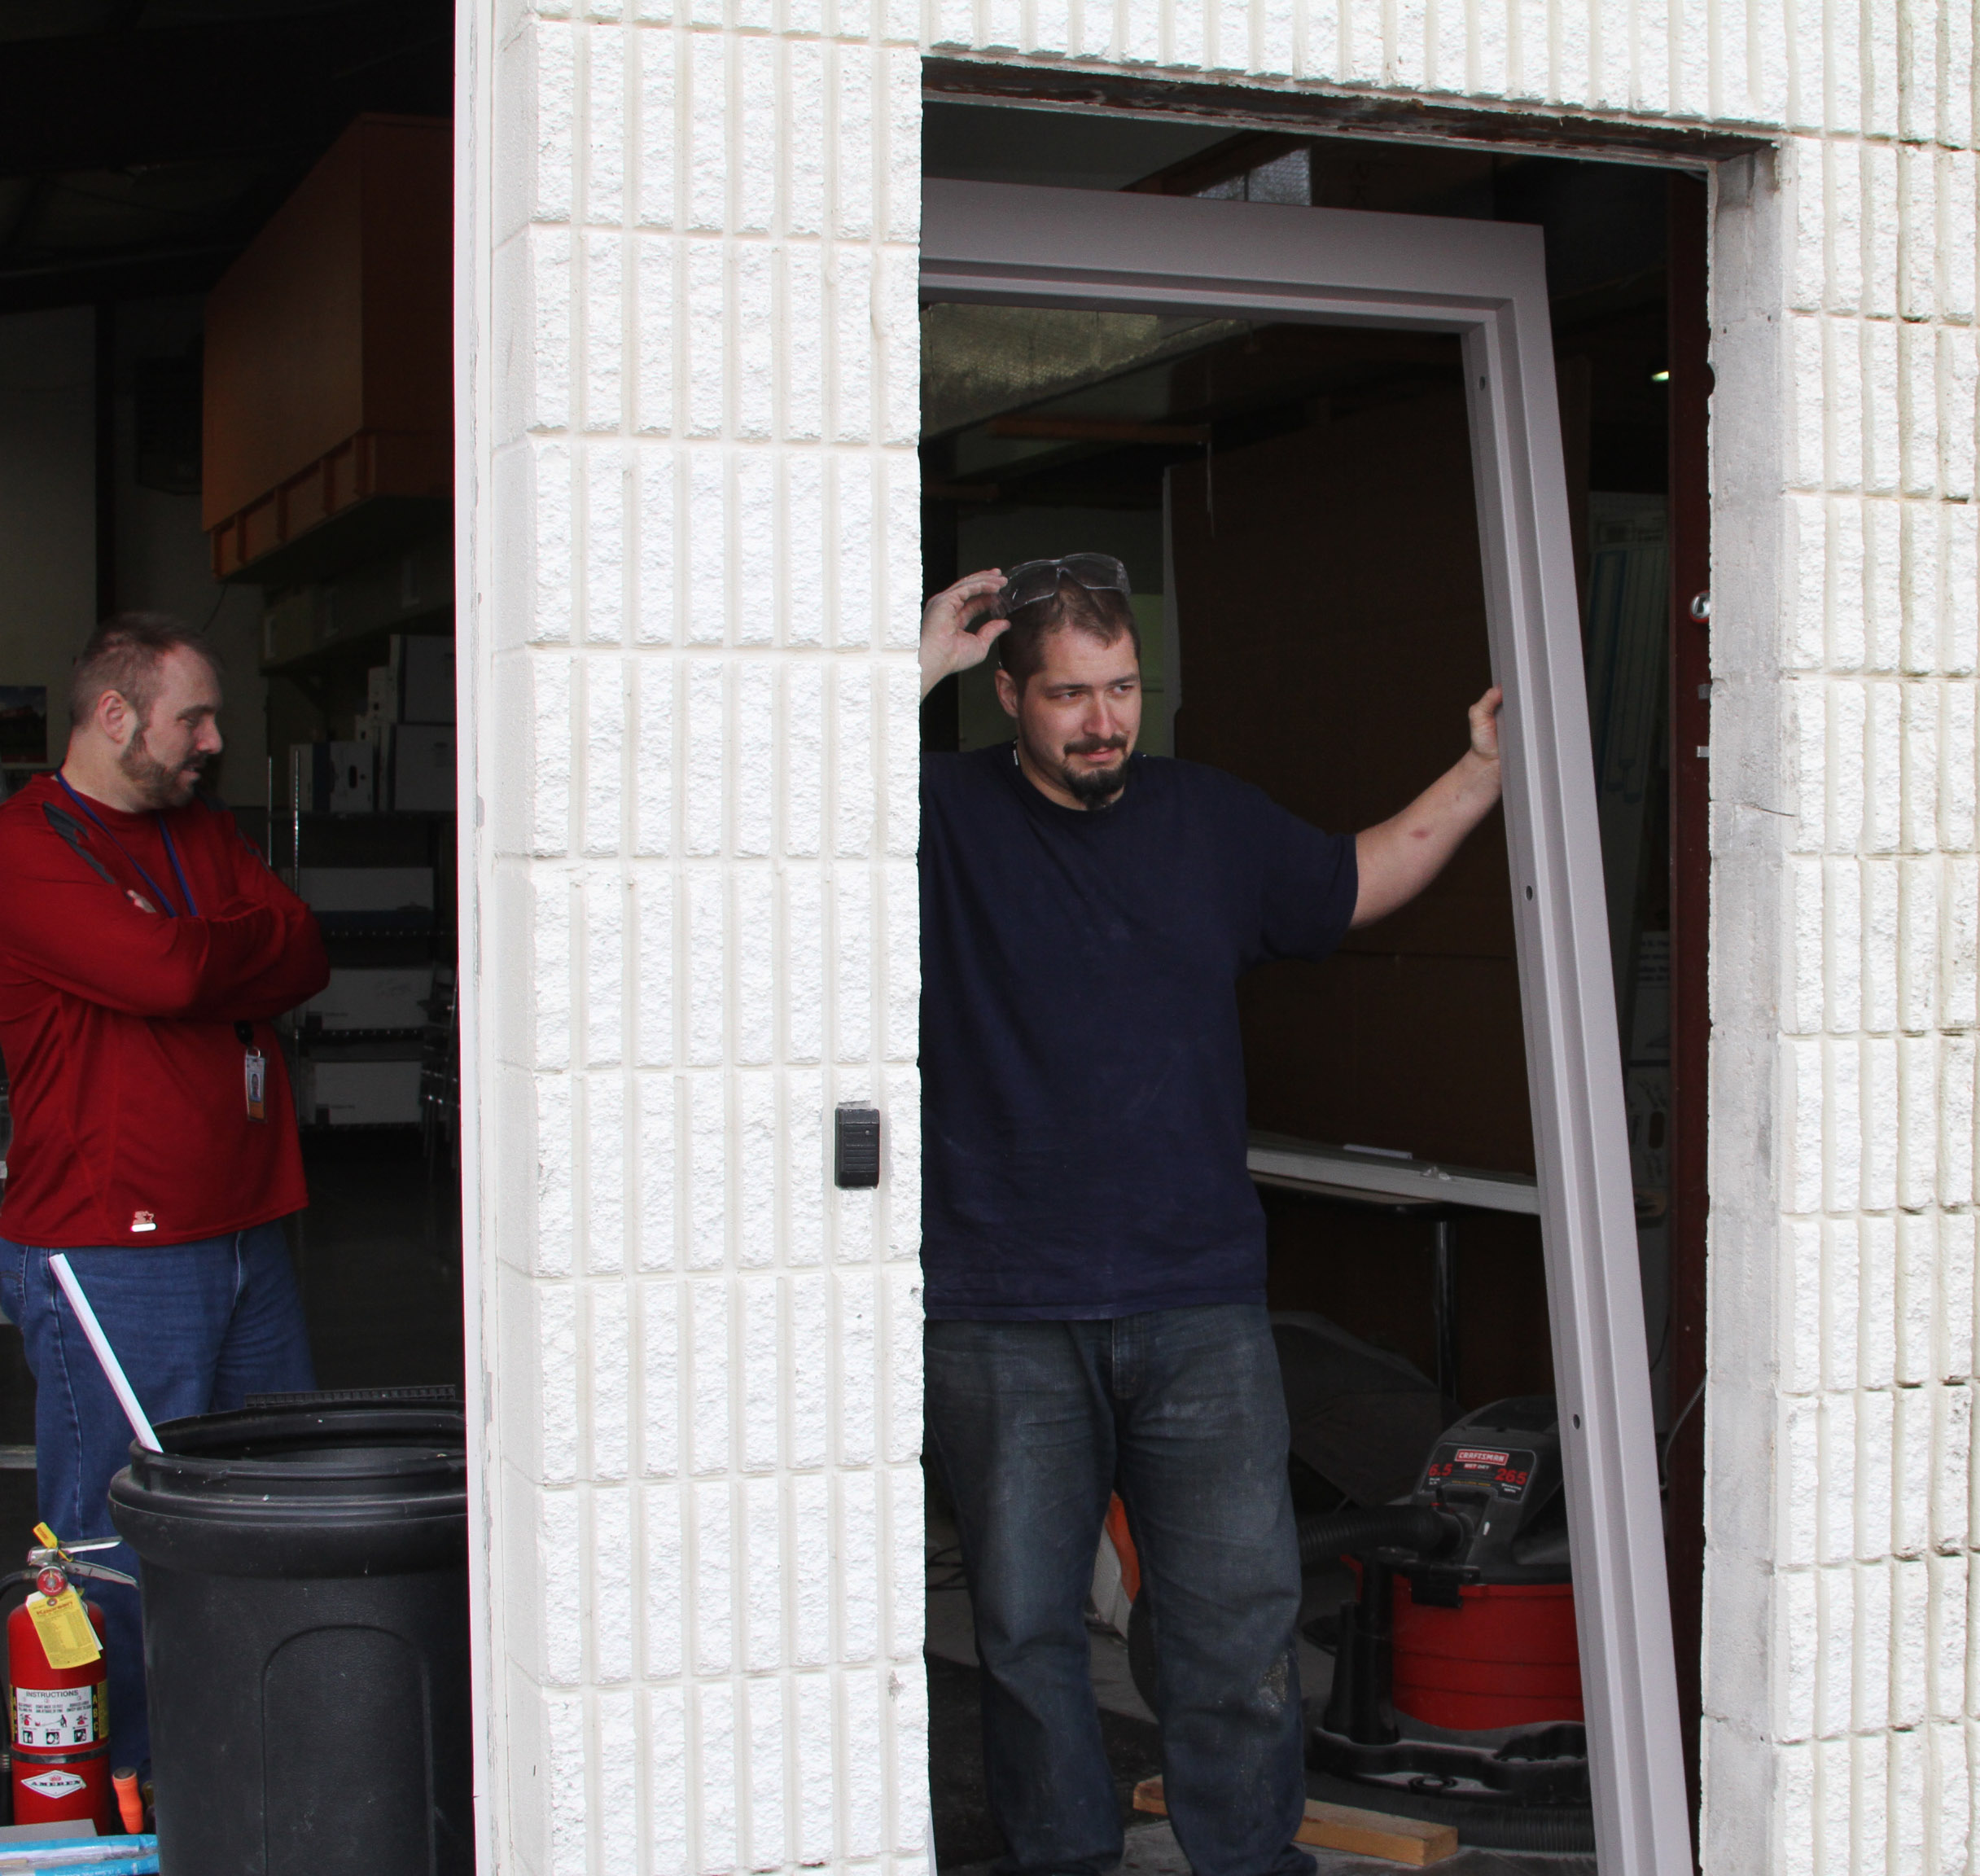
Choosing the new door was easy – the LockNet Security Door with a Sur-Lock exit device was obviously the best option for our facility. The project was directed by none other than Ian Greene, as a former locksmith he has years of industry knowledge that you don’t come by without getting your hands dirty, and Rob Owen the Director of National Accounts for LockNet’s department of Architectural Door & Hardware Solutions. Rob entered the door and hardware industry about 14 years ago, and with that many years of experience he’s a handing bank of information to have around.
Employee bragging aside, all the experience and training in the world can’t prepare you for every situation when it comes to replacing an exit door. Every door, facility, and opening are different and they present their own set of challenges that simply can’t be foreseen until you start cutting it out. See for yourself in this step by step illustration of our own exit door replacement.
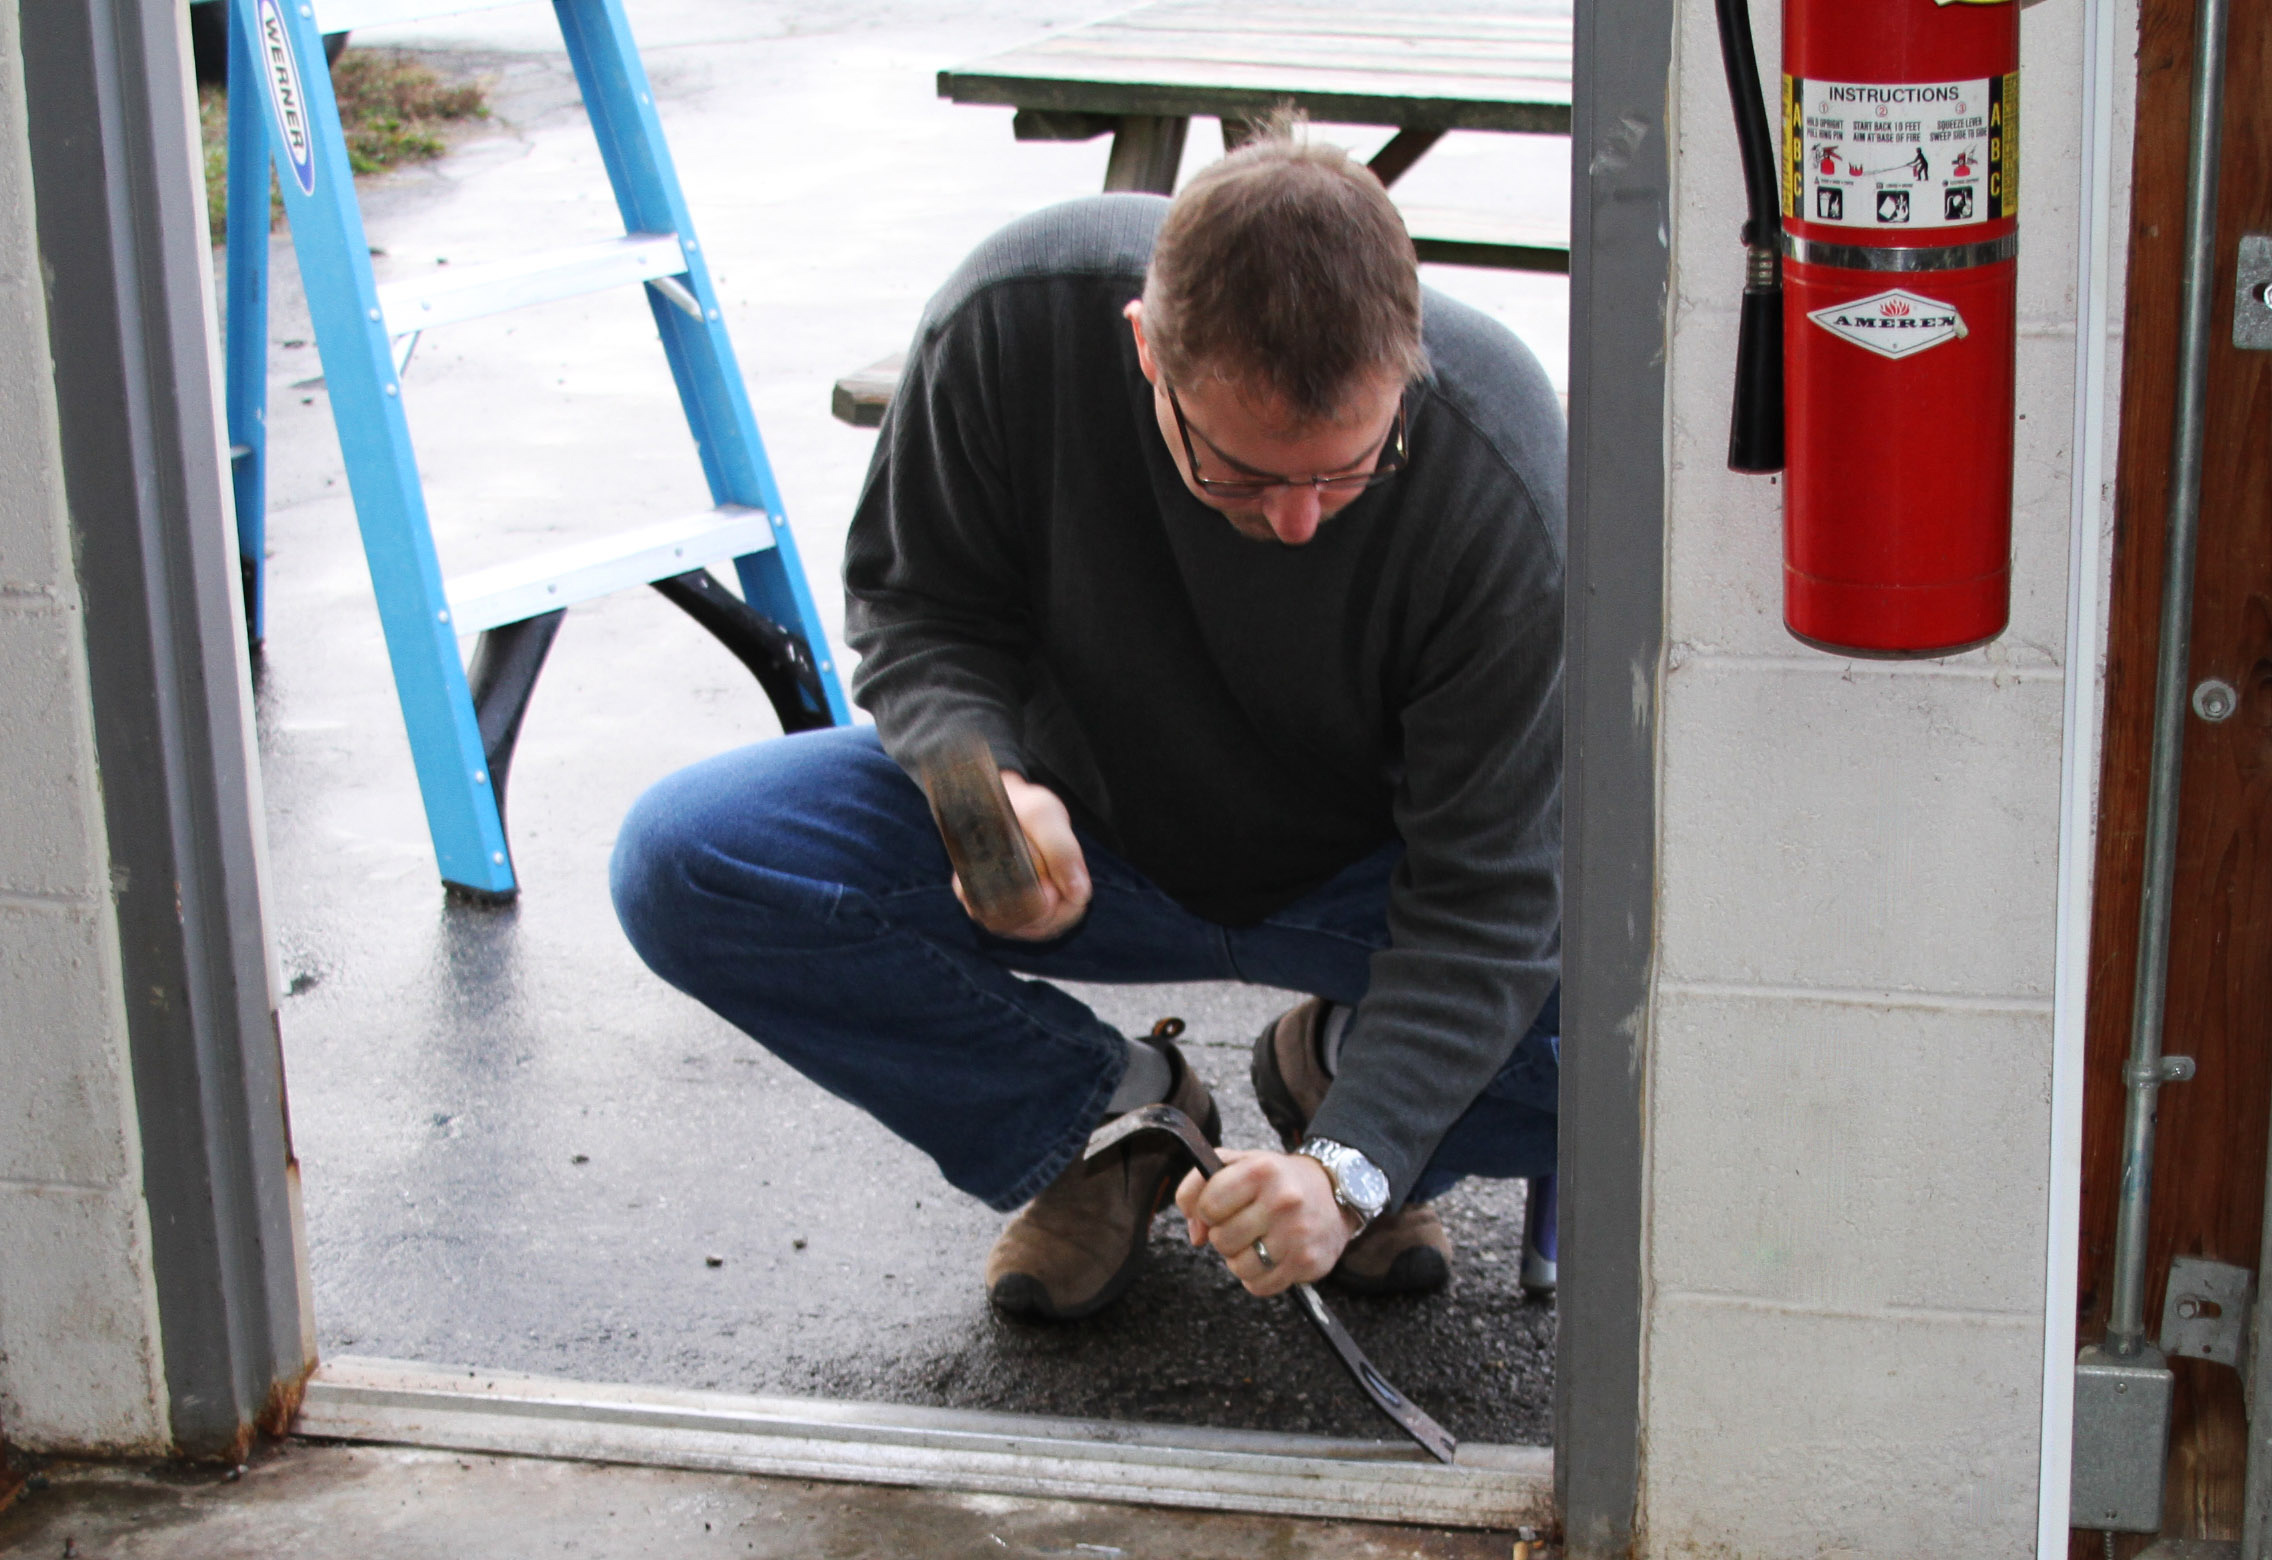 First thing’s first – we have to get the old door out of the opening. The stripped screws Rob is removing from the threshold were standing in the way of that goal.
 After the threshold is out of the way the opening is prepared for the new hardware to be installed. This preparation includes removing any and all pieces of screws/hardware that was left behind after removal and smoothing the surface.
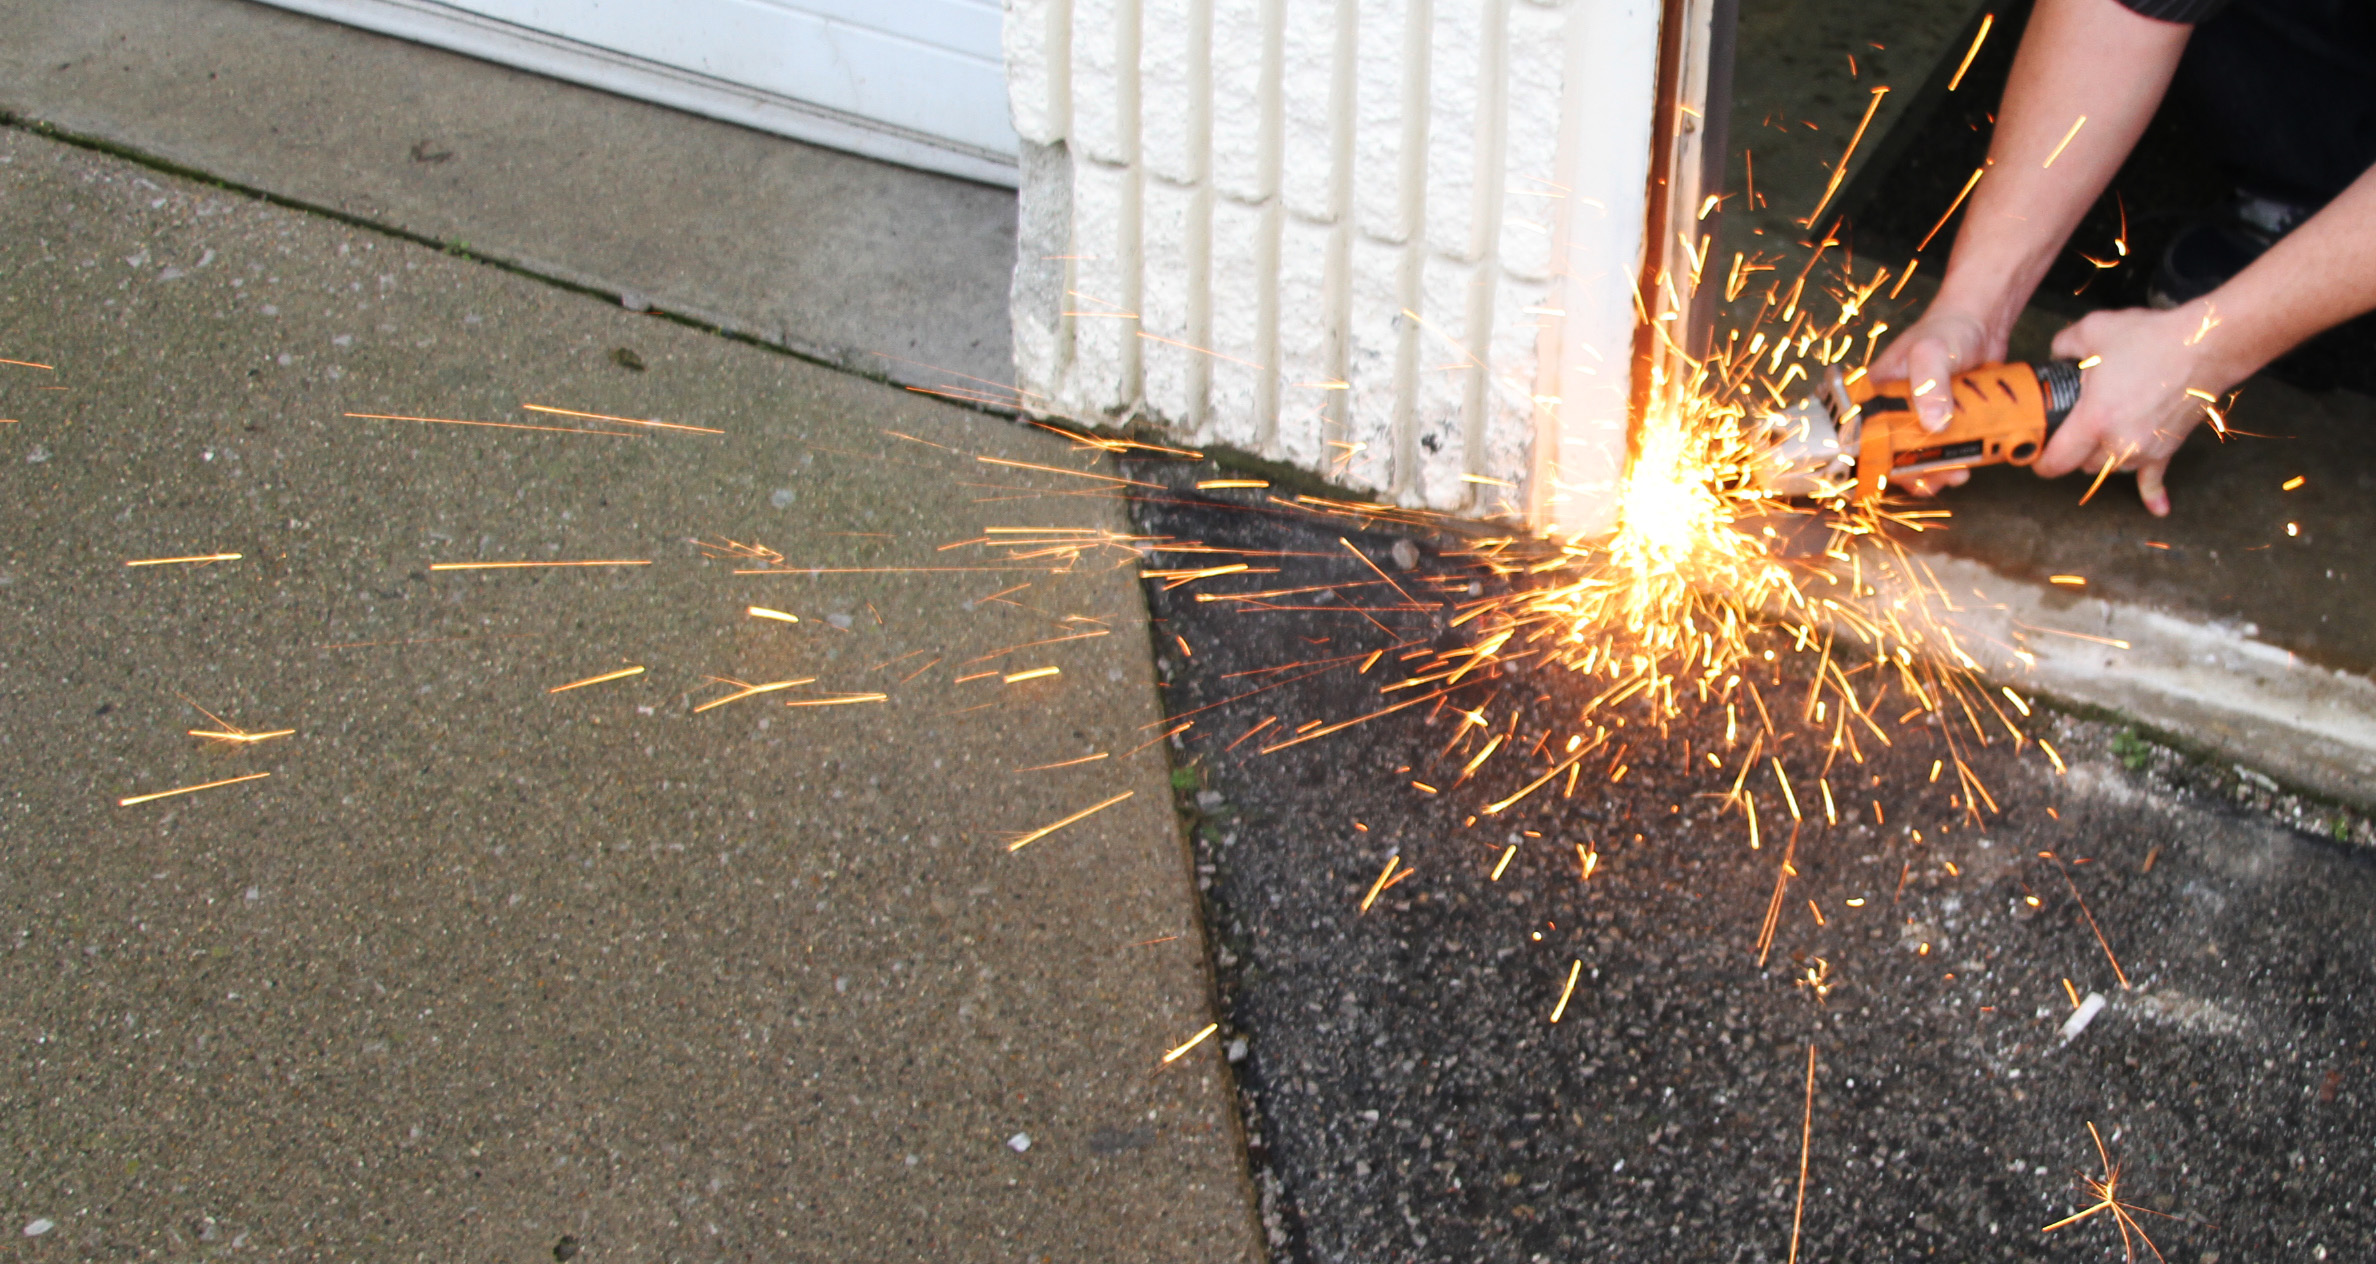
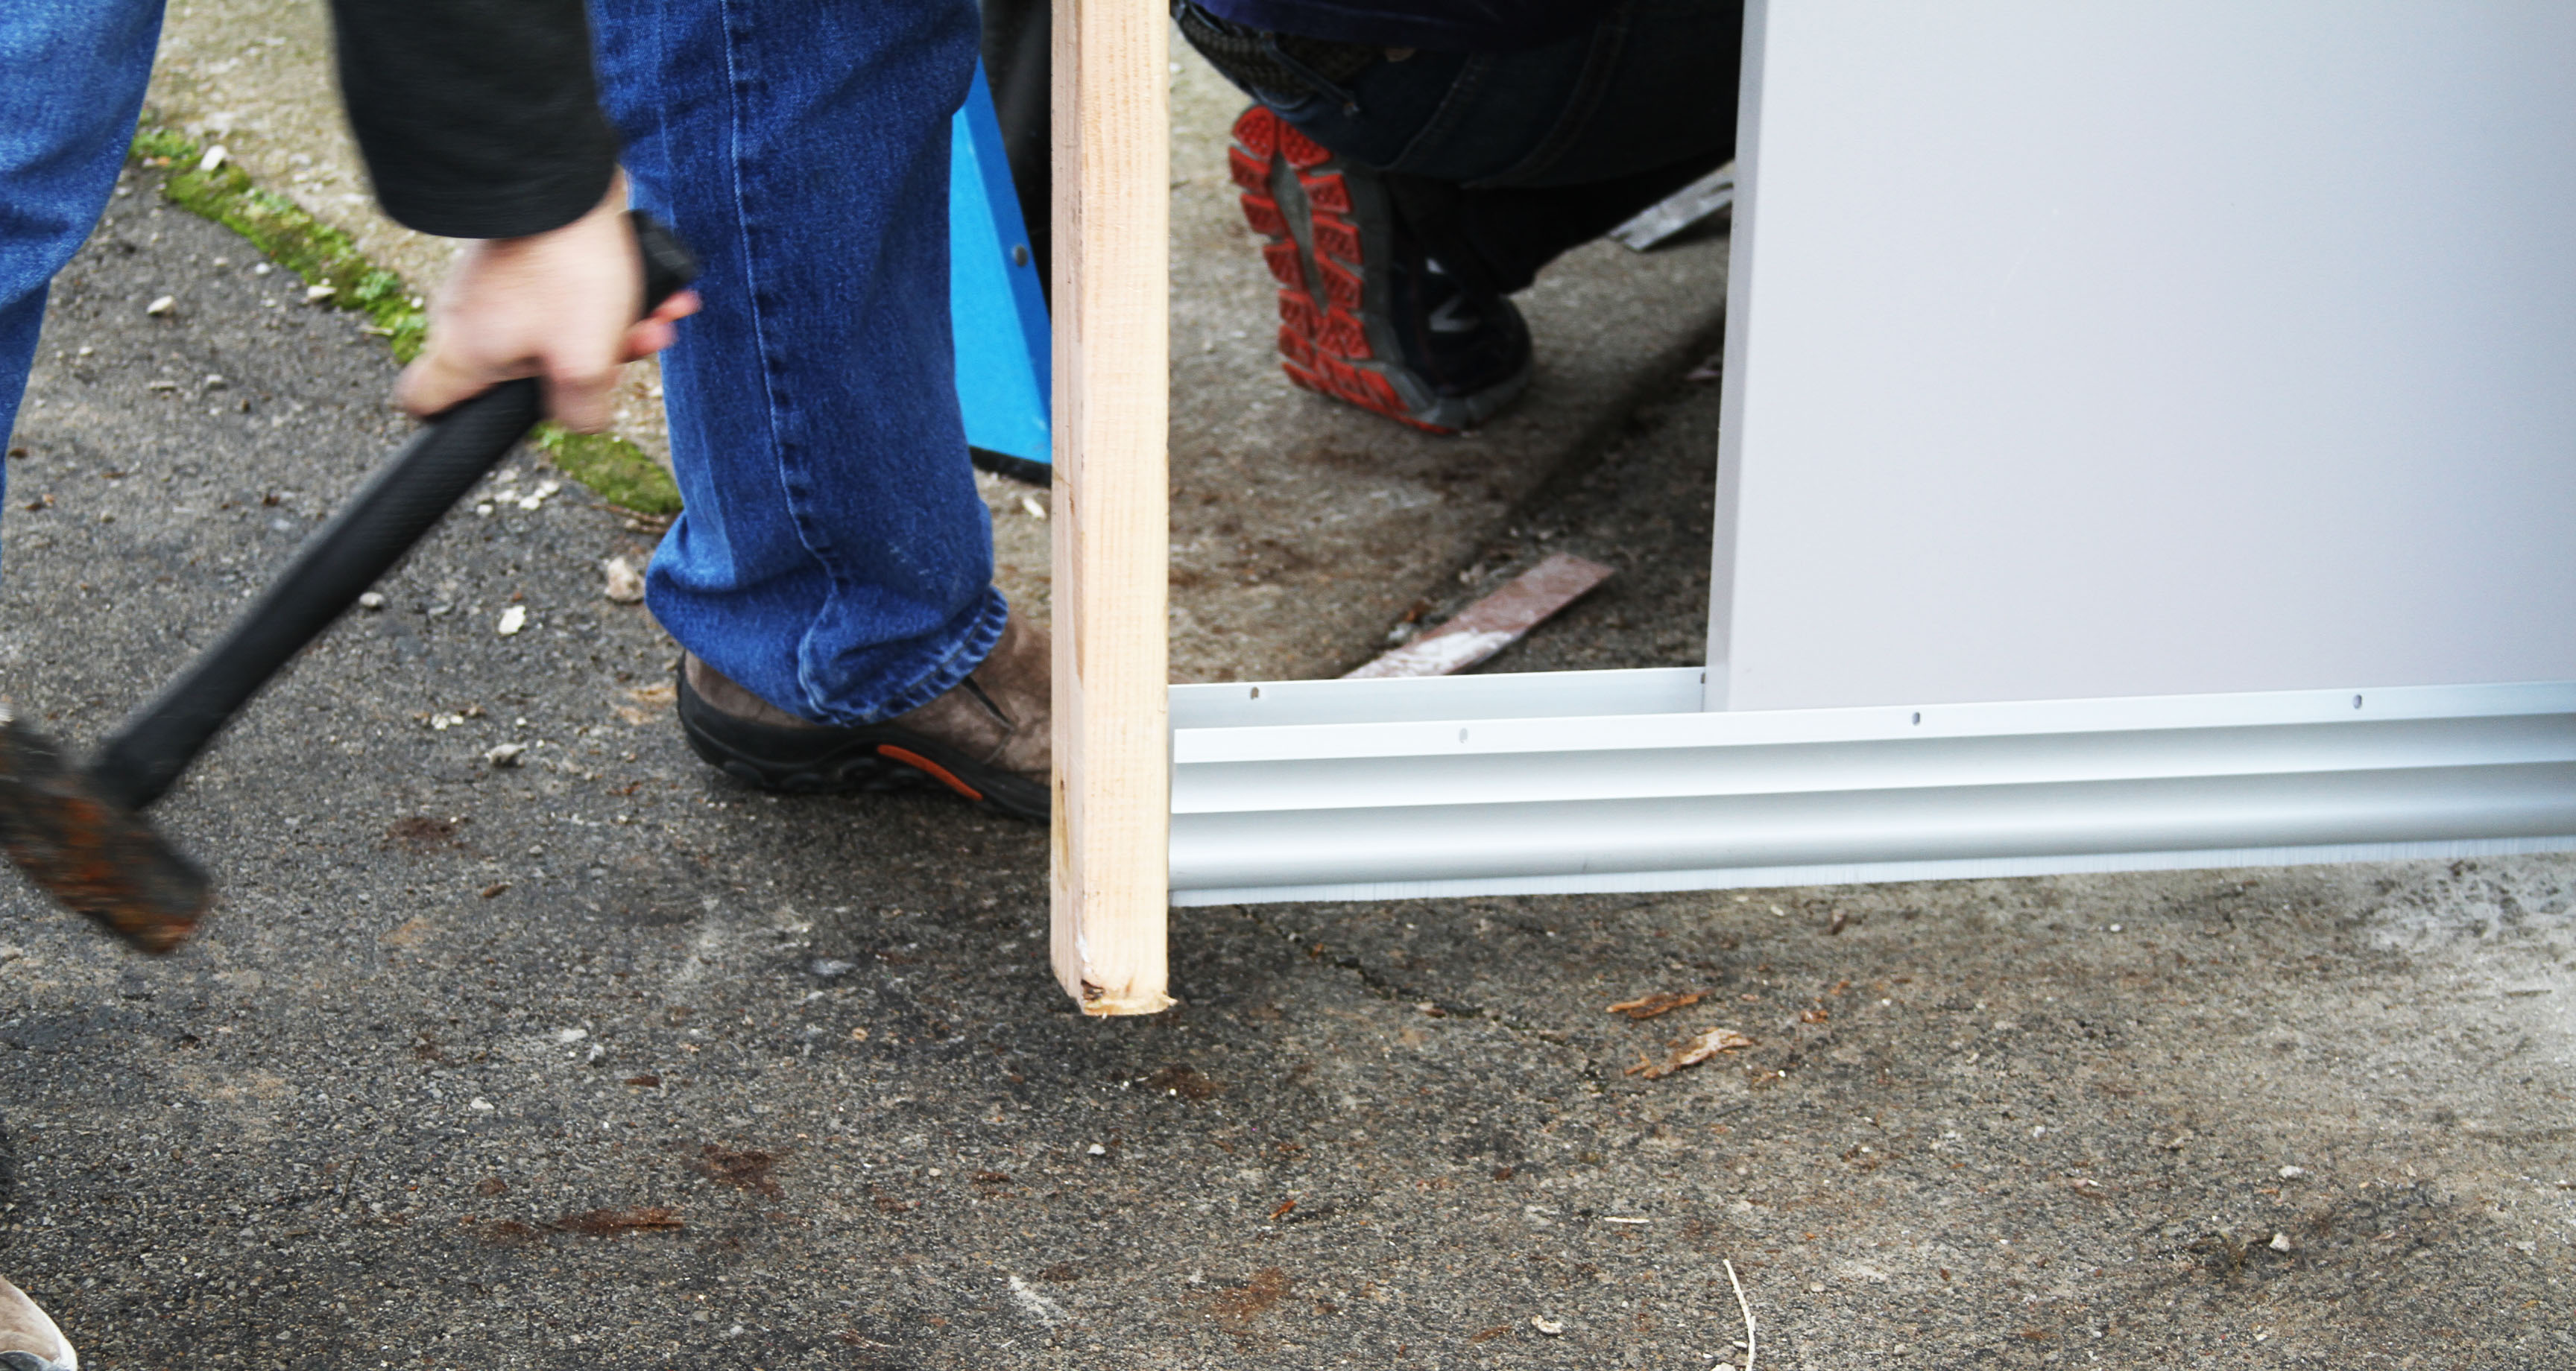
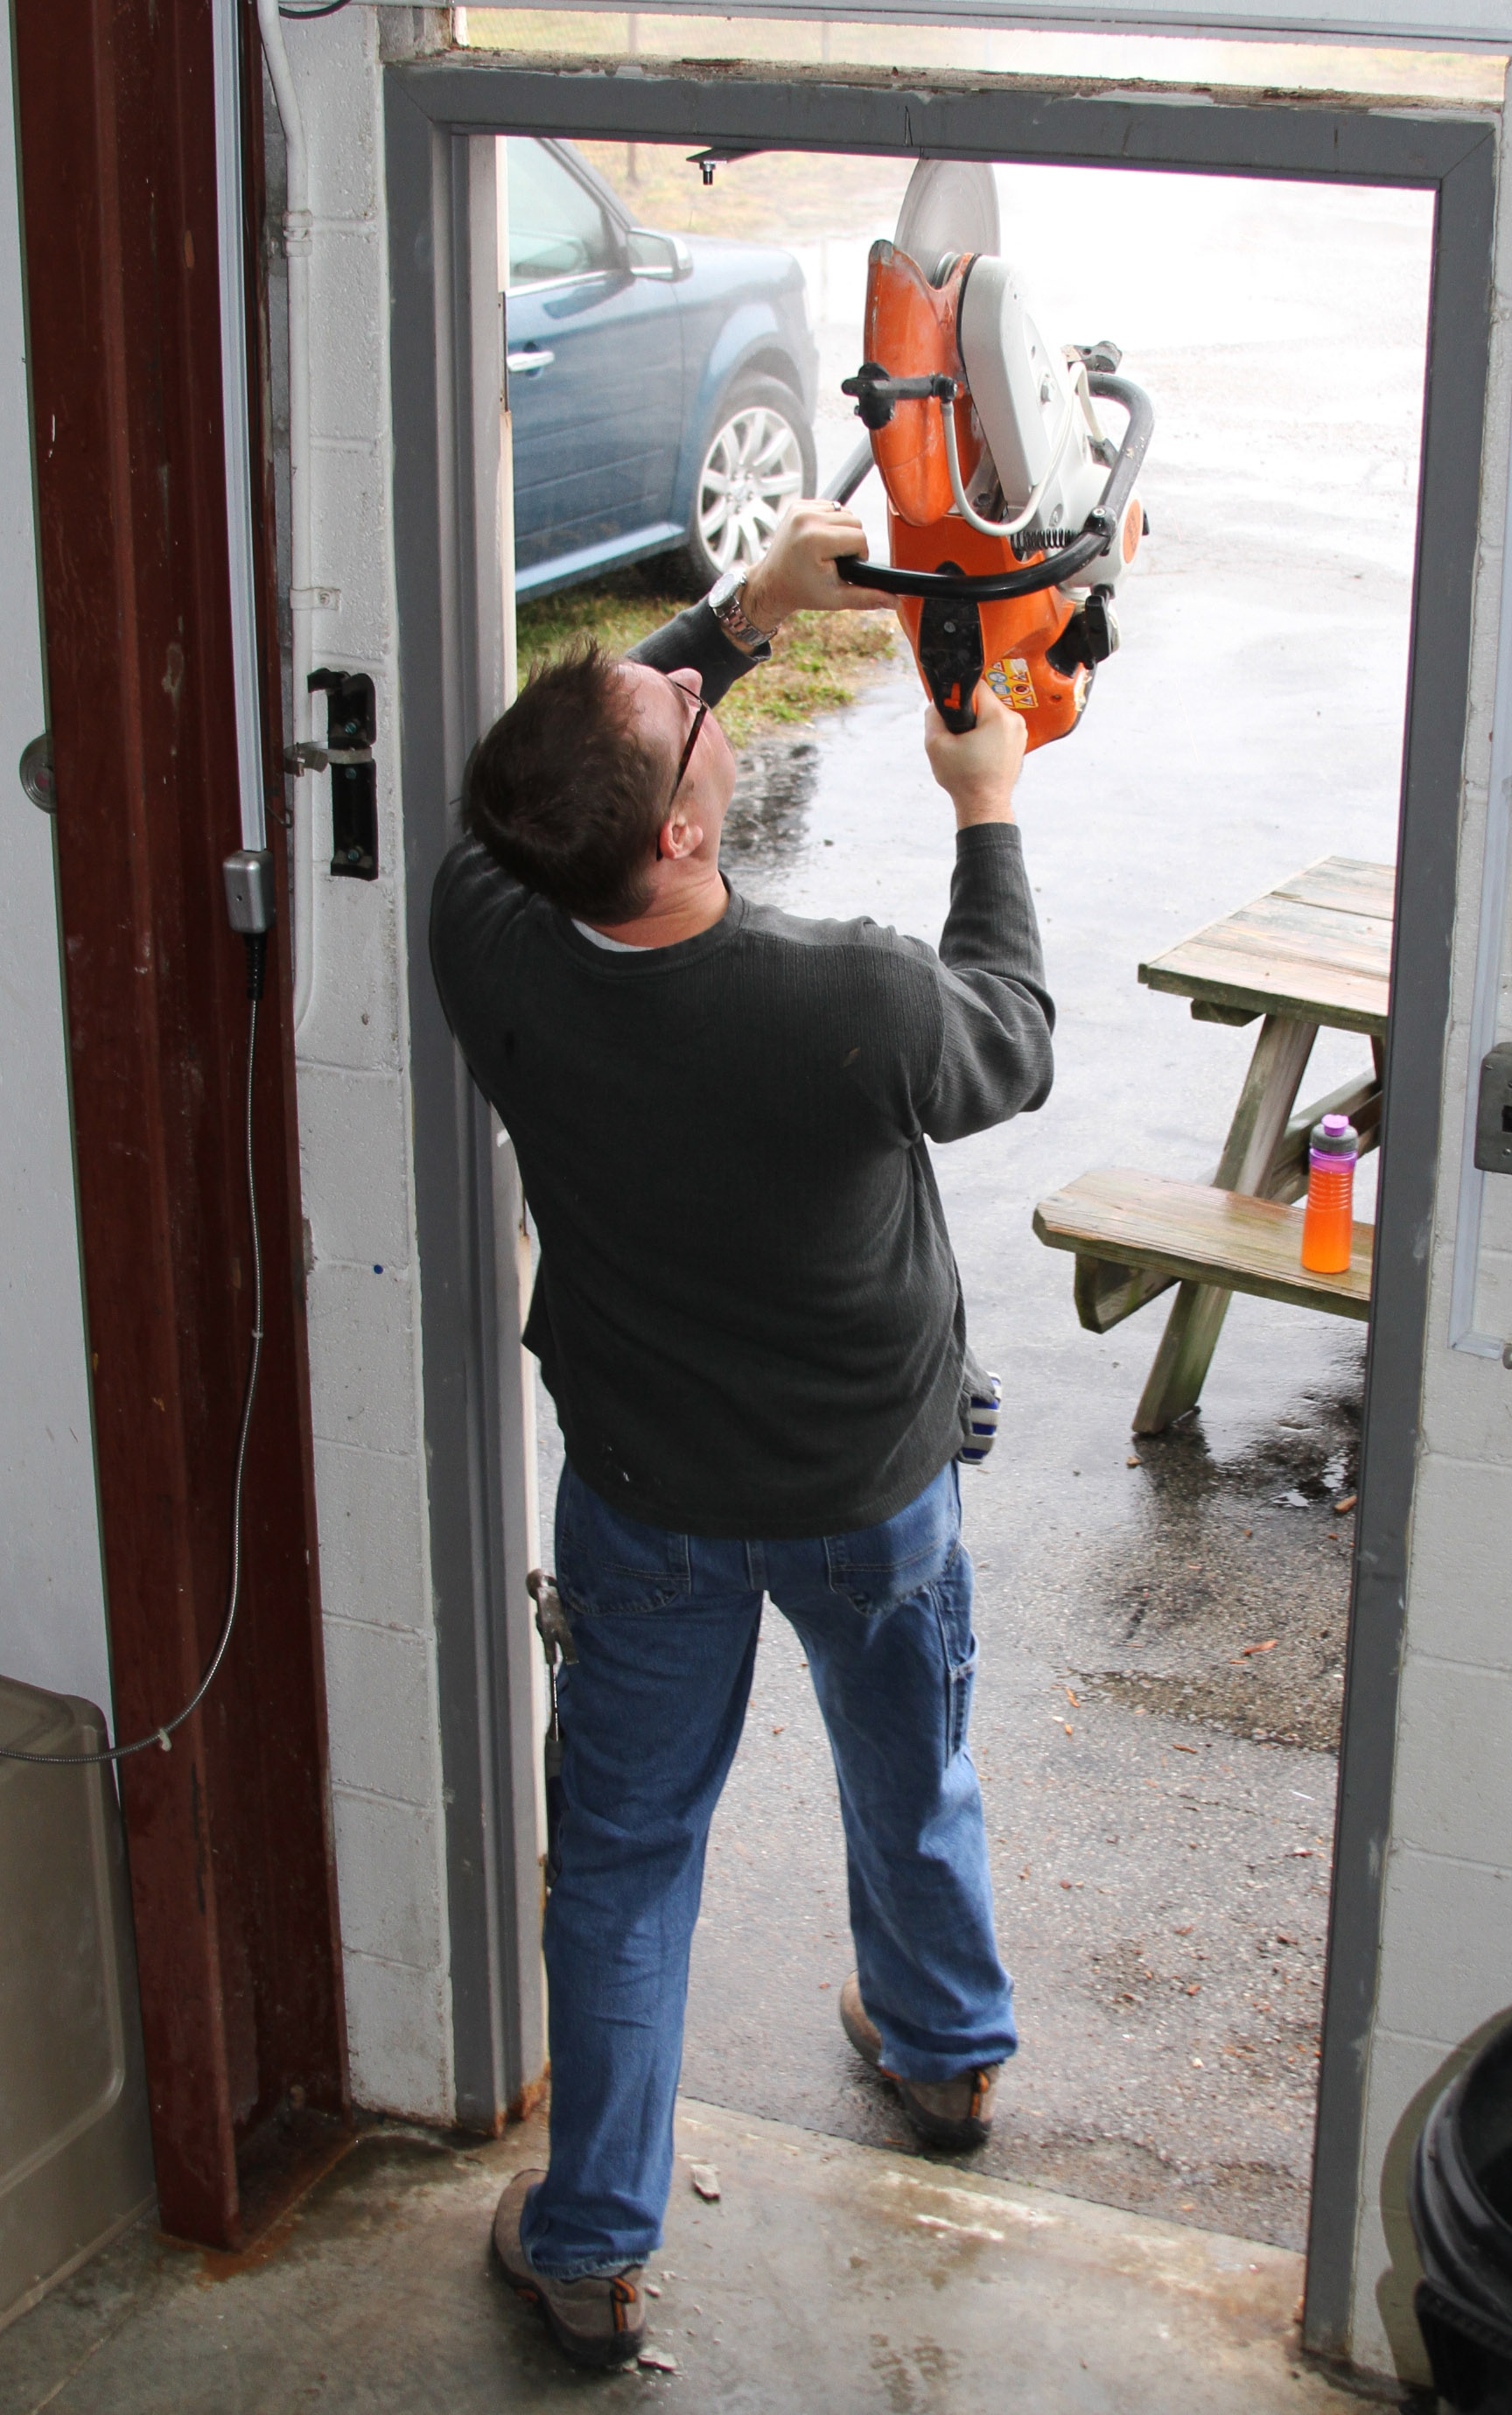 Now that the threshold is removed and the surface has been prepped, it’s time to get the rest of the frame out of the opening.
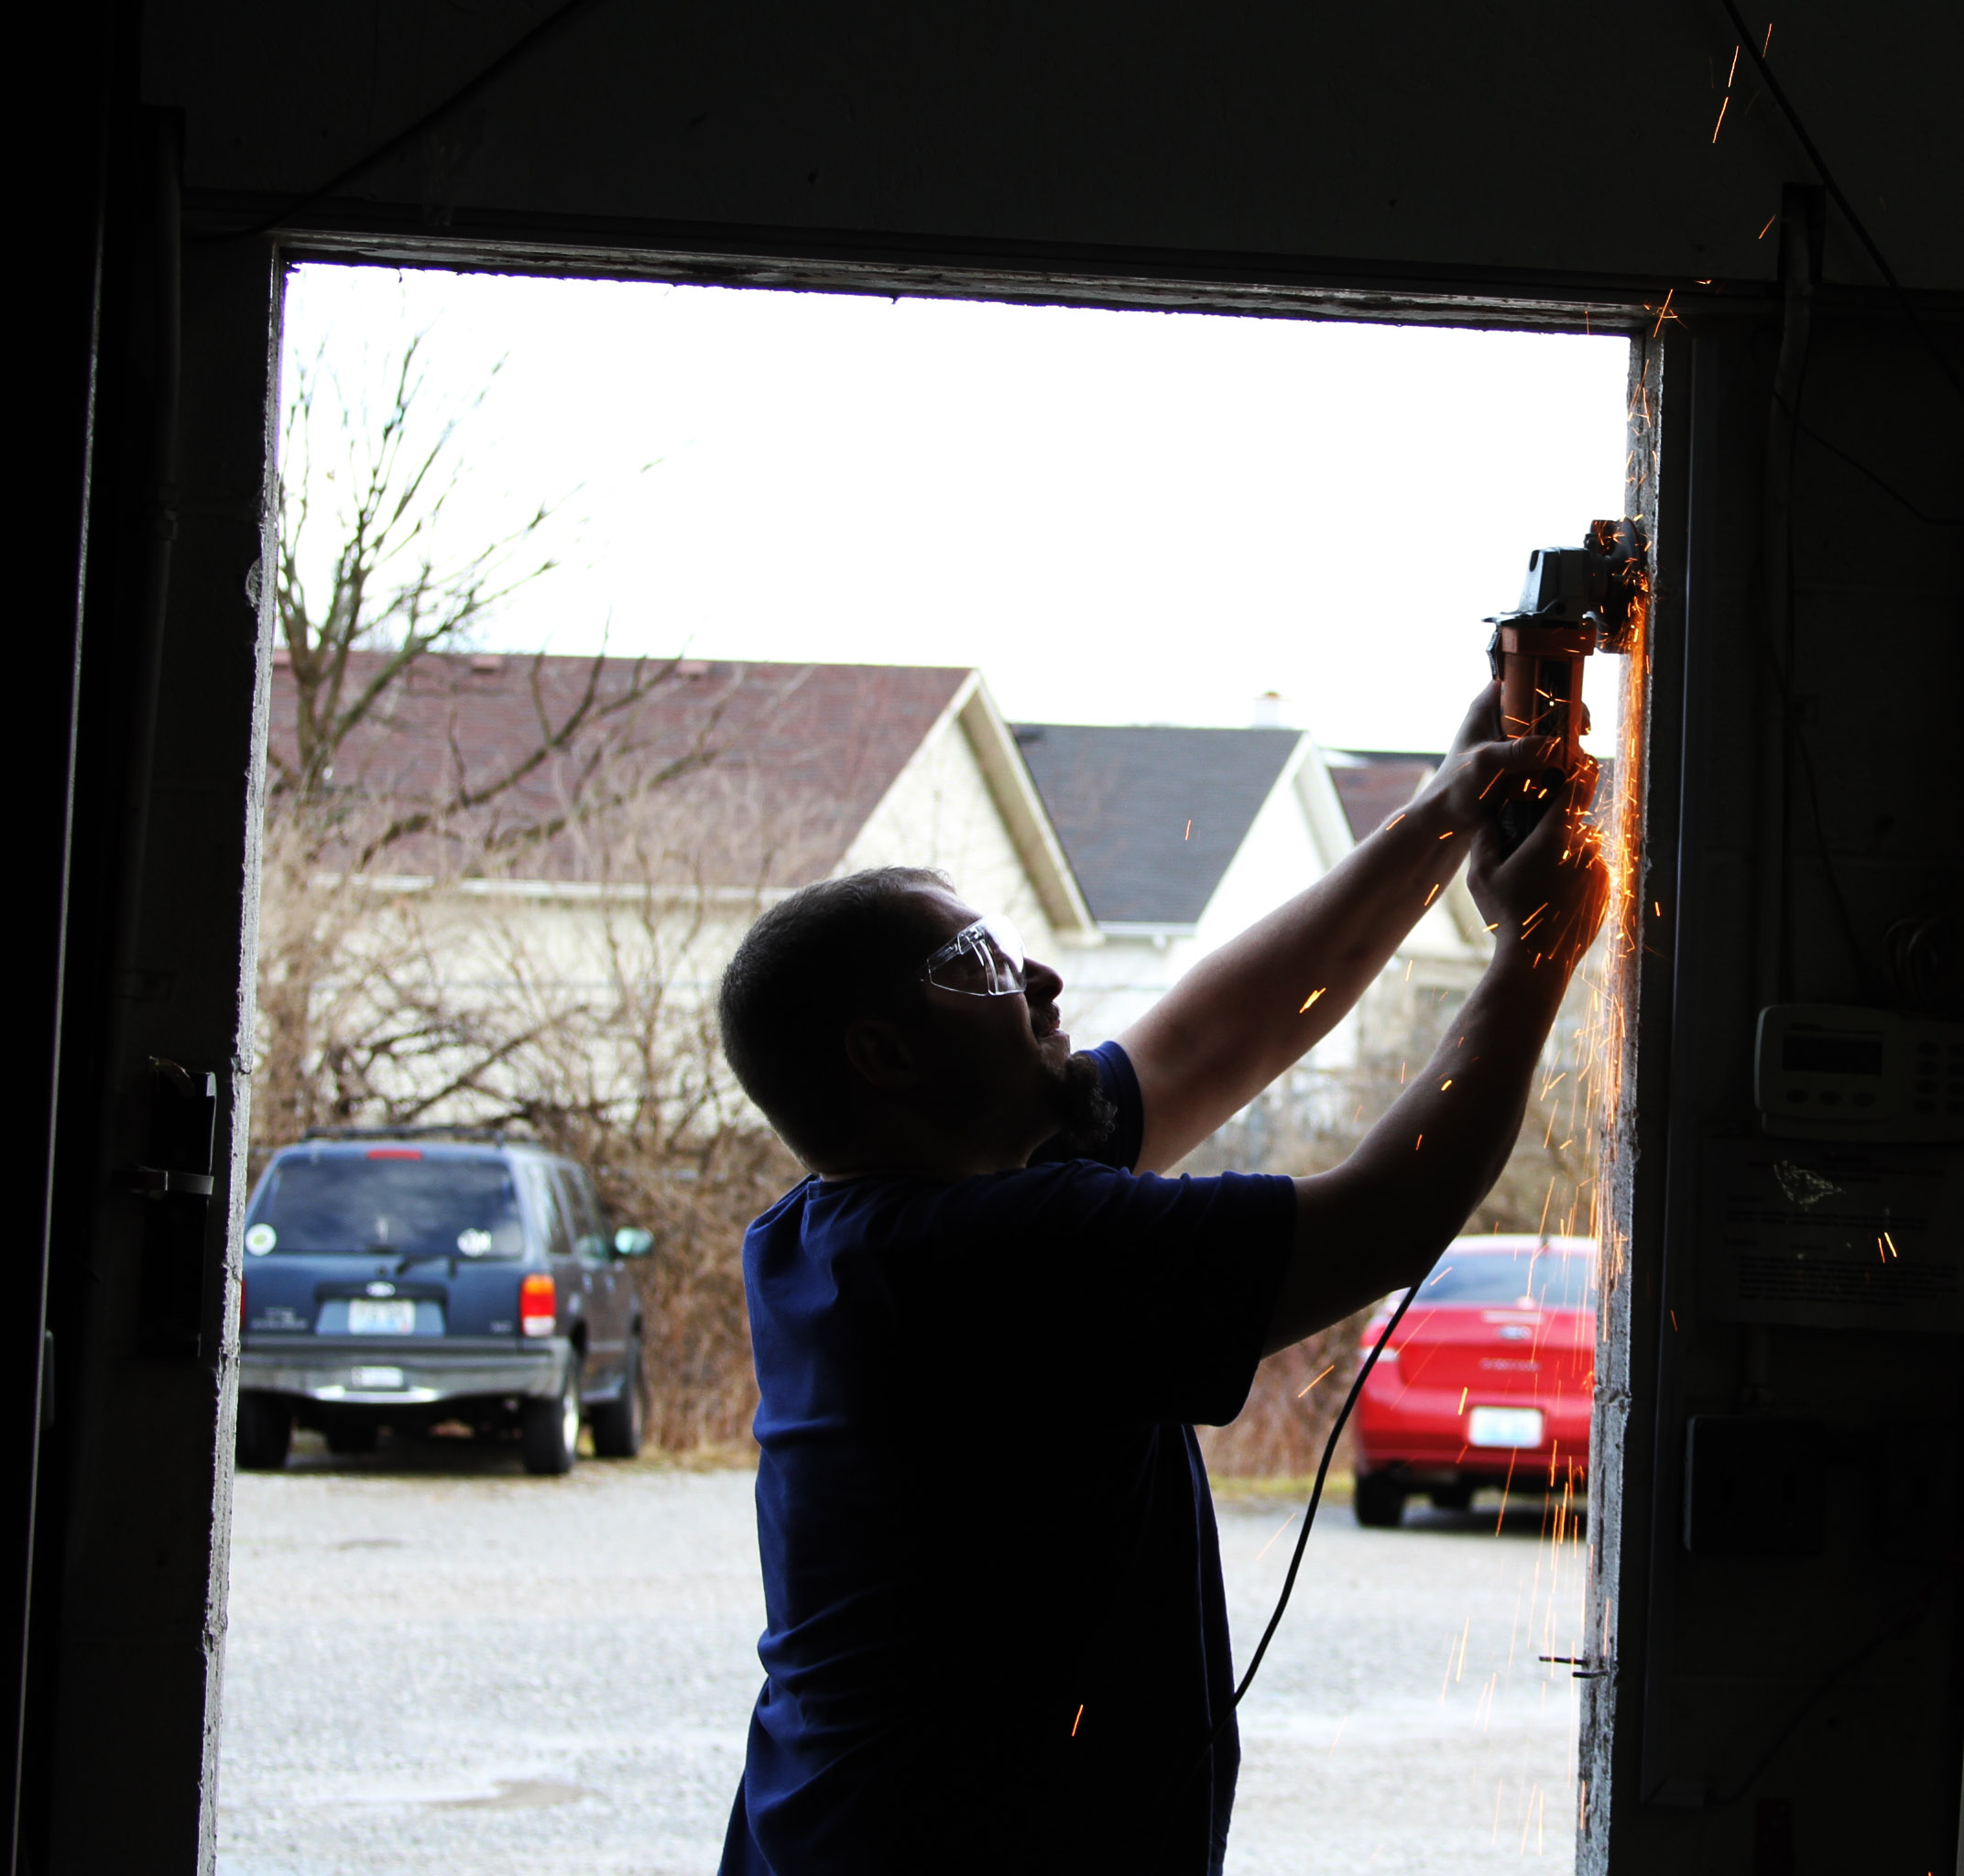 This has proven to be a tedious and time consuming project, it took some trial and error and multiple planning huddles, but eventually the frame was left in pieces. The remaining surfaces of the opening were prepped in the same way the surface of the threshold was – remove all previous screws/anchors/pieces of hardware and smooth the surface for installation of the new exit door.
 Now that the deconstruction process is finished, it’s onto the new frame.
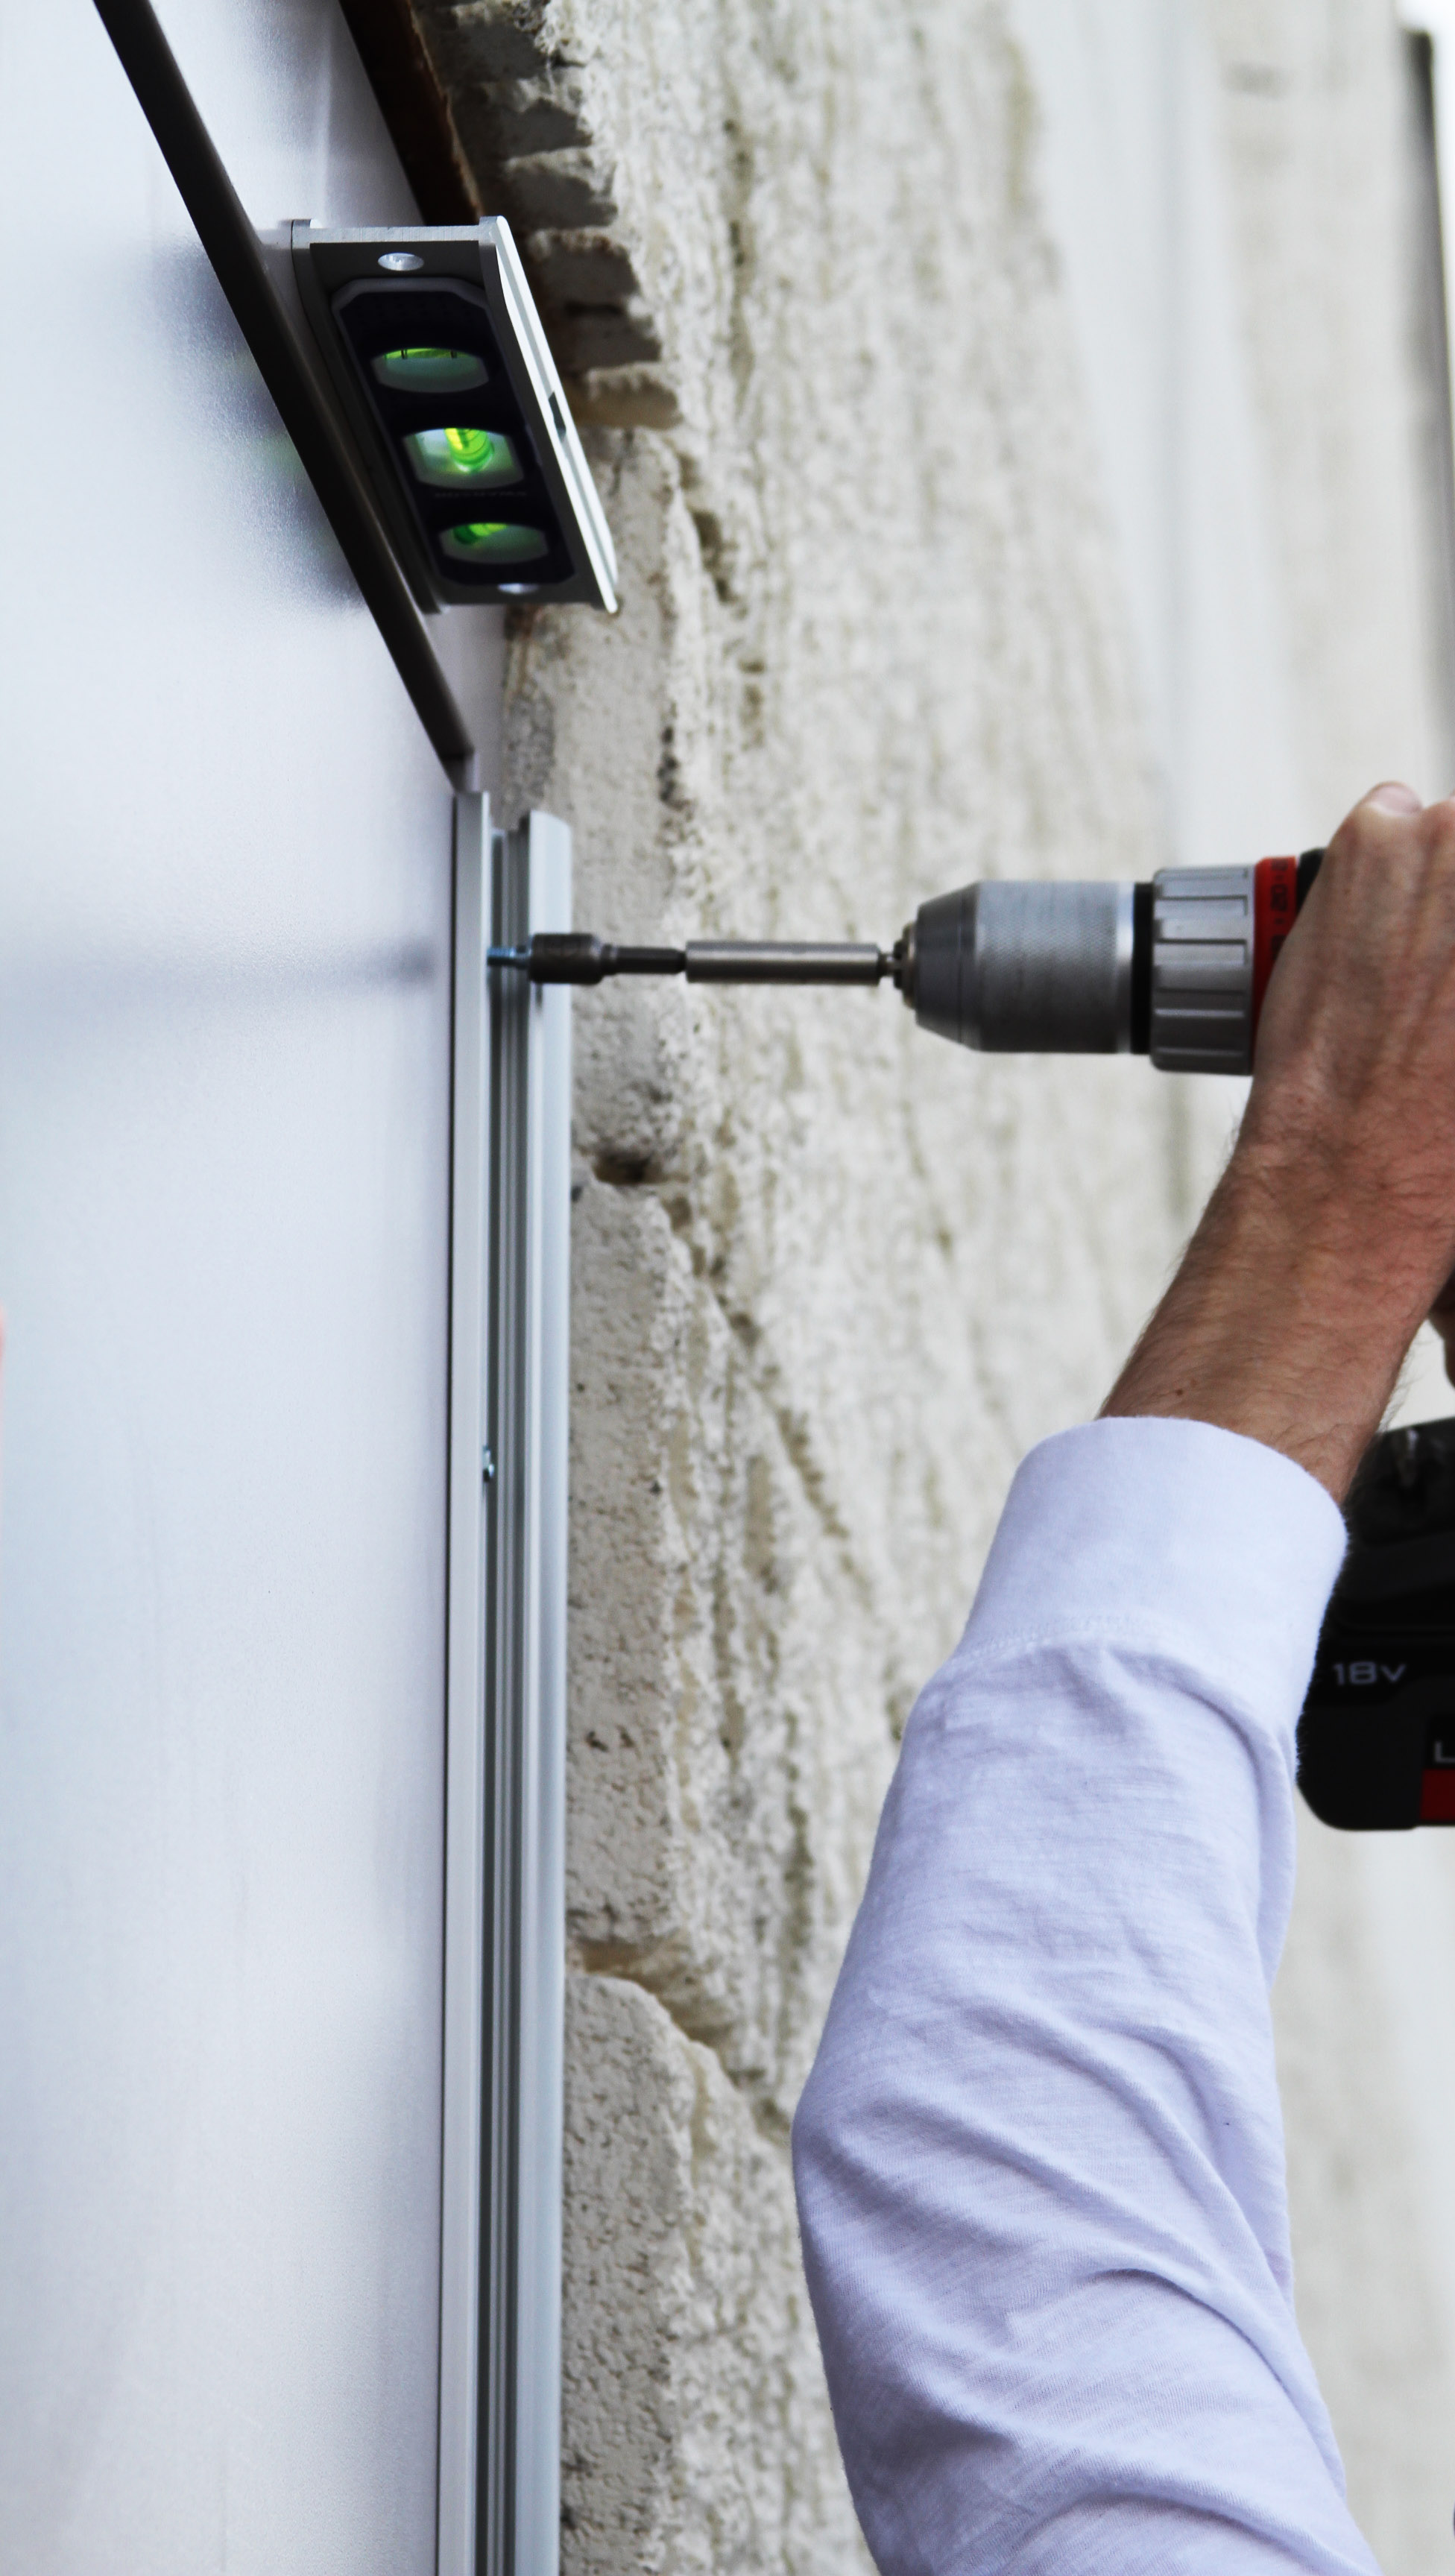
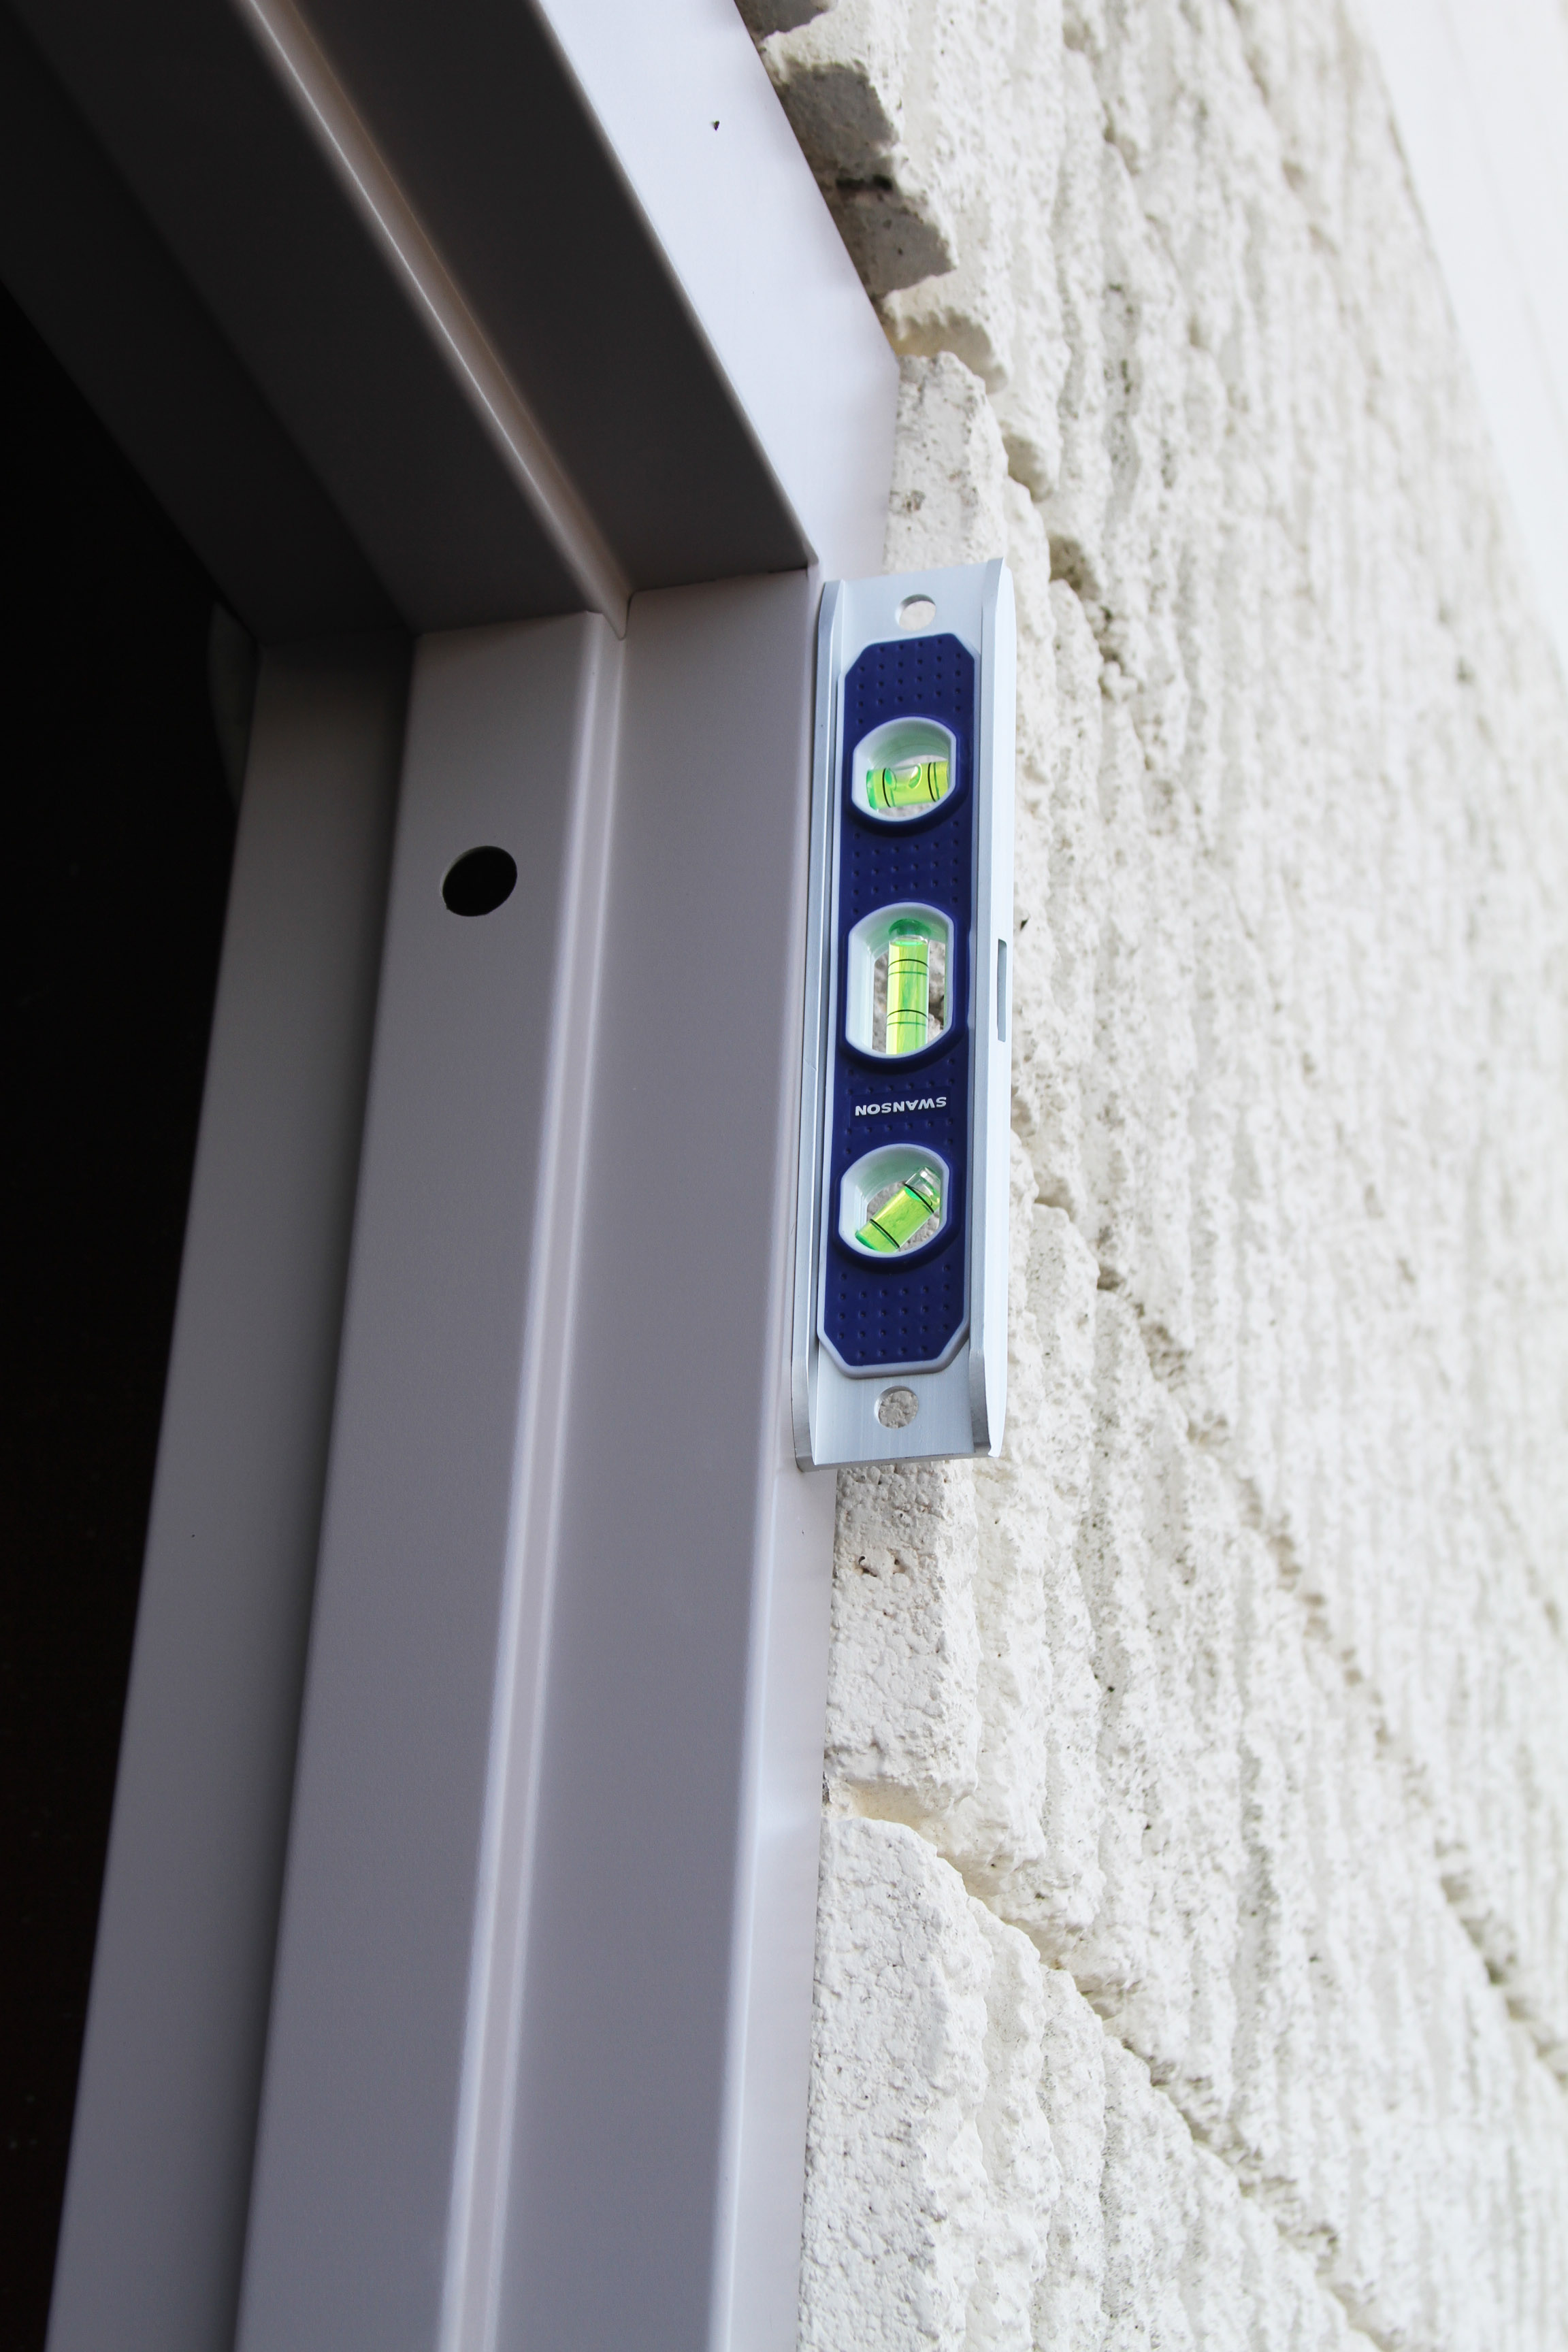 It’s crucial to verify the frame is both plumb and level before securing.
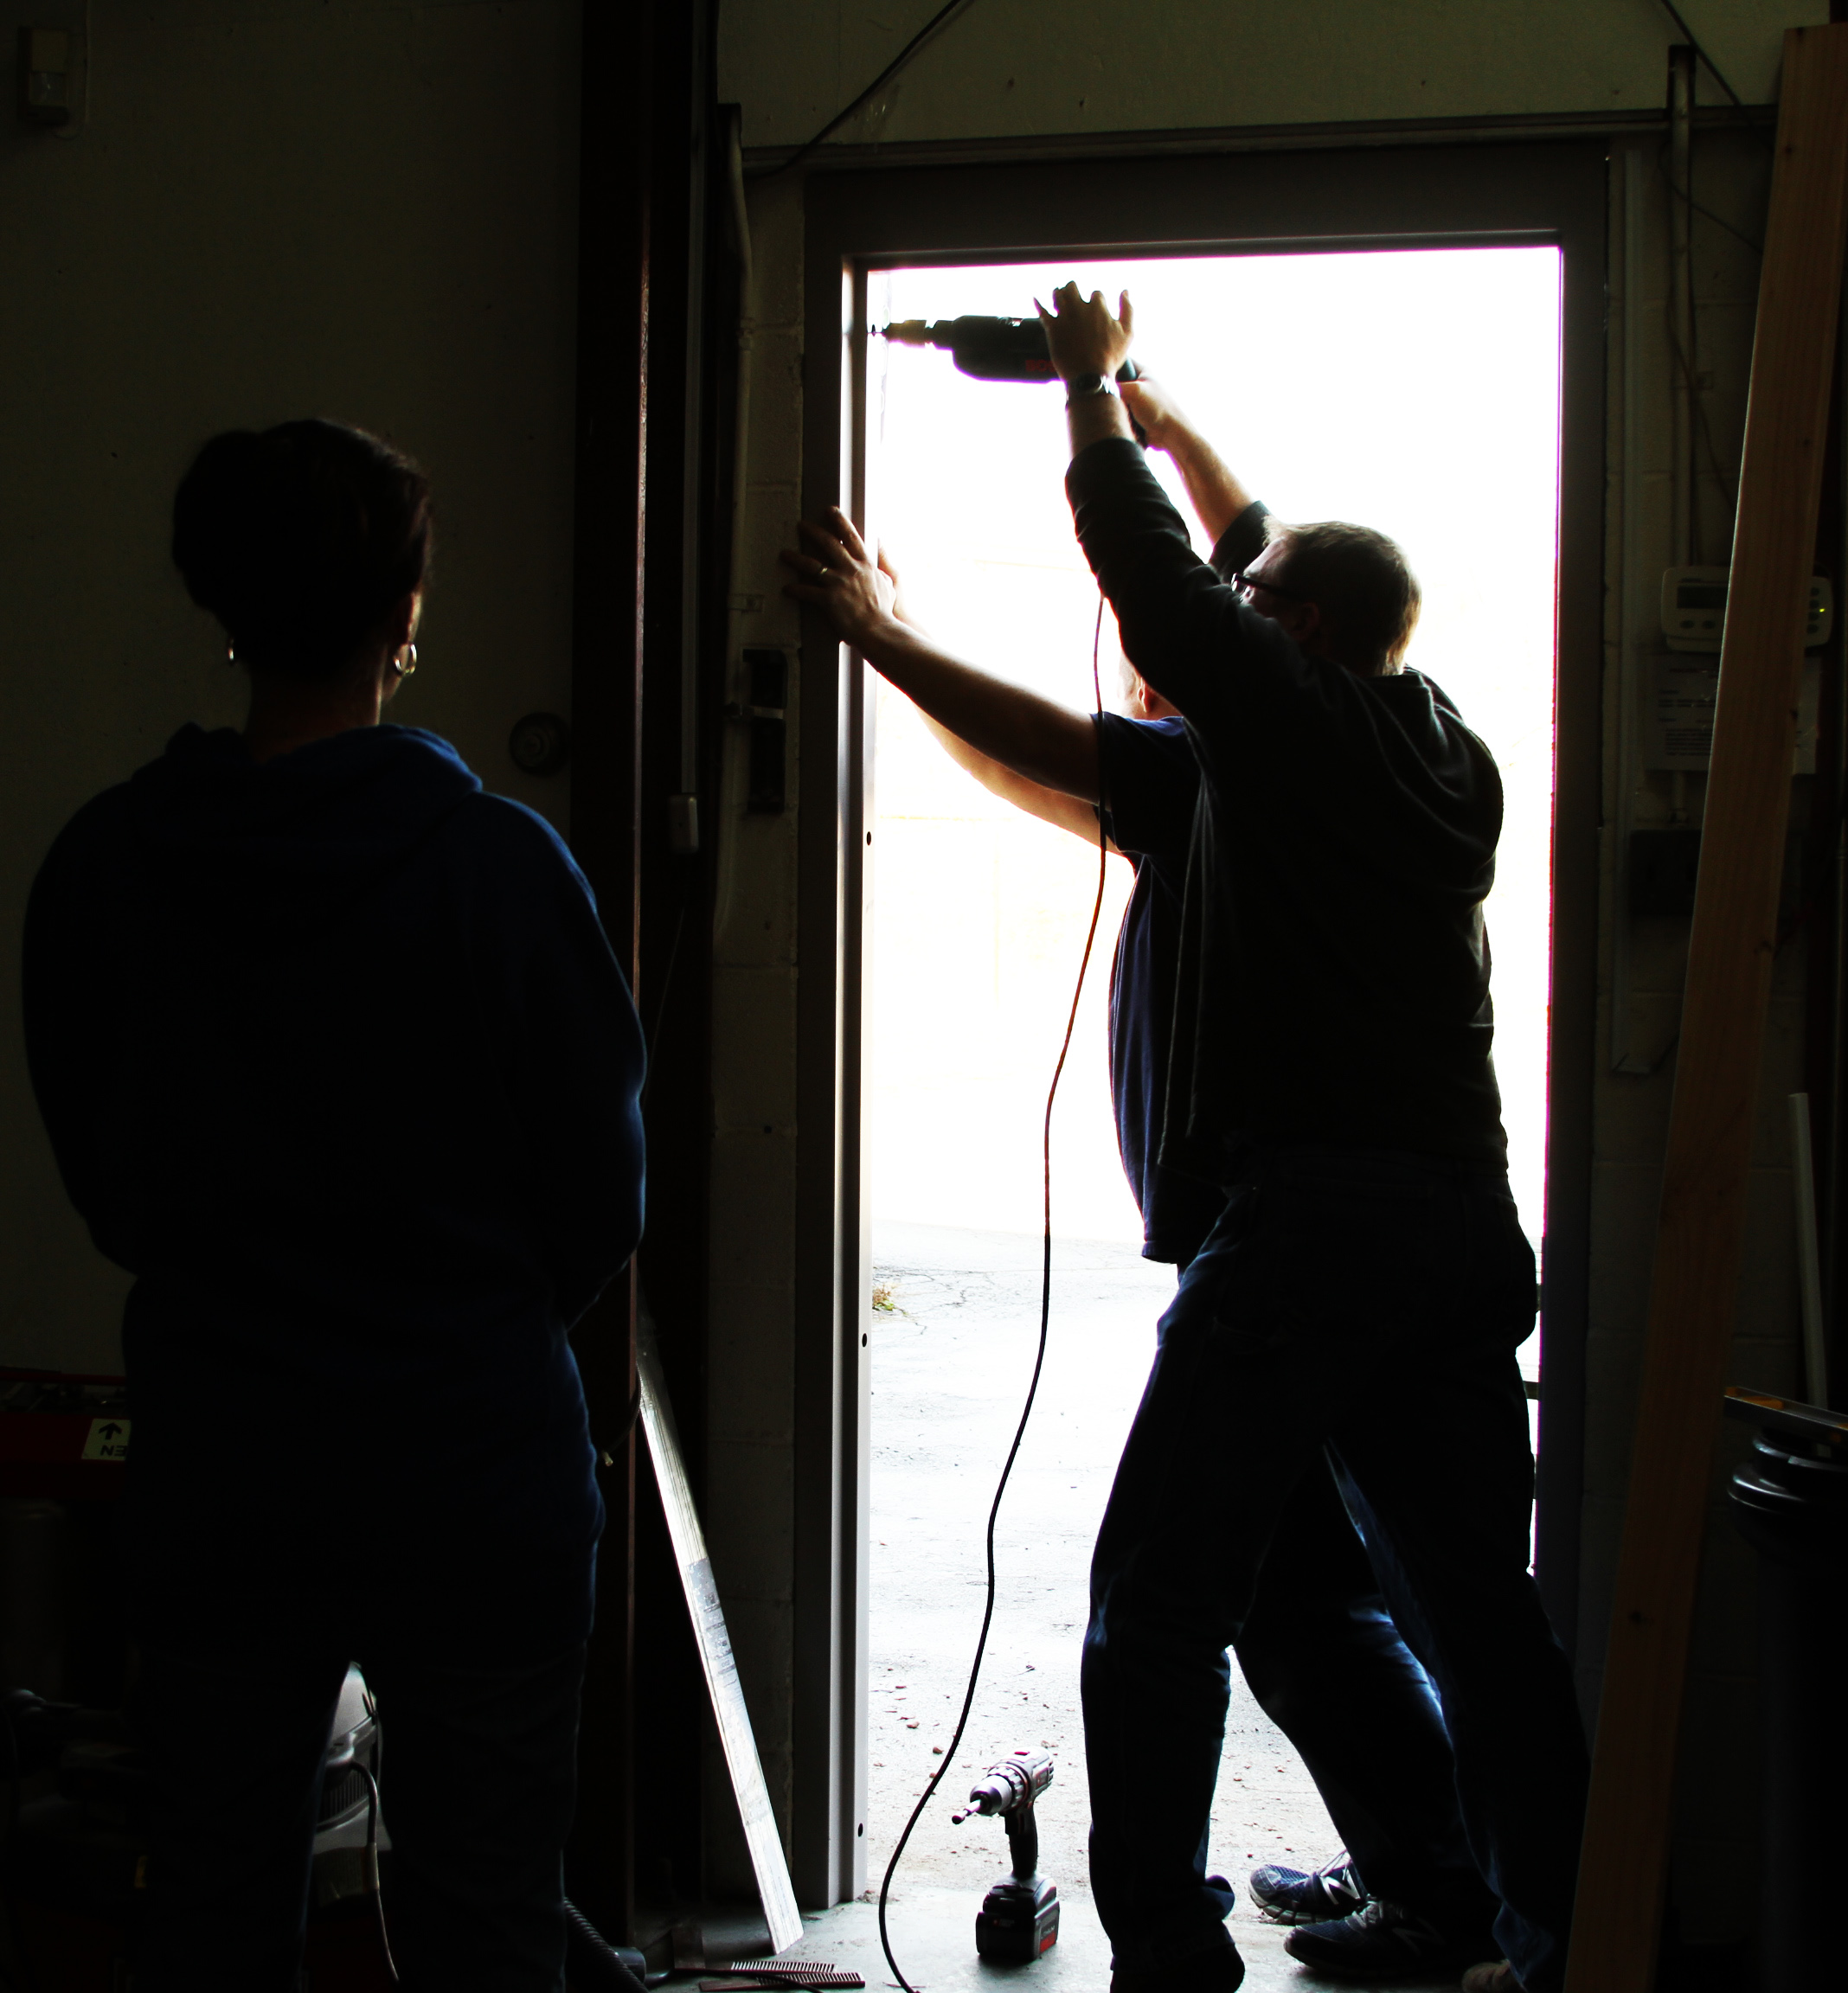 Now that we’ve verified the frame is level in every way possible, it’s time to secure it to the opening. By adding concrete anchors the frame is not only secured to the opening, but also to the building itself. This will reduce the risk of sagging and increase long term durability.
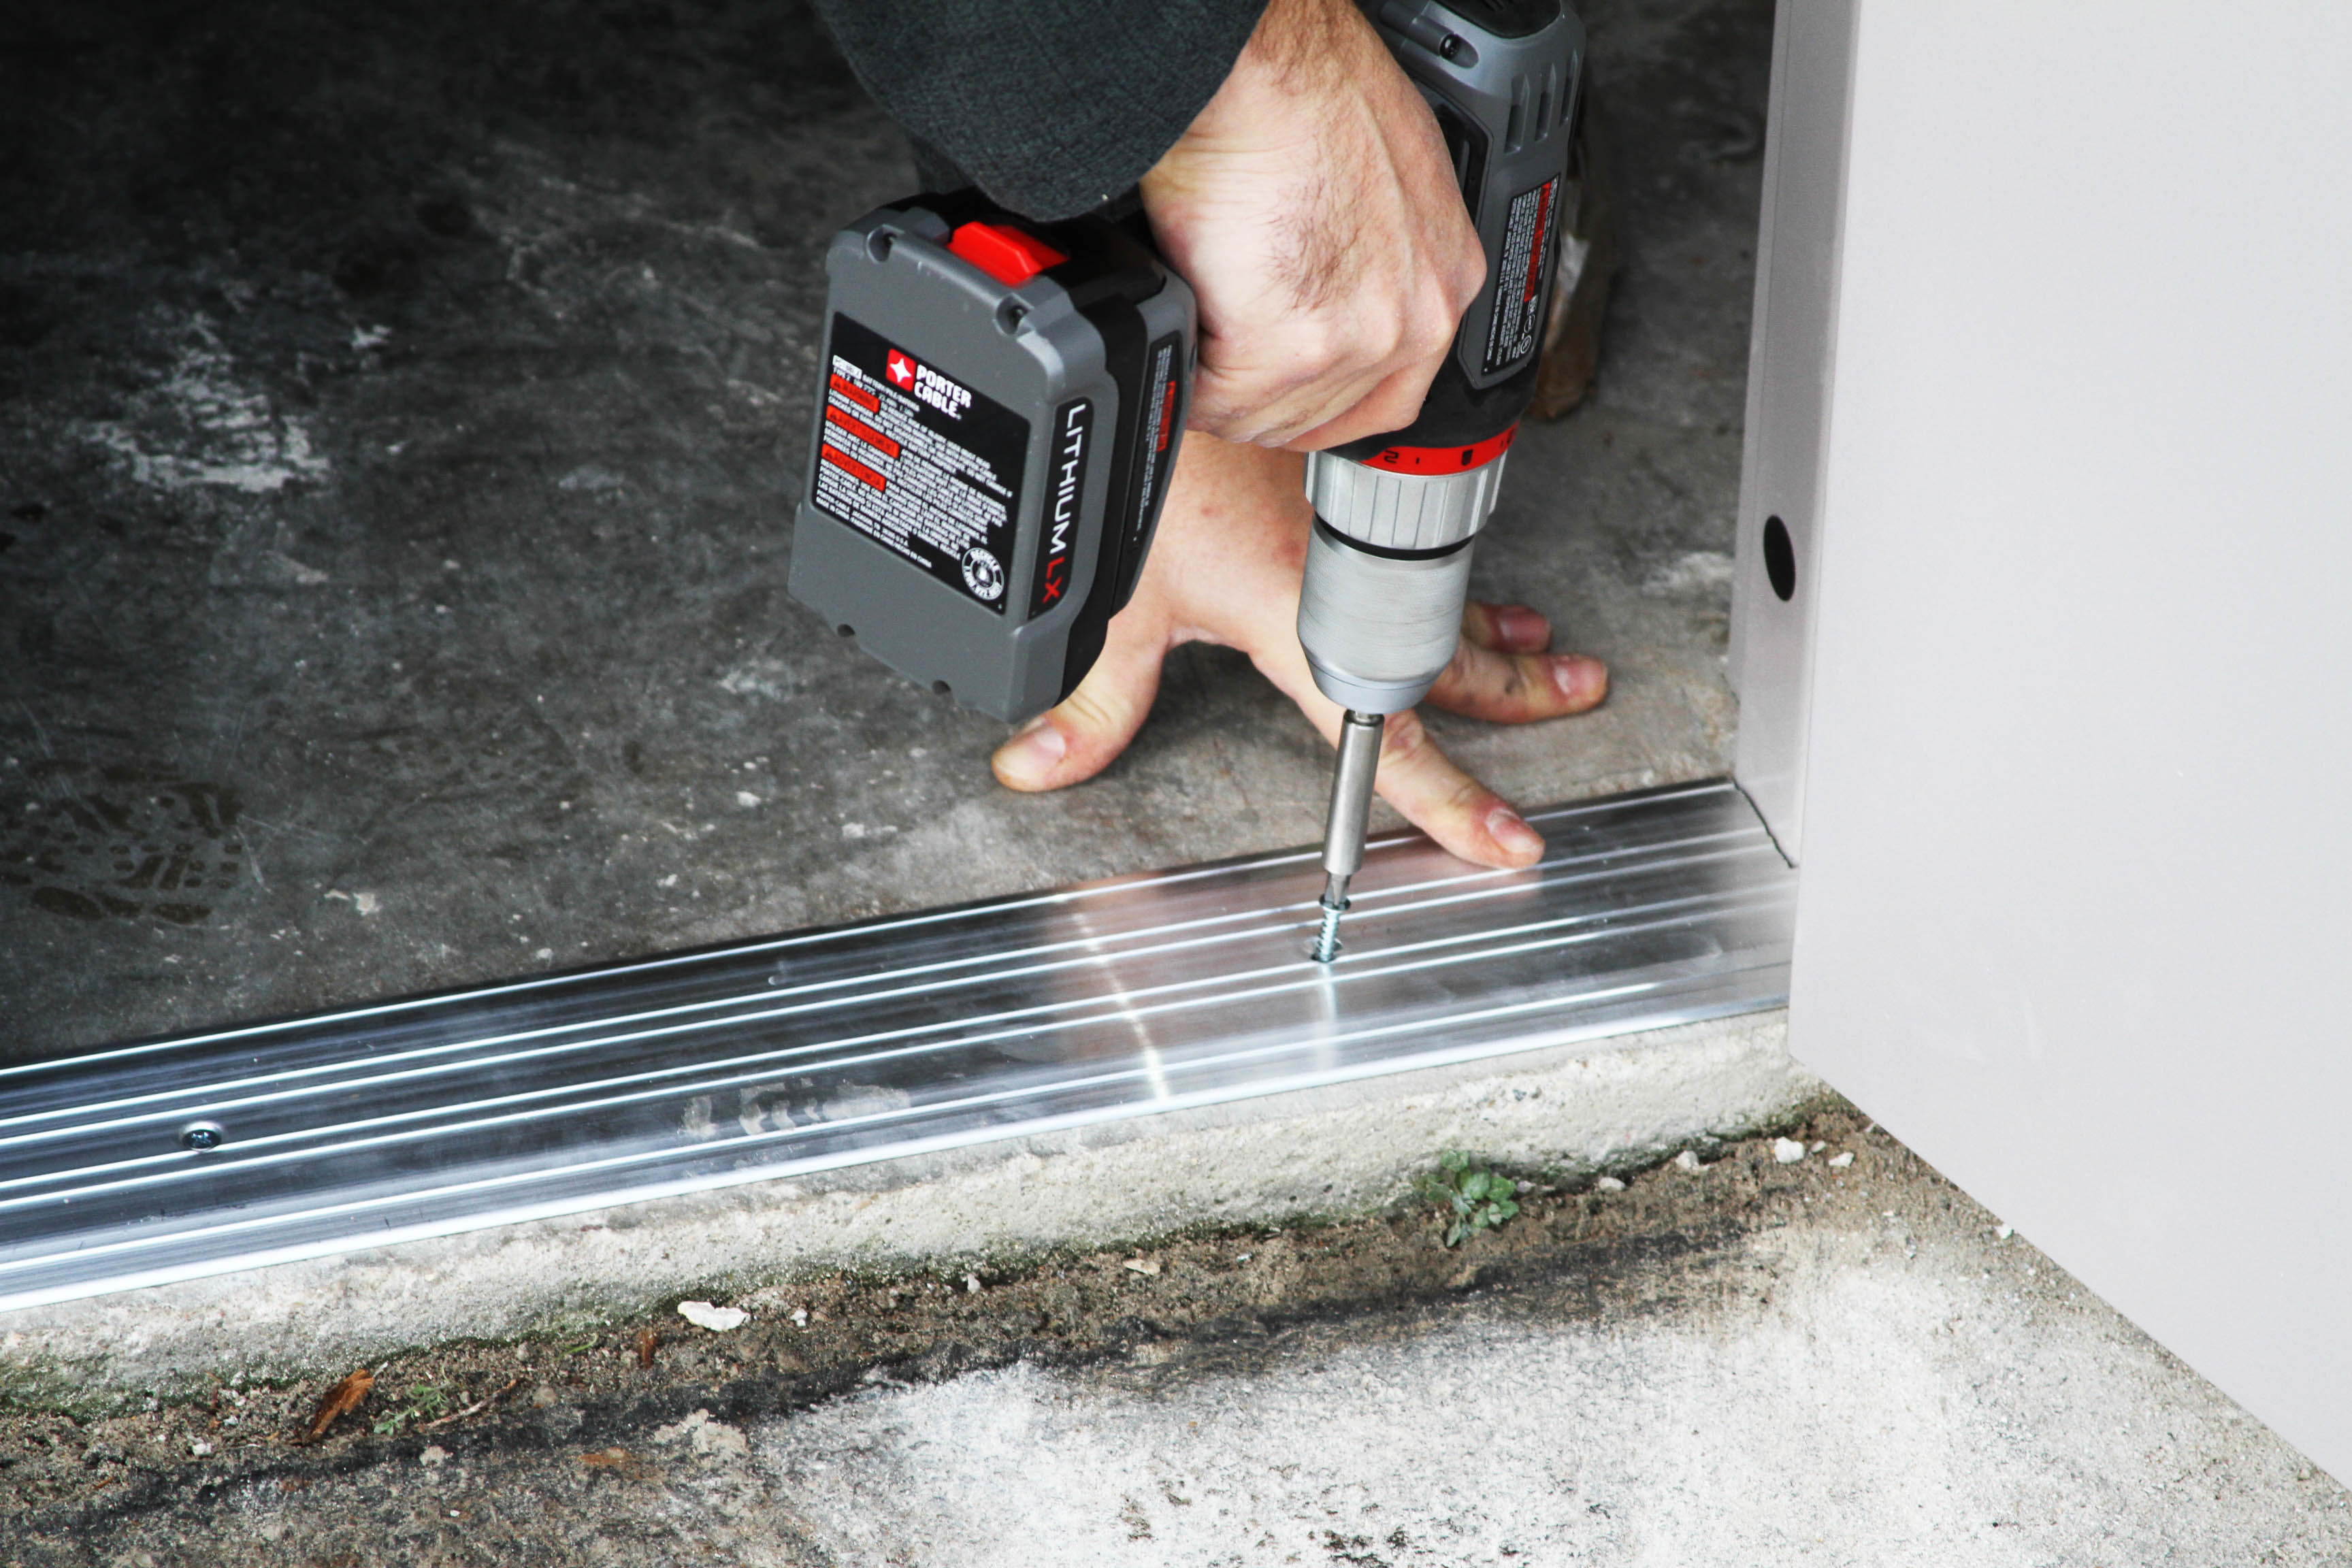 The new threshold is cut to allow space for the continuous hinge and then secured to the opening.
 We always recommend a continuous hinge for commercial facilities, especially on exit doors. They increase security and decrease the likelihood of future sagging and the door and frame from pulling away from the building.
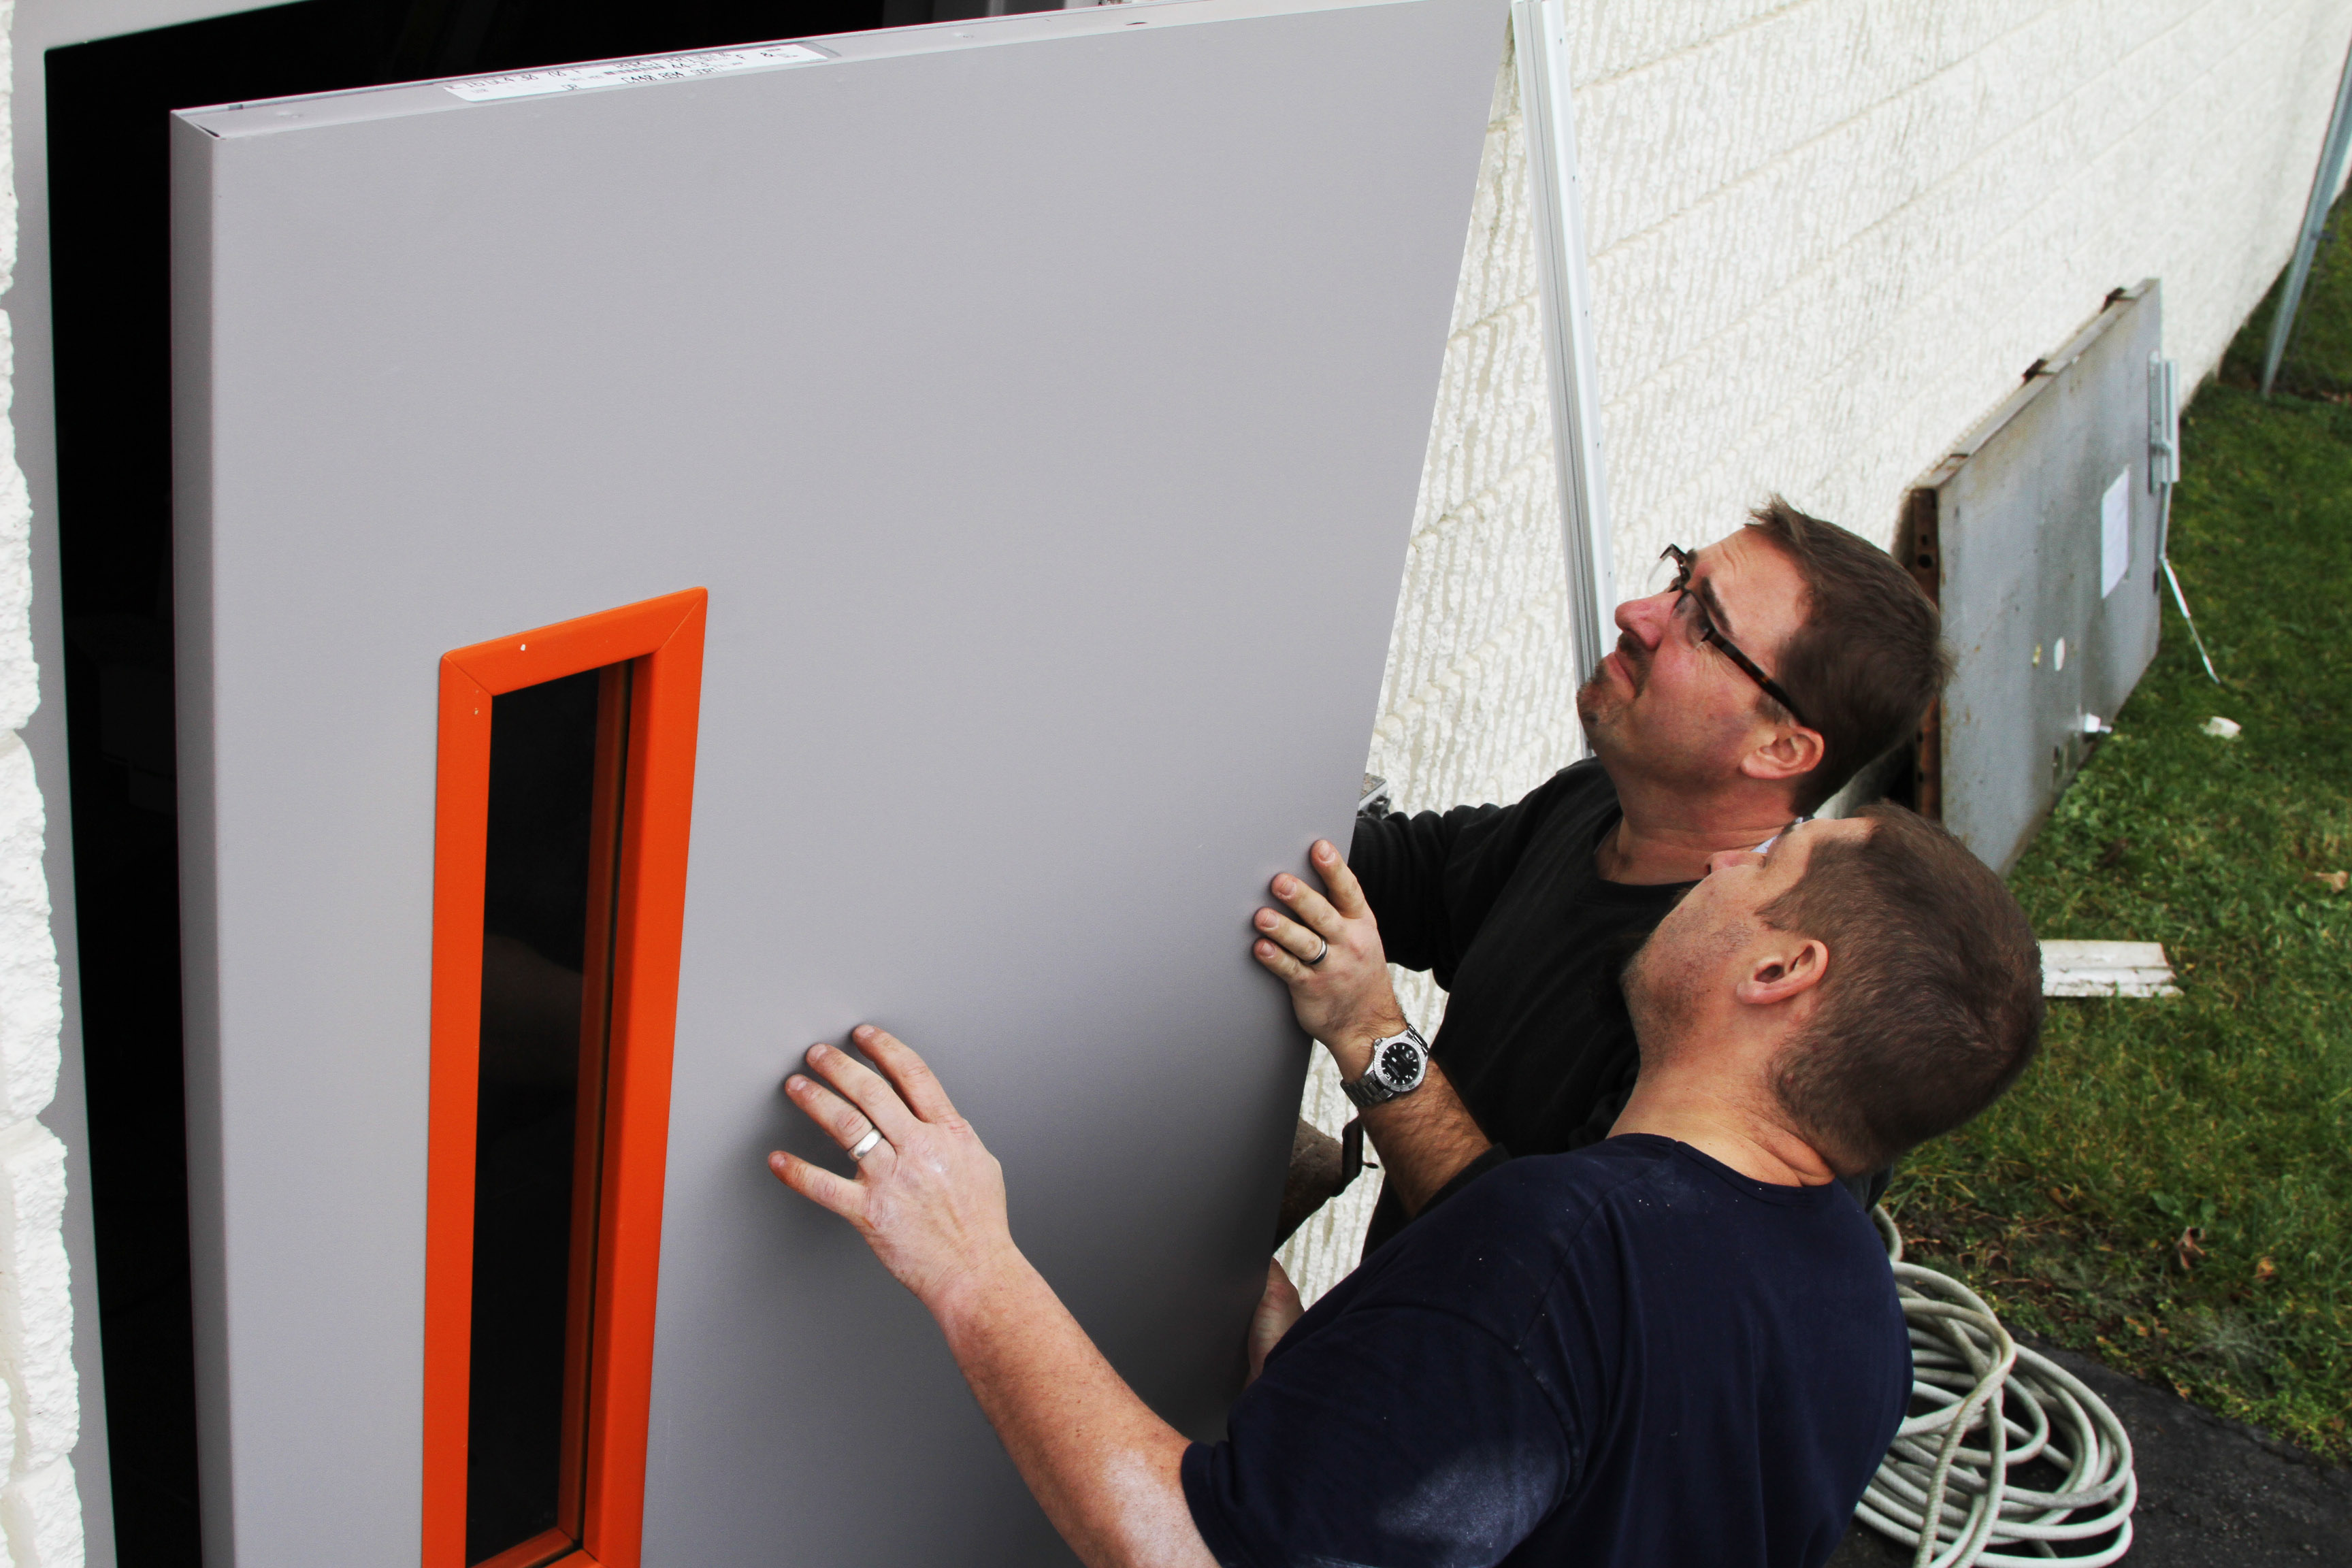 This is going faster than I thought! It’s already time for the new exit door!
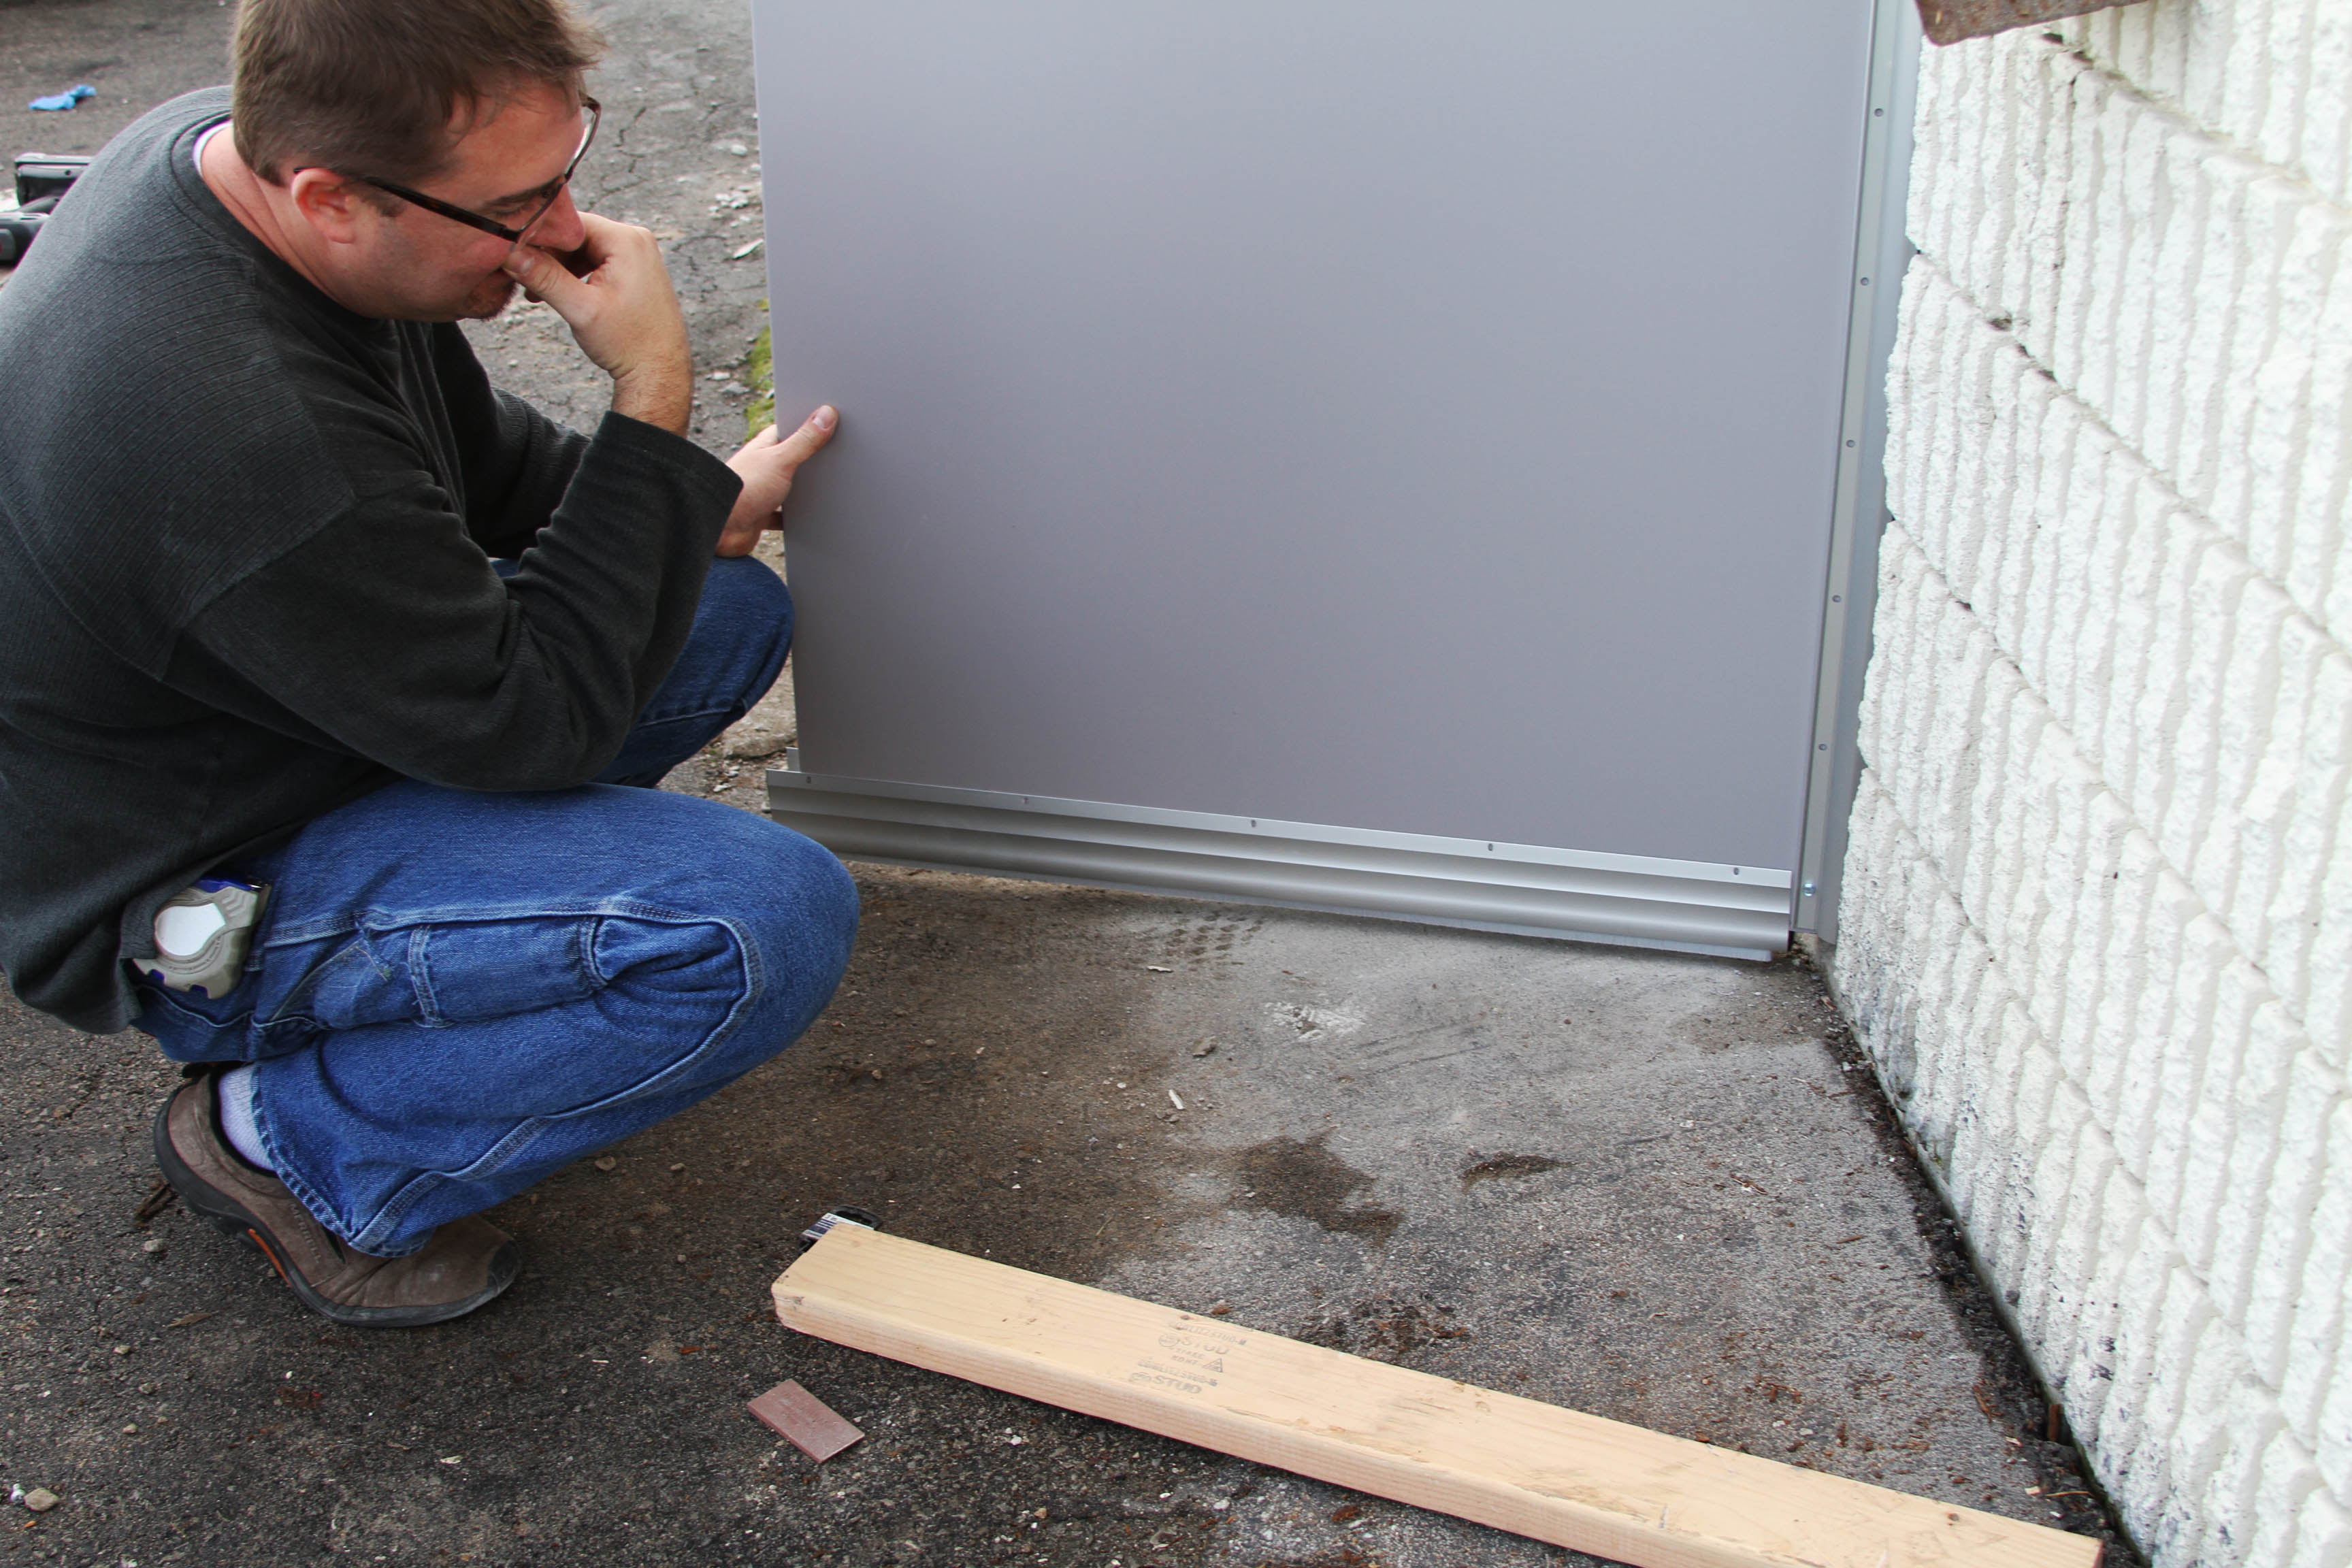 Typically immediately after installation of the new exit door you’d install your door sweep. These are crucial to keep out unwanted pests as well as reduce weather elements from entering through the exit door. In this case however, we went back to the drawing board because someone measured wrong.
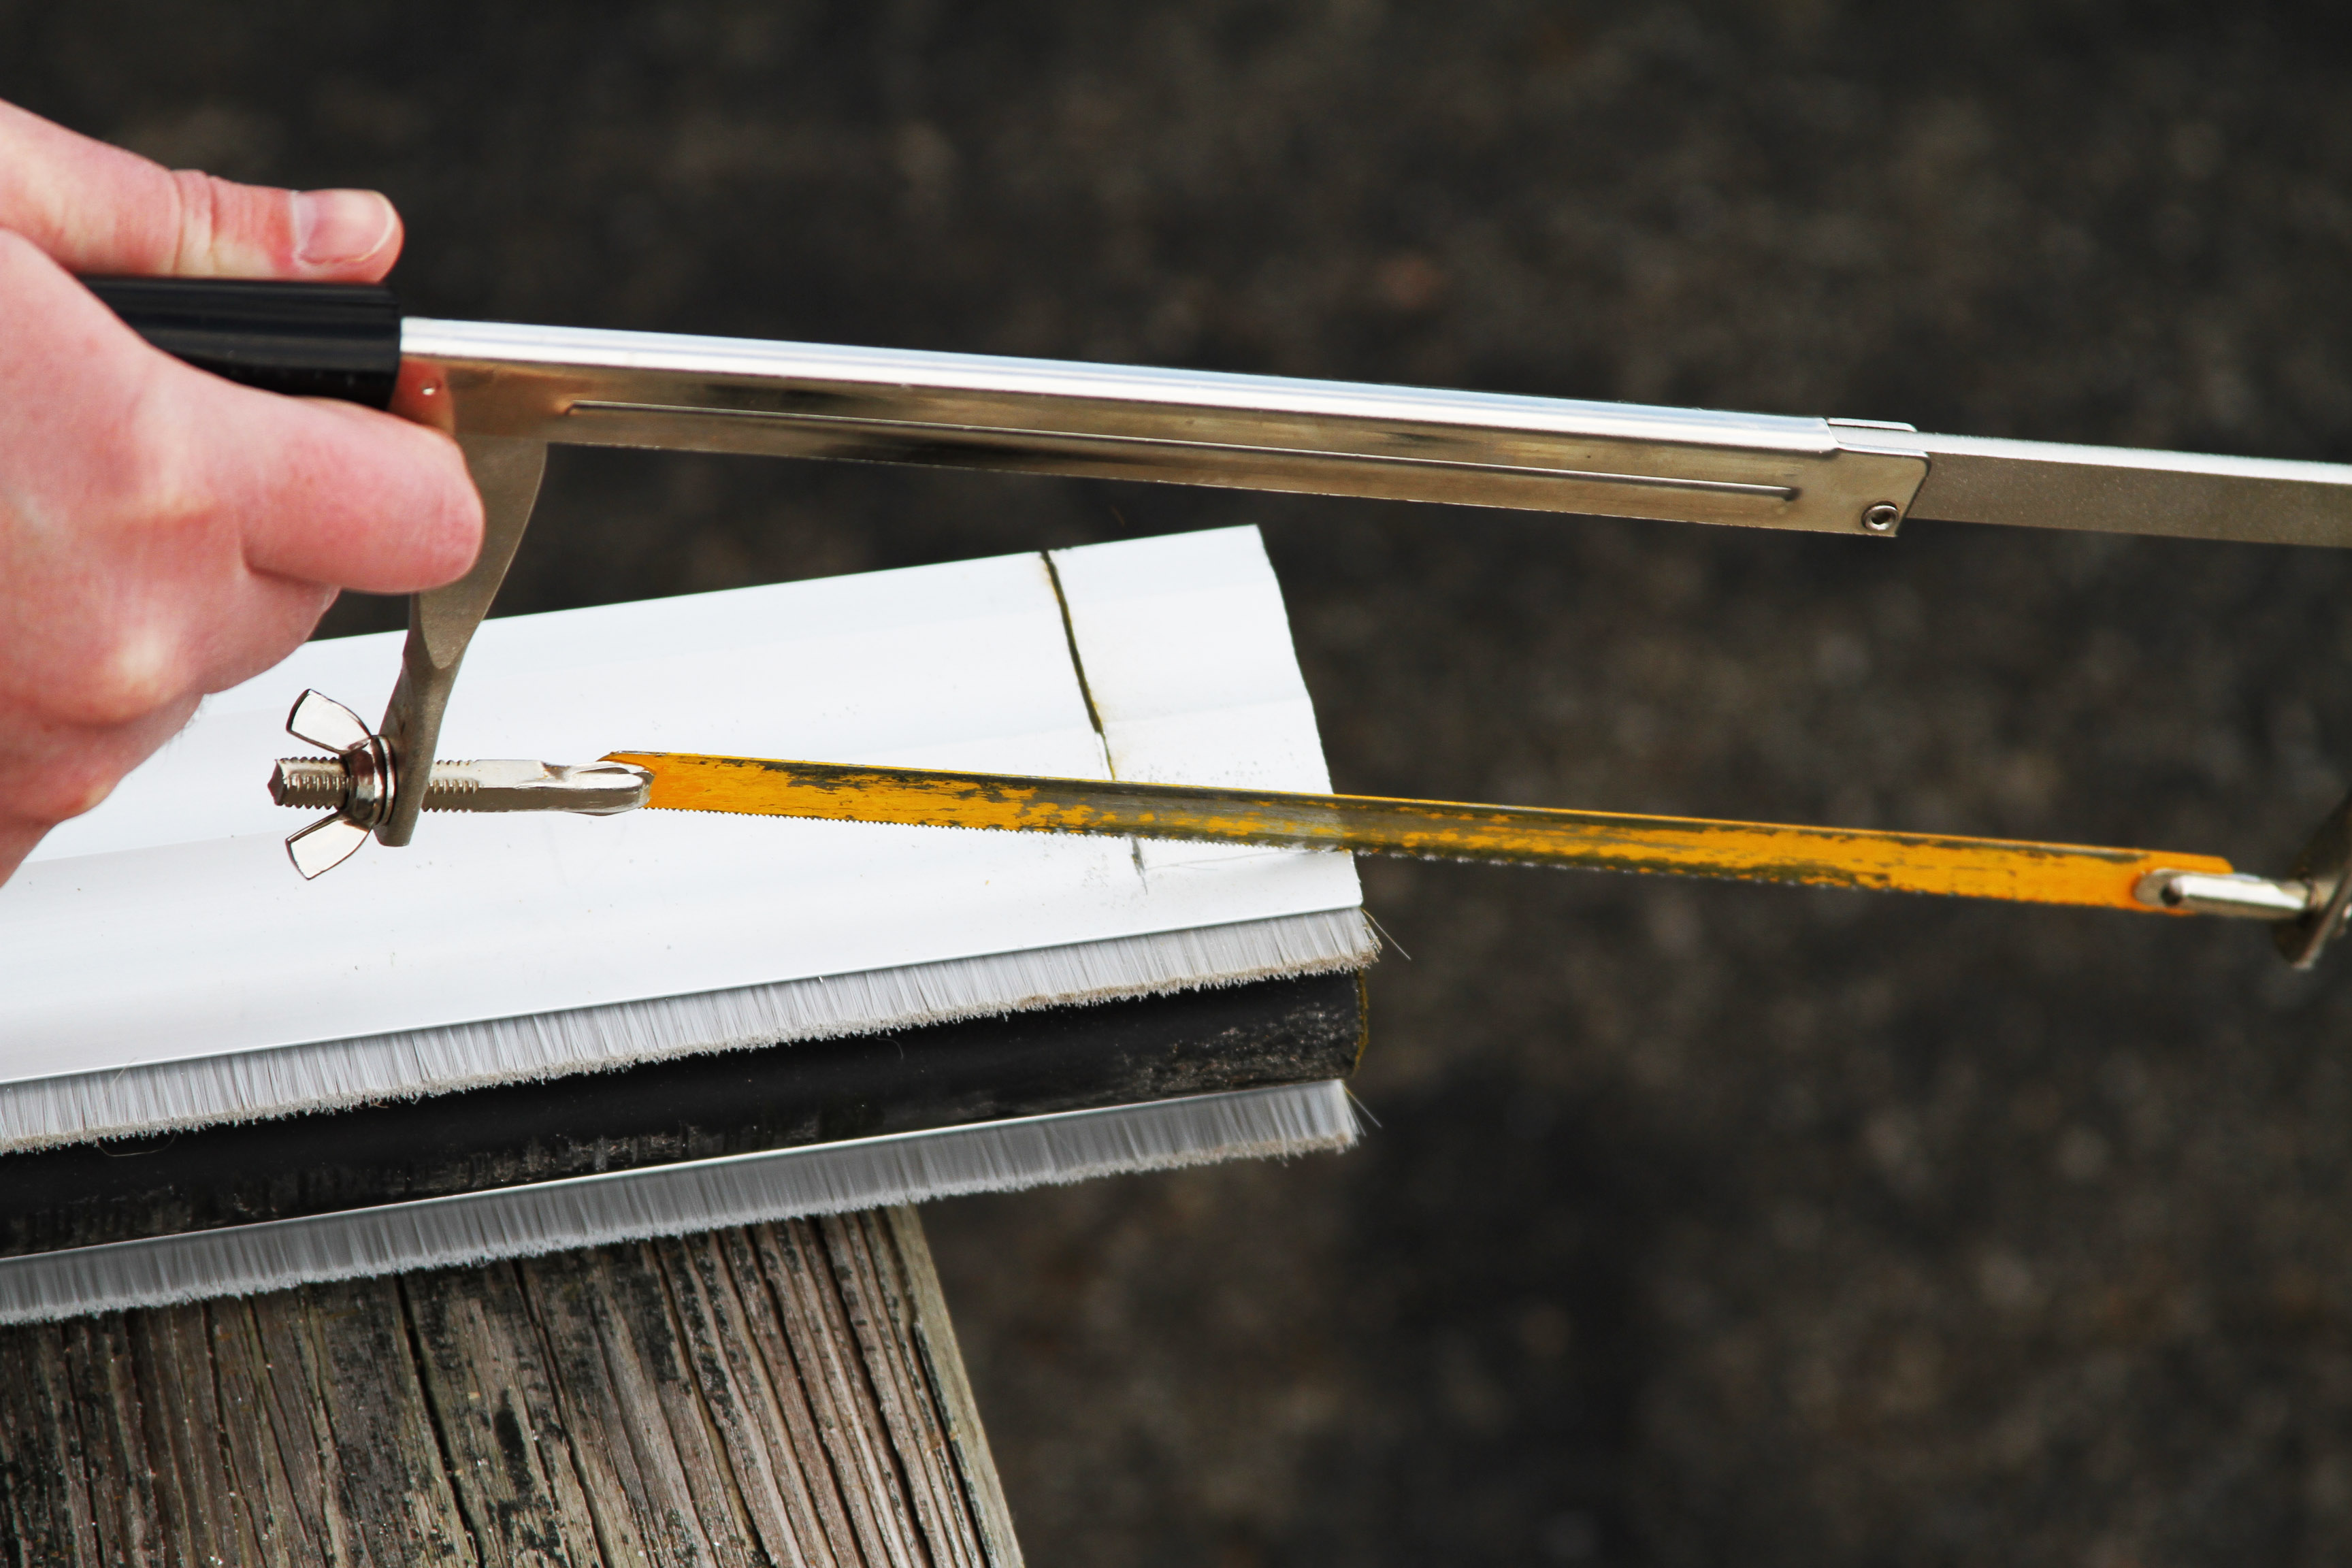 Thank goodness this is easily fixed with some improvised on-site sizing.
 No third try needed this time… the second time is a charm.
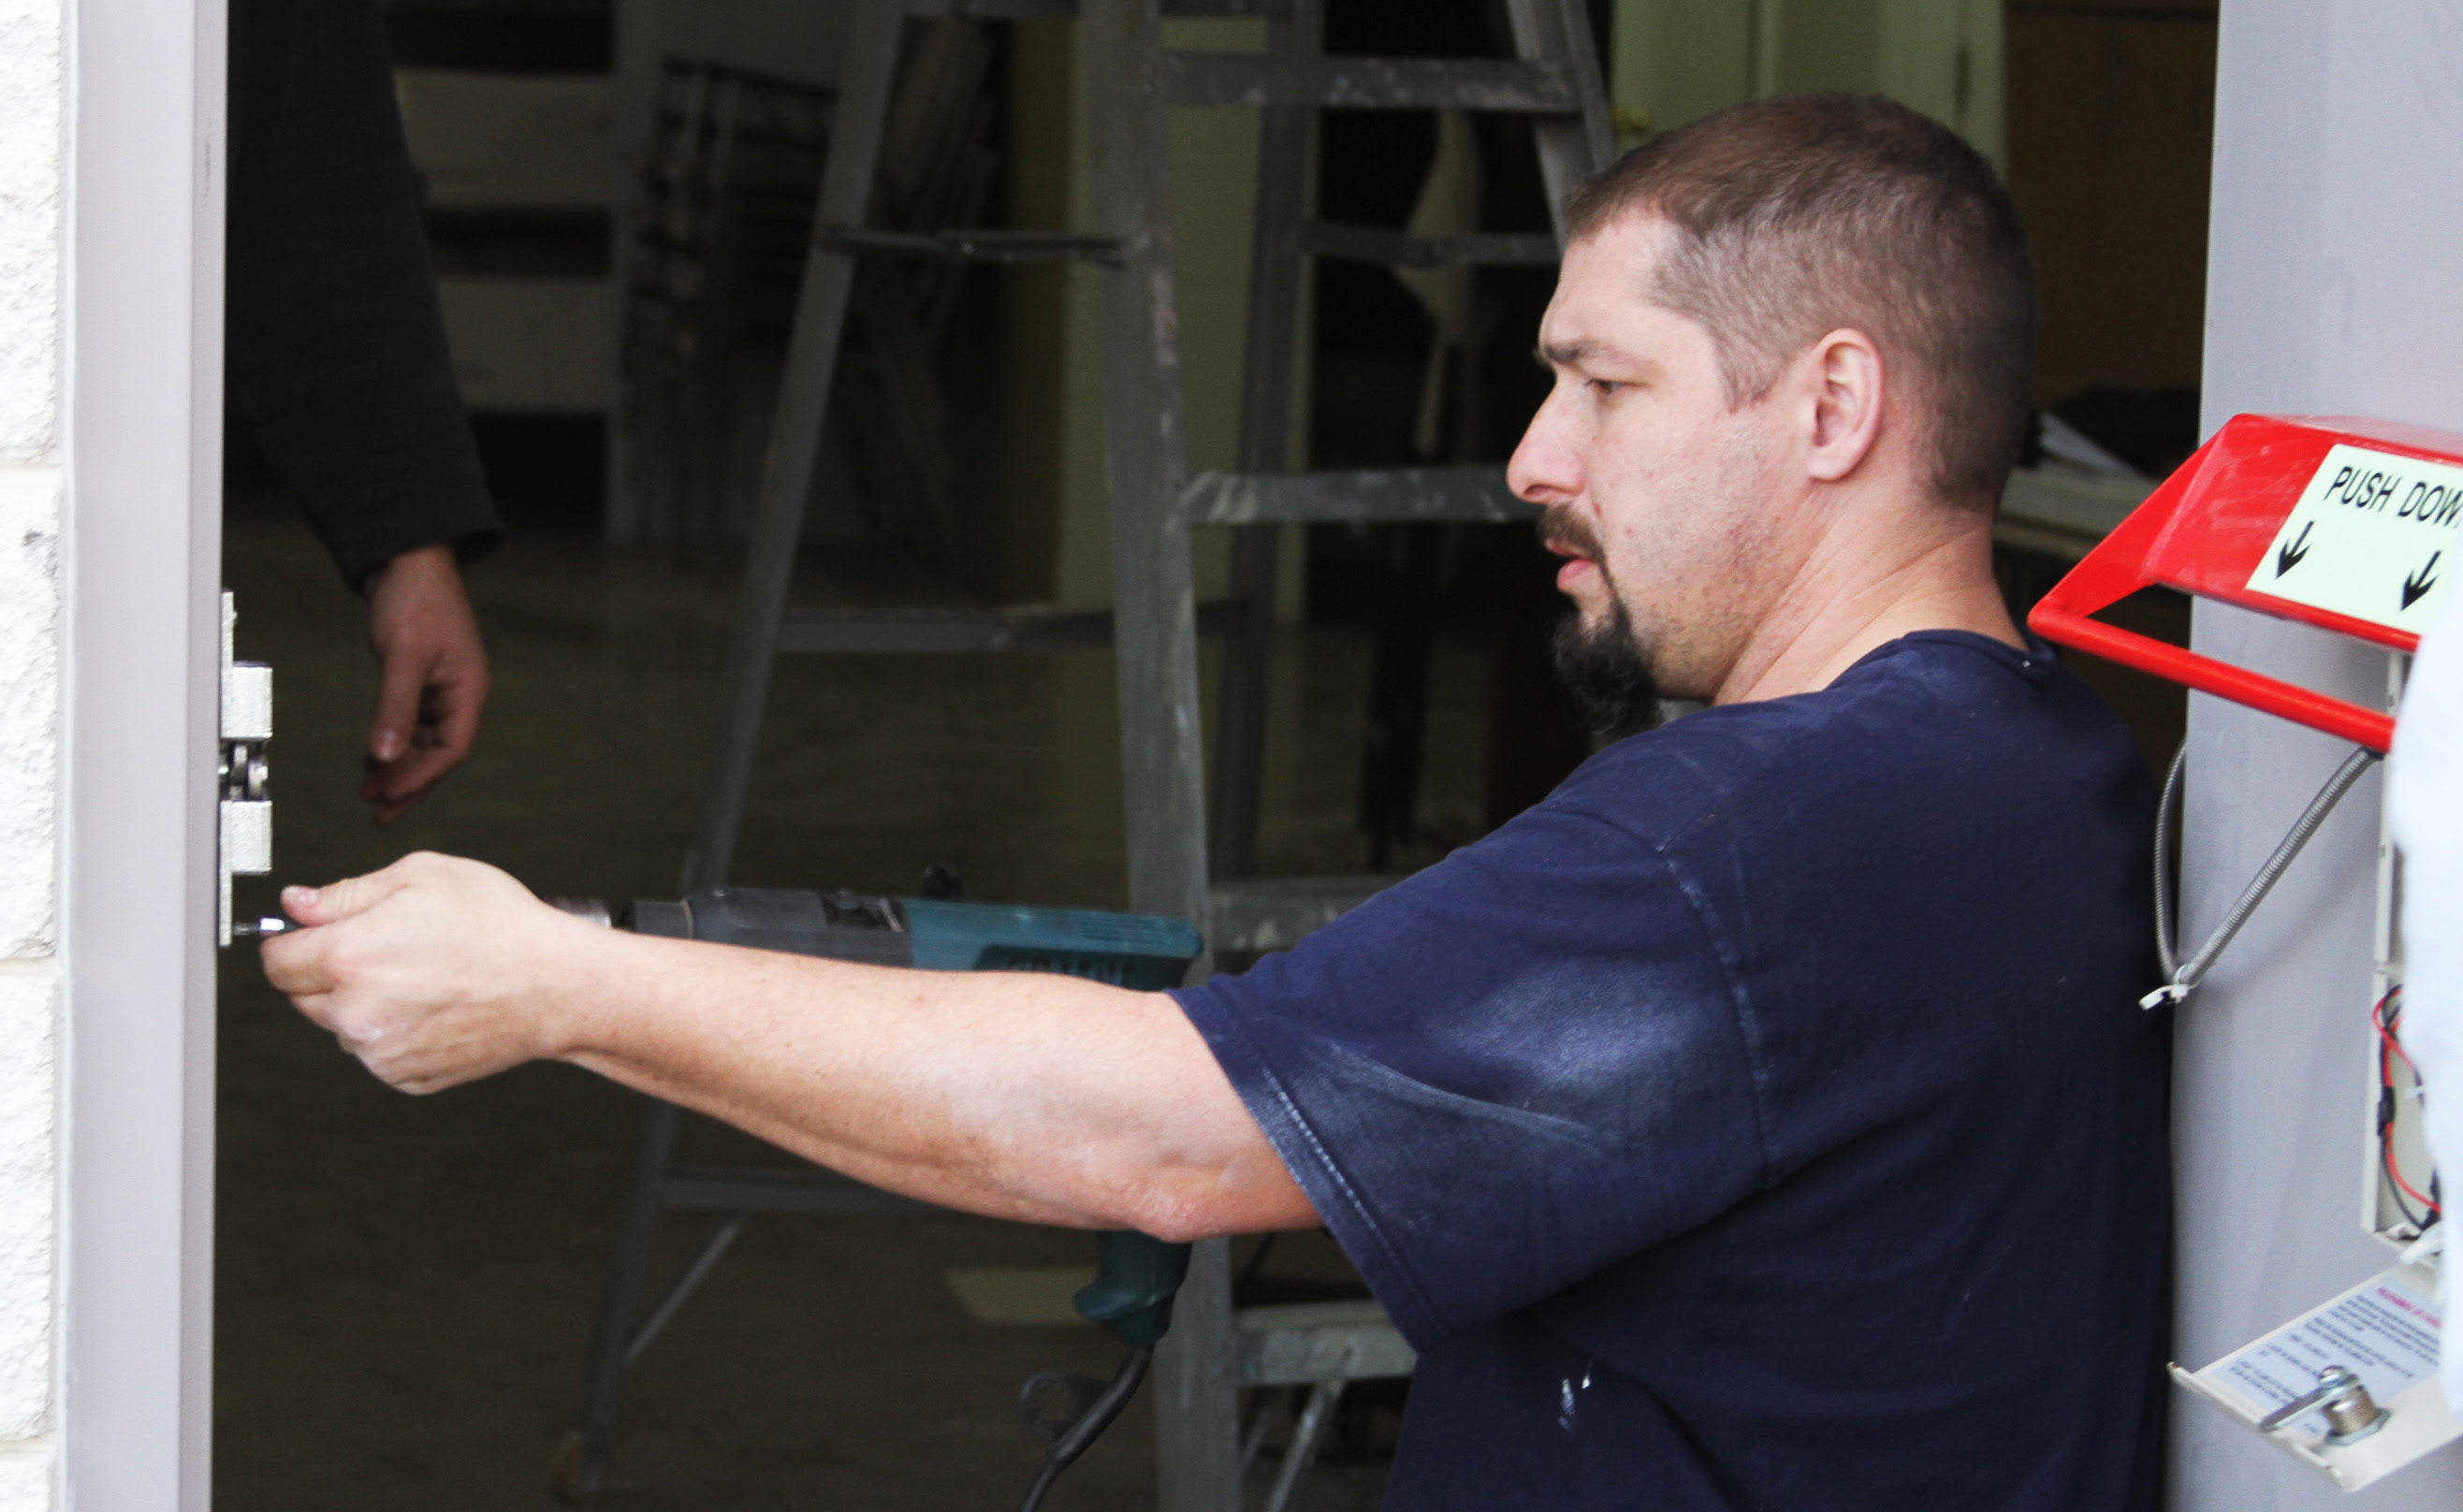
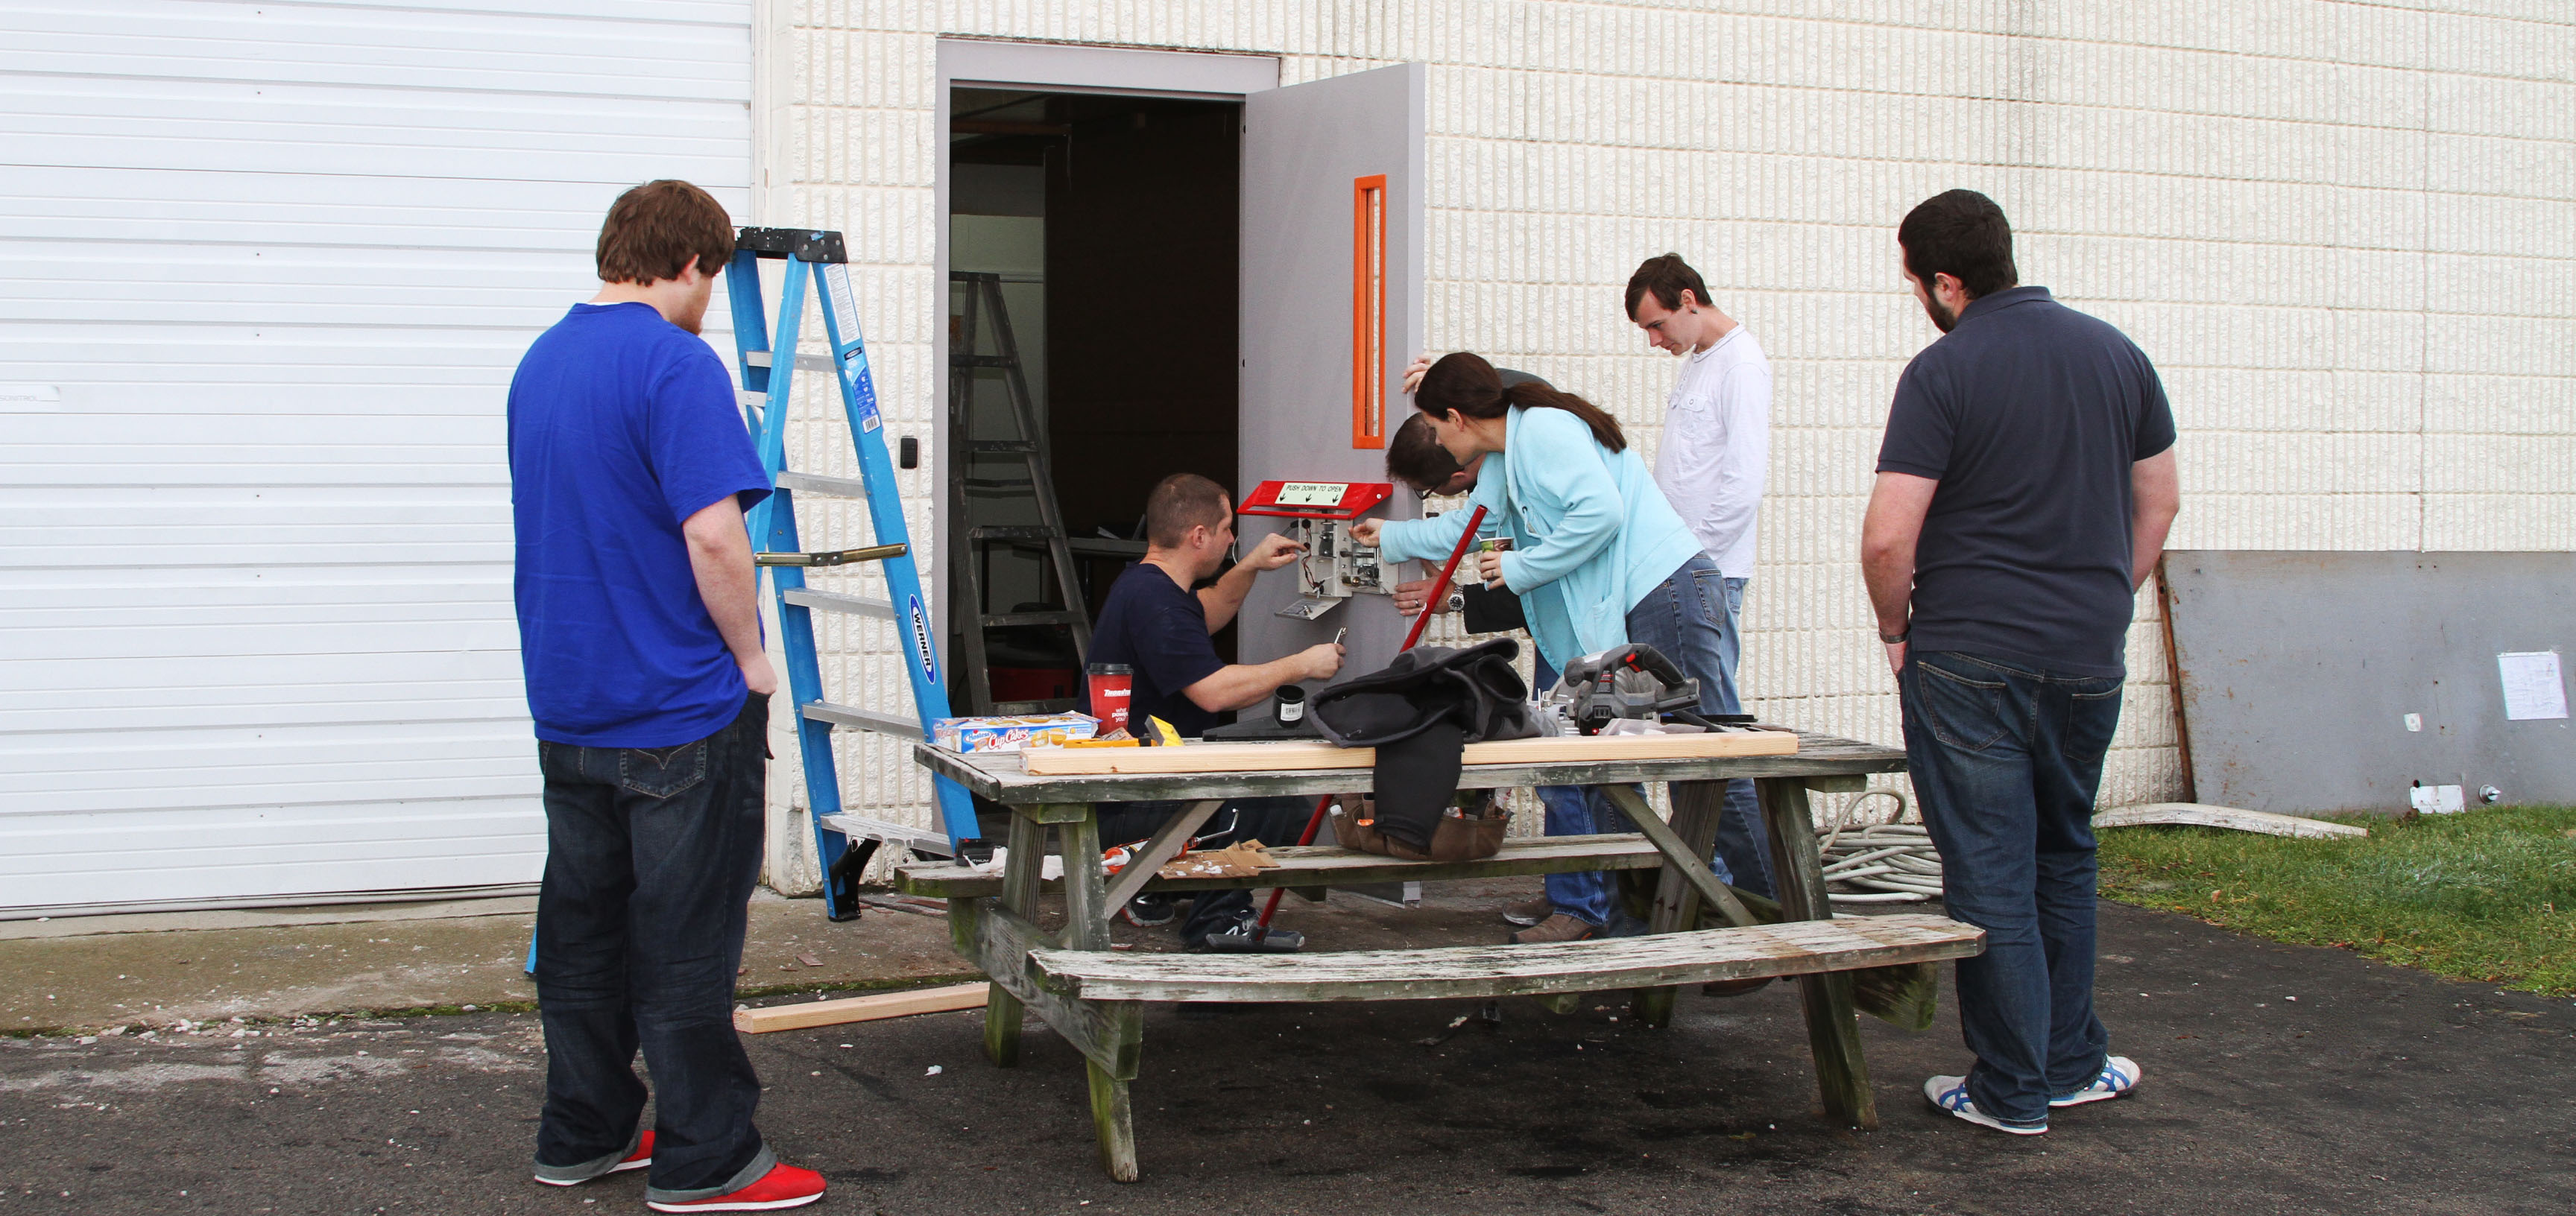 Remember I mentioned we would use the LockNet Security Door with the Sur-Lock Exit Device? Well, it’s time for said exit device to be installed and we never miss a training opportunity. Technical Service Representatives were rotated out of the call center to observe the installation, ask questions, and assist in the process.
 We receive dozens of phone calls everyday inquiring about installation of a new Sur-Lock, service for an existing one, or provide phone support – usually a battery replacement. After all those phone calls, it’s nice to see the installation in person.
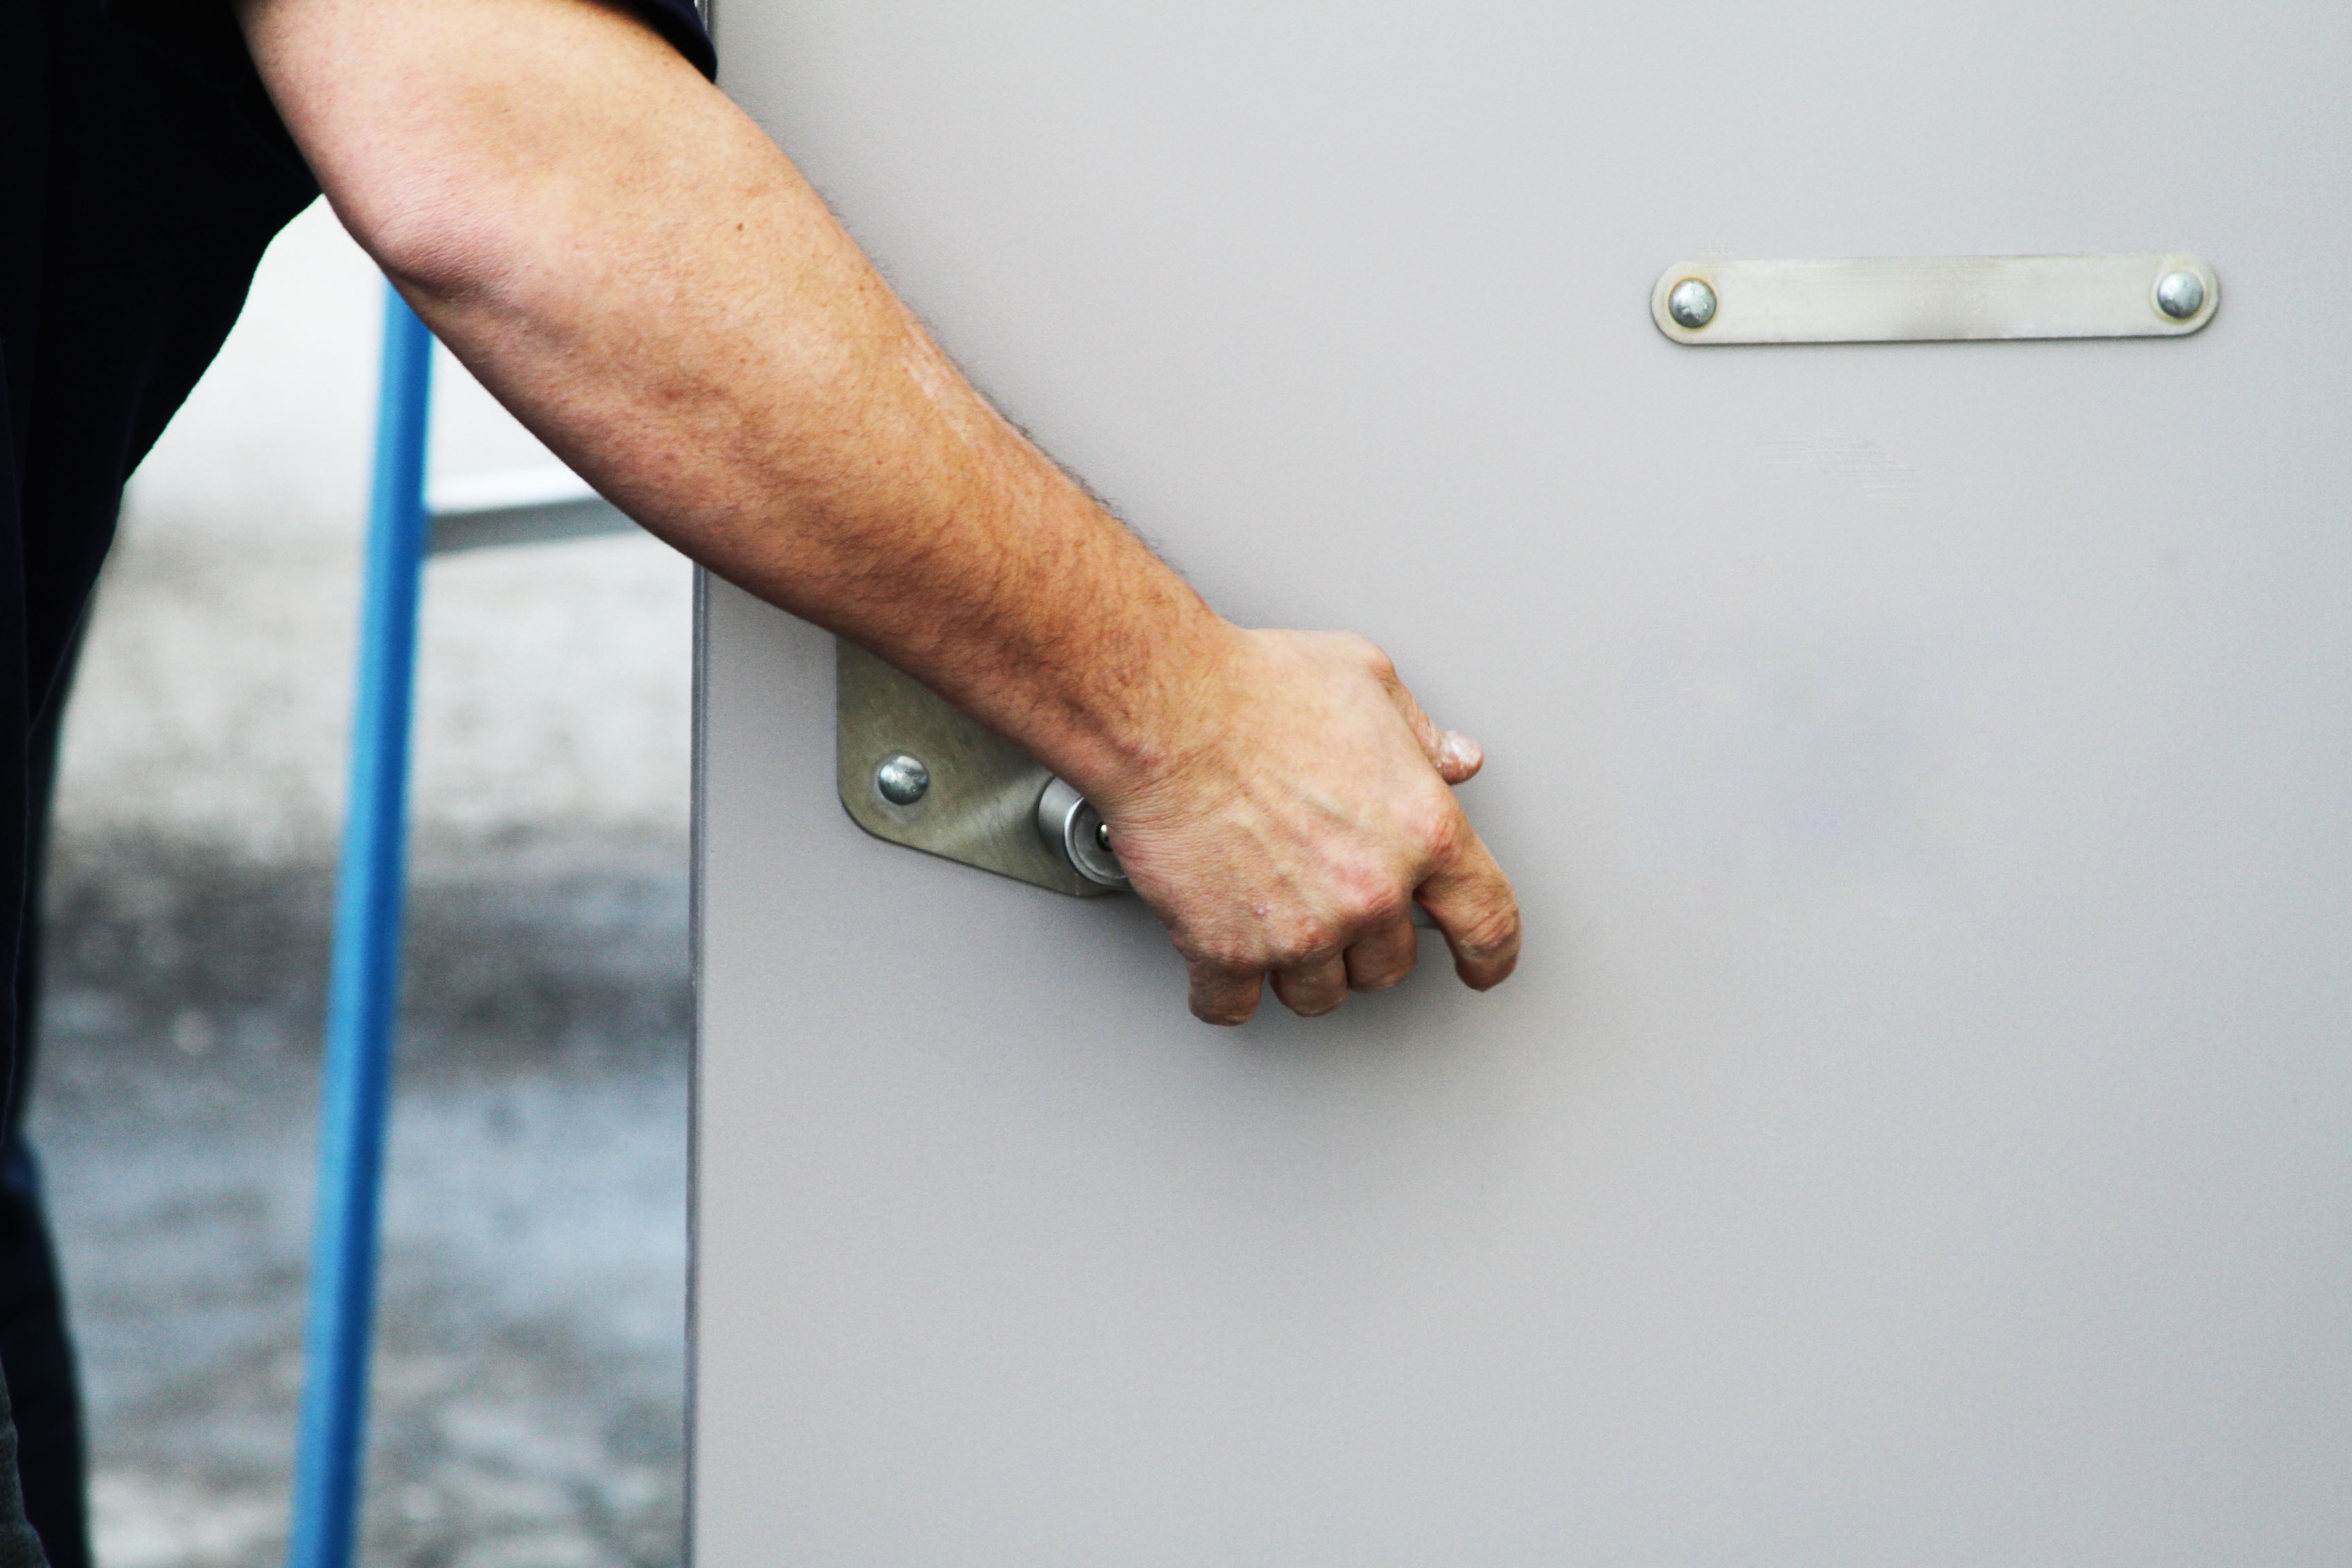
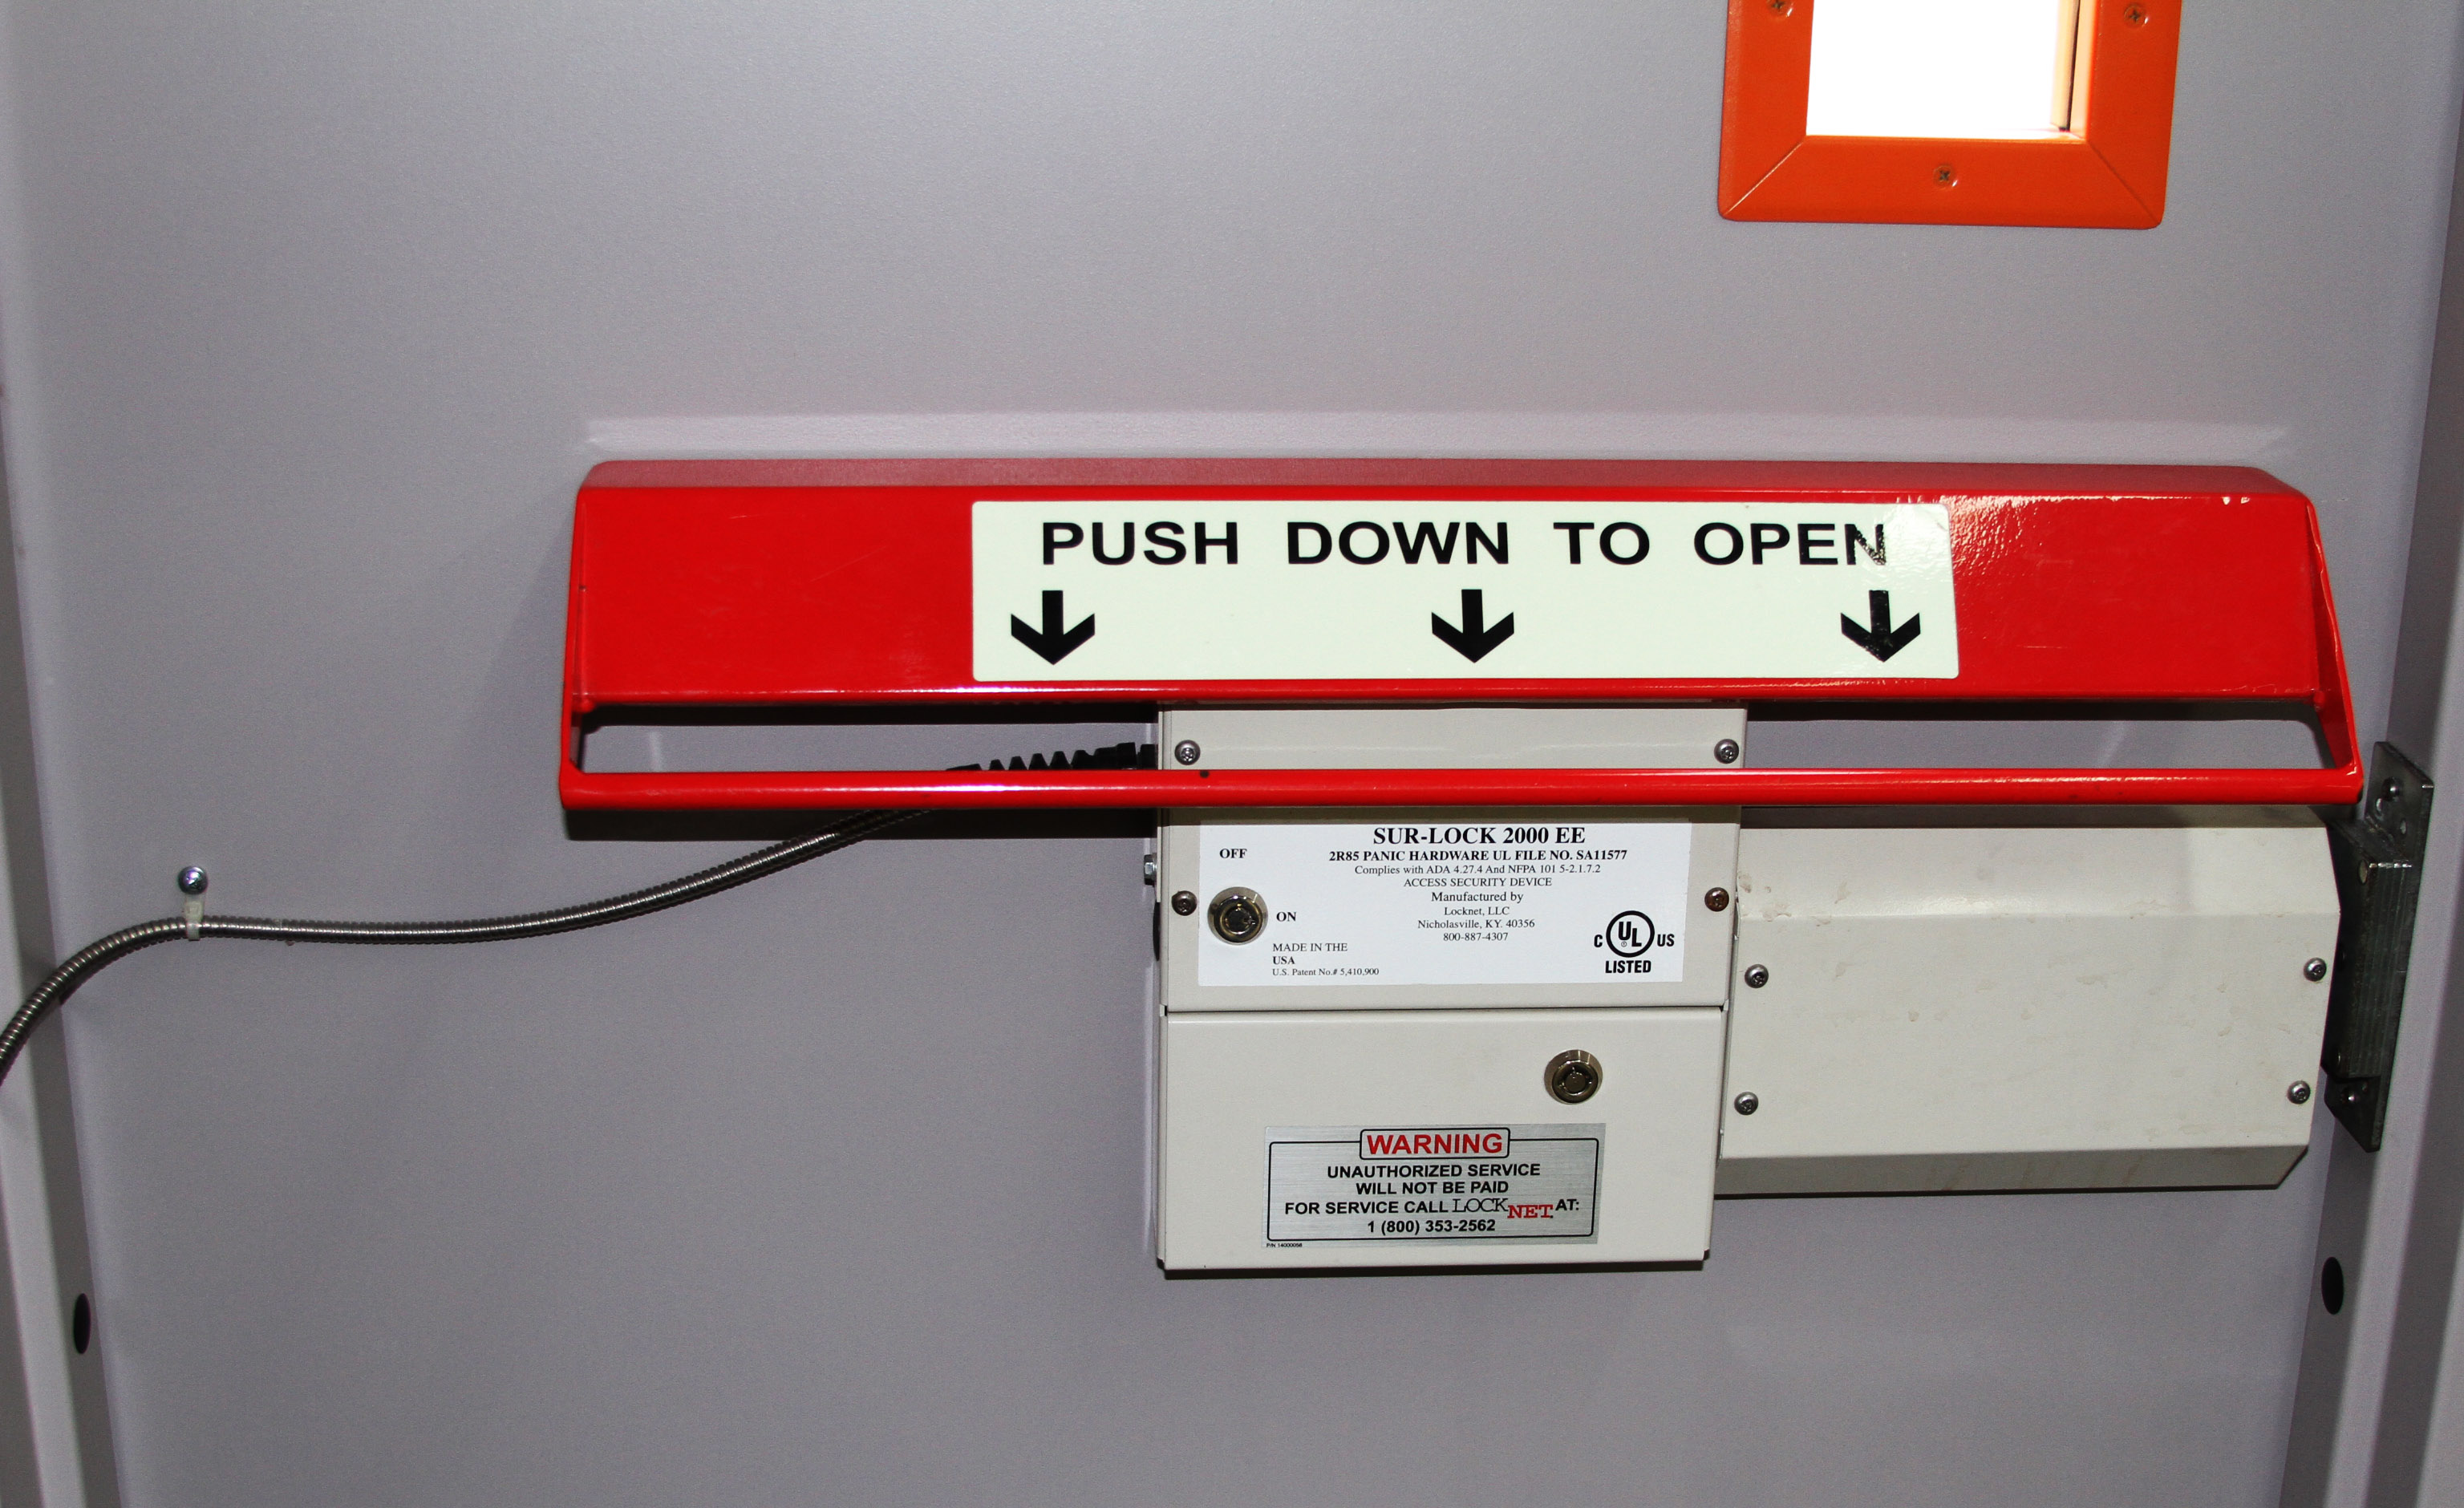
Following the exit device, the lever is installed and tested to ensure functionality.
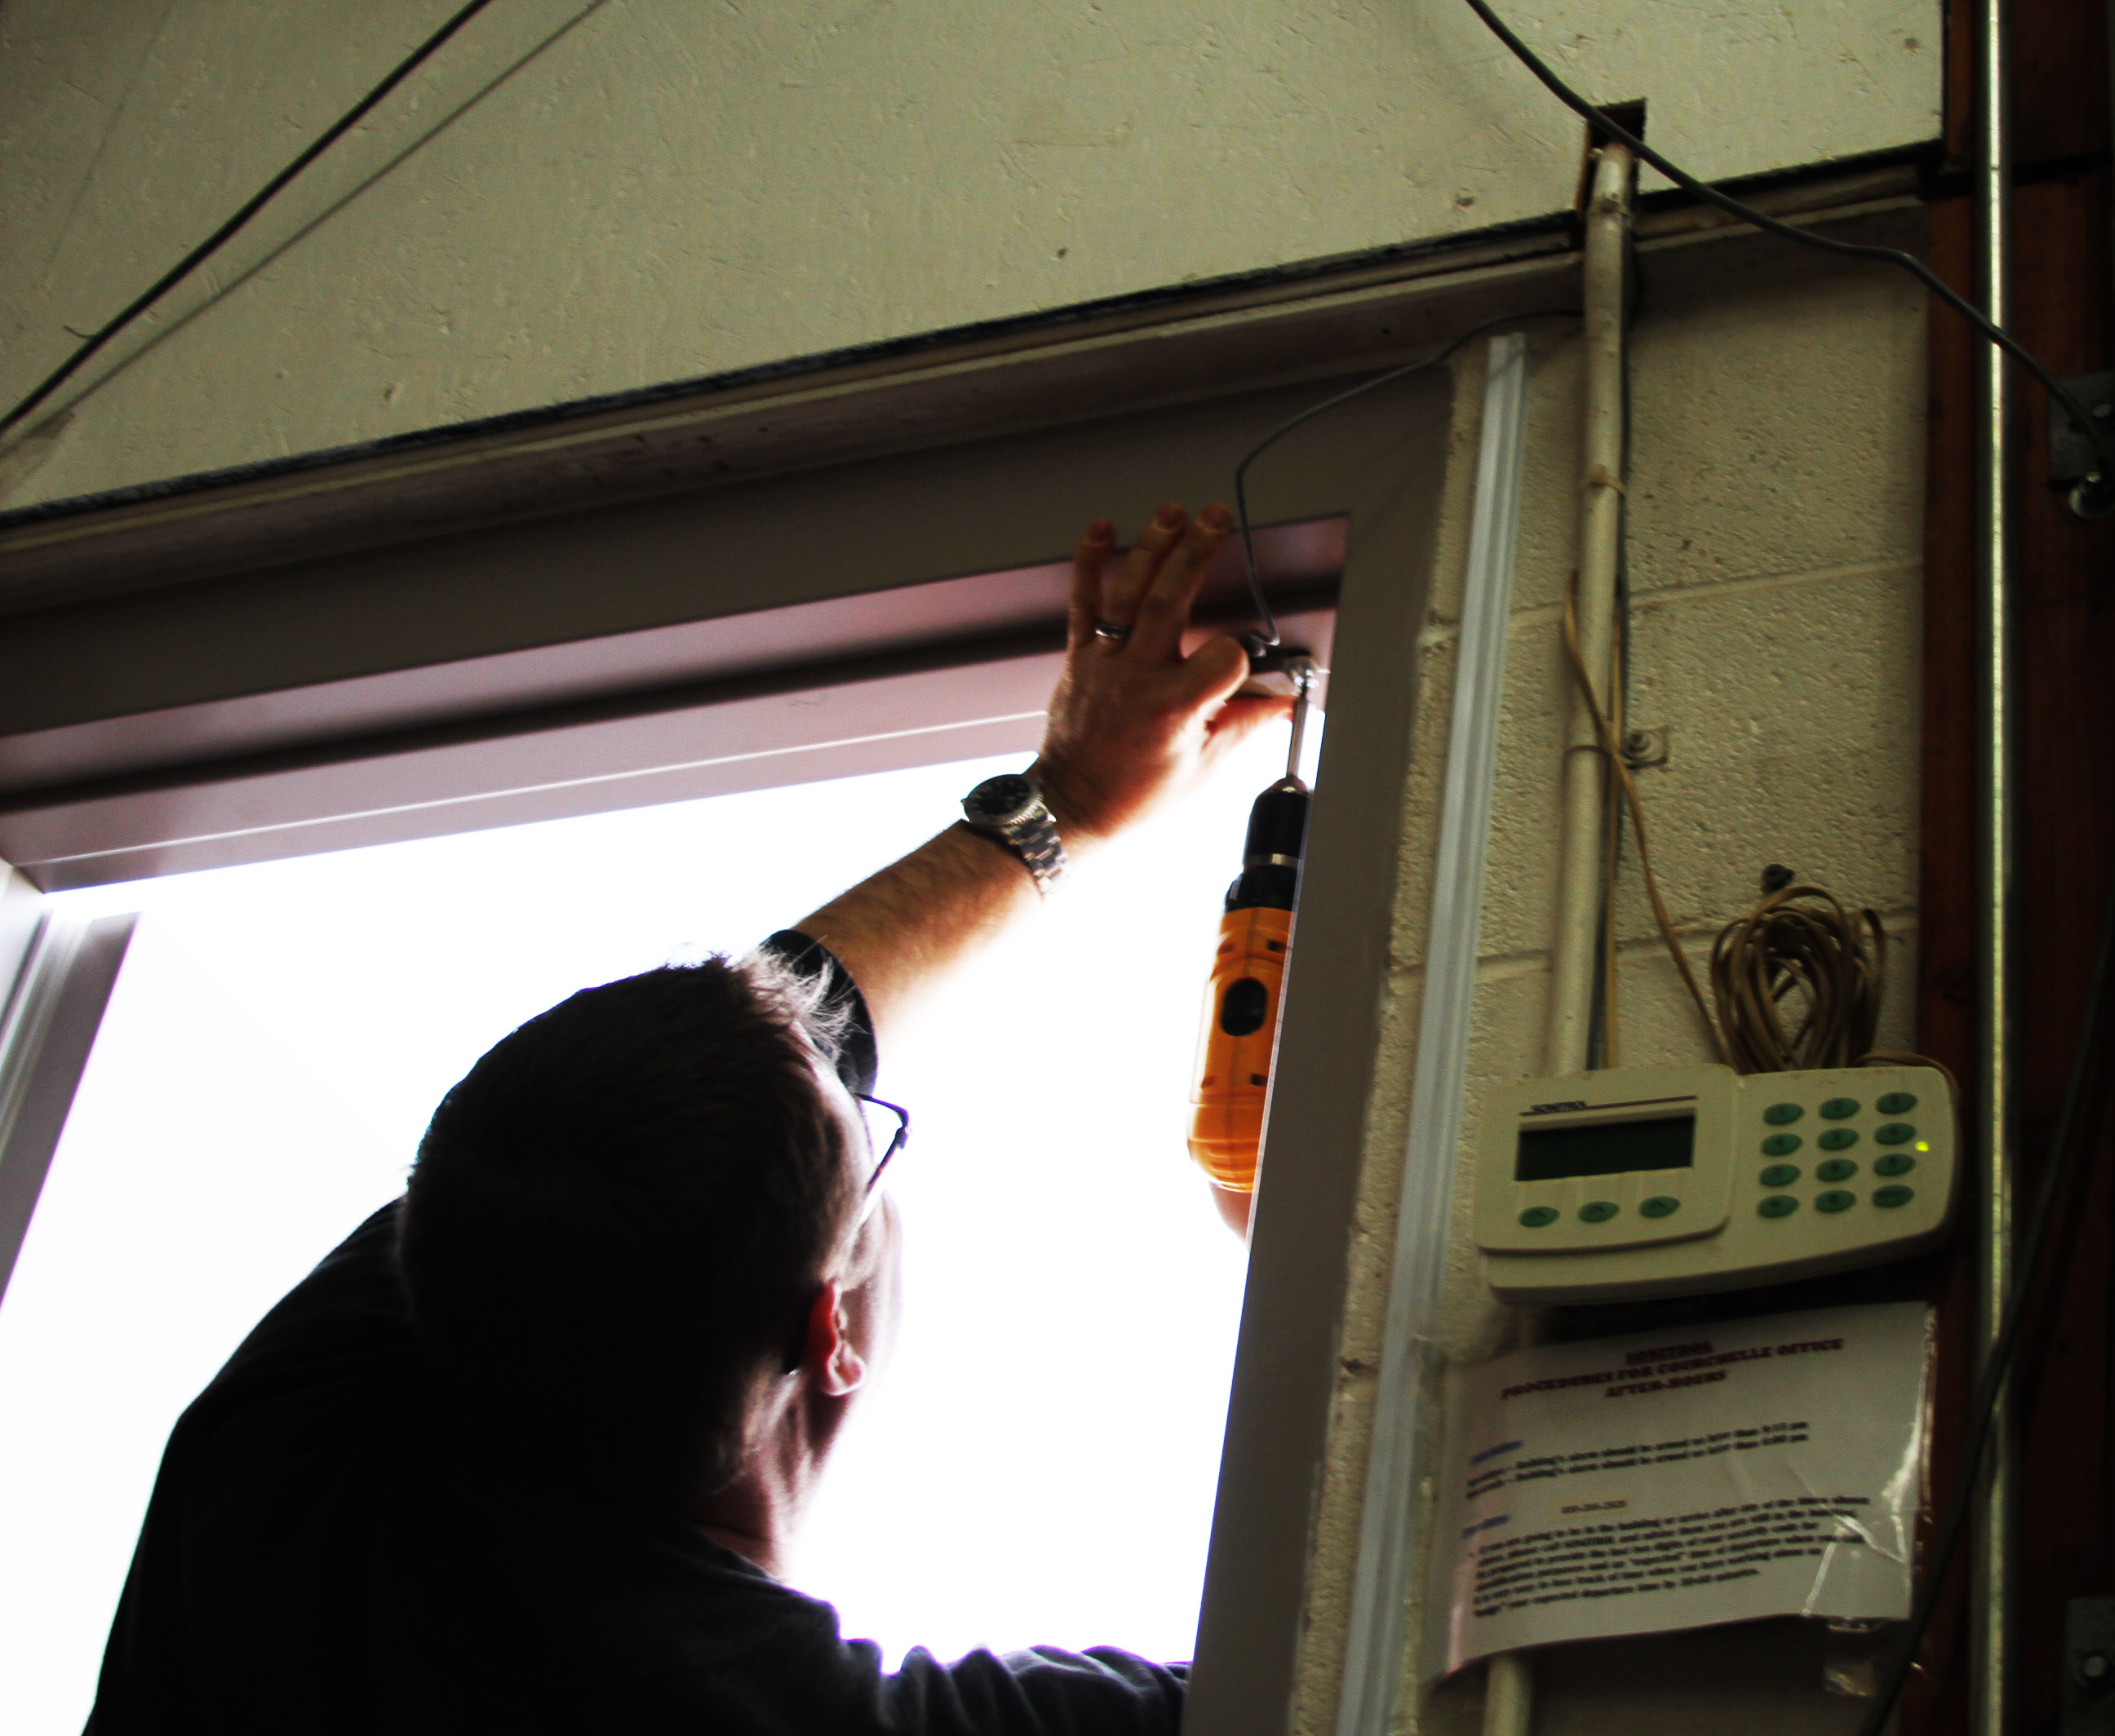 Is this going faster than you expected? We’re already installing the alarm contact!
 And of course the clawed bolt keeper latch that accompanies the Sur-Lock. This is an added security feature of the exit device that ensures positive latching. You can read more about it features and other features of the Sur-Lock on the product information page here.
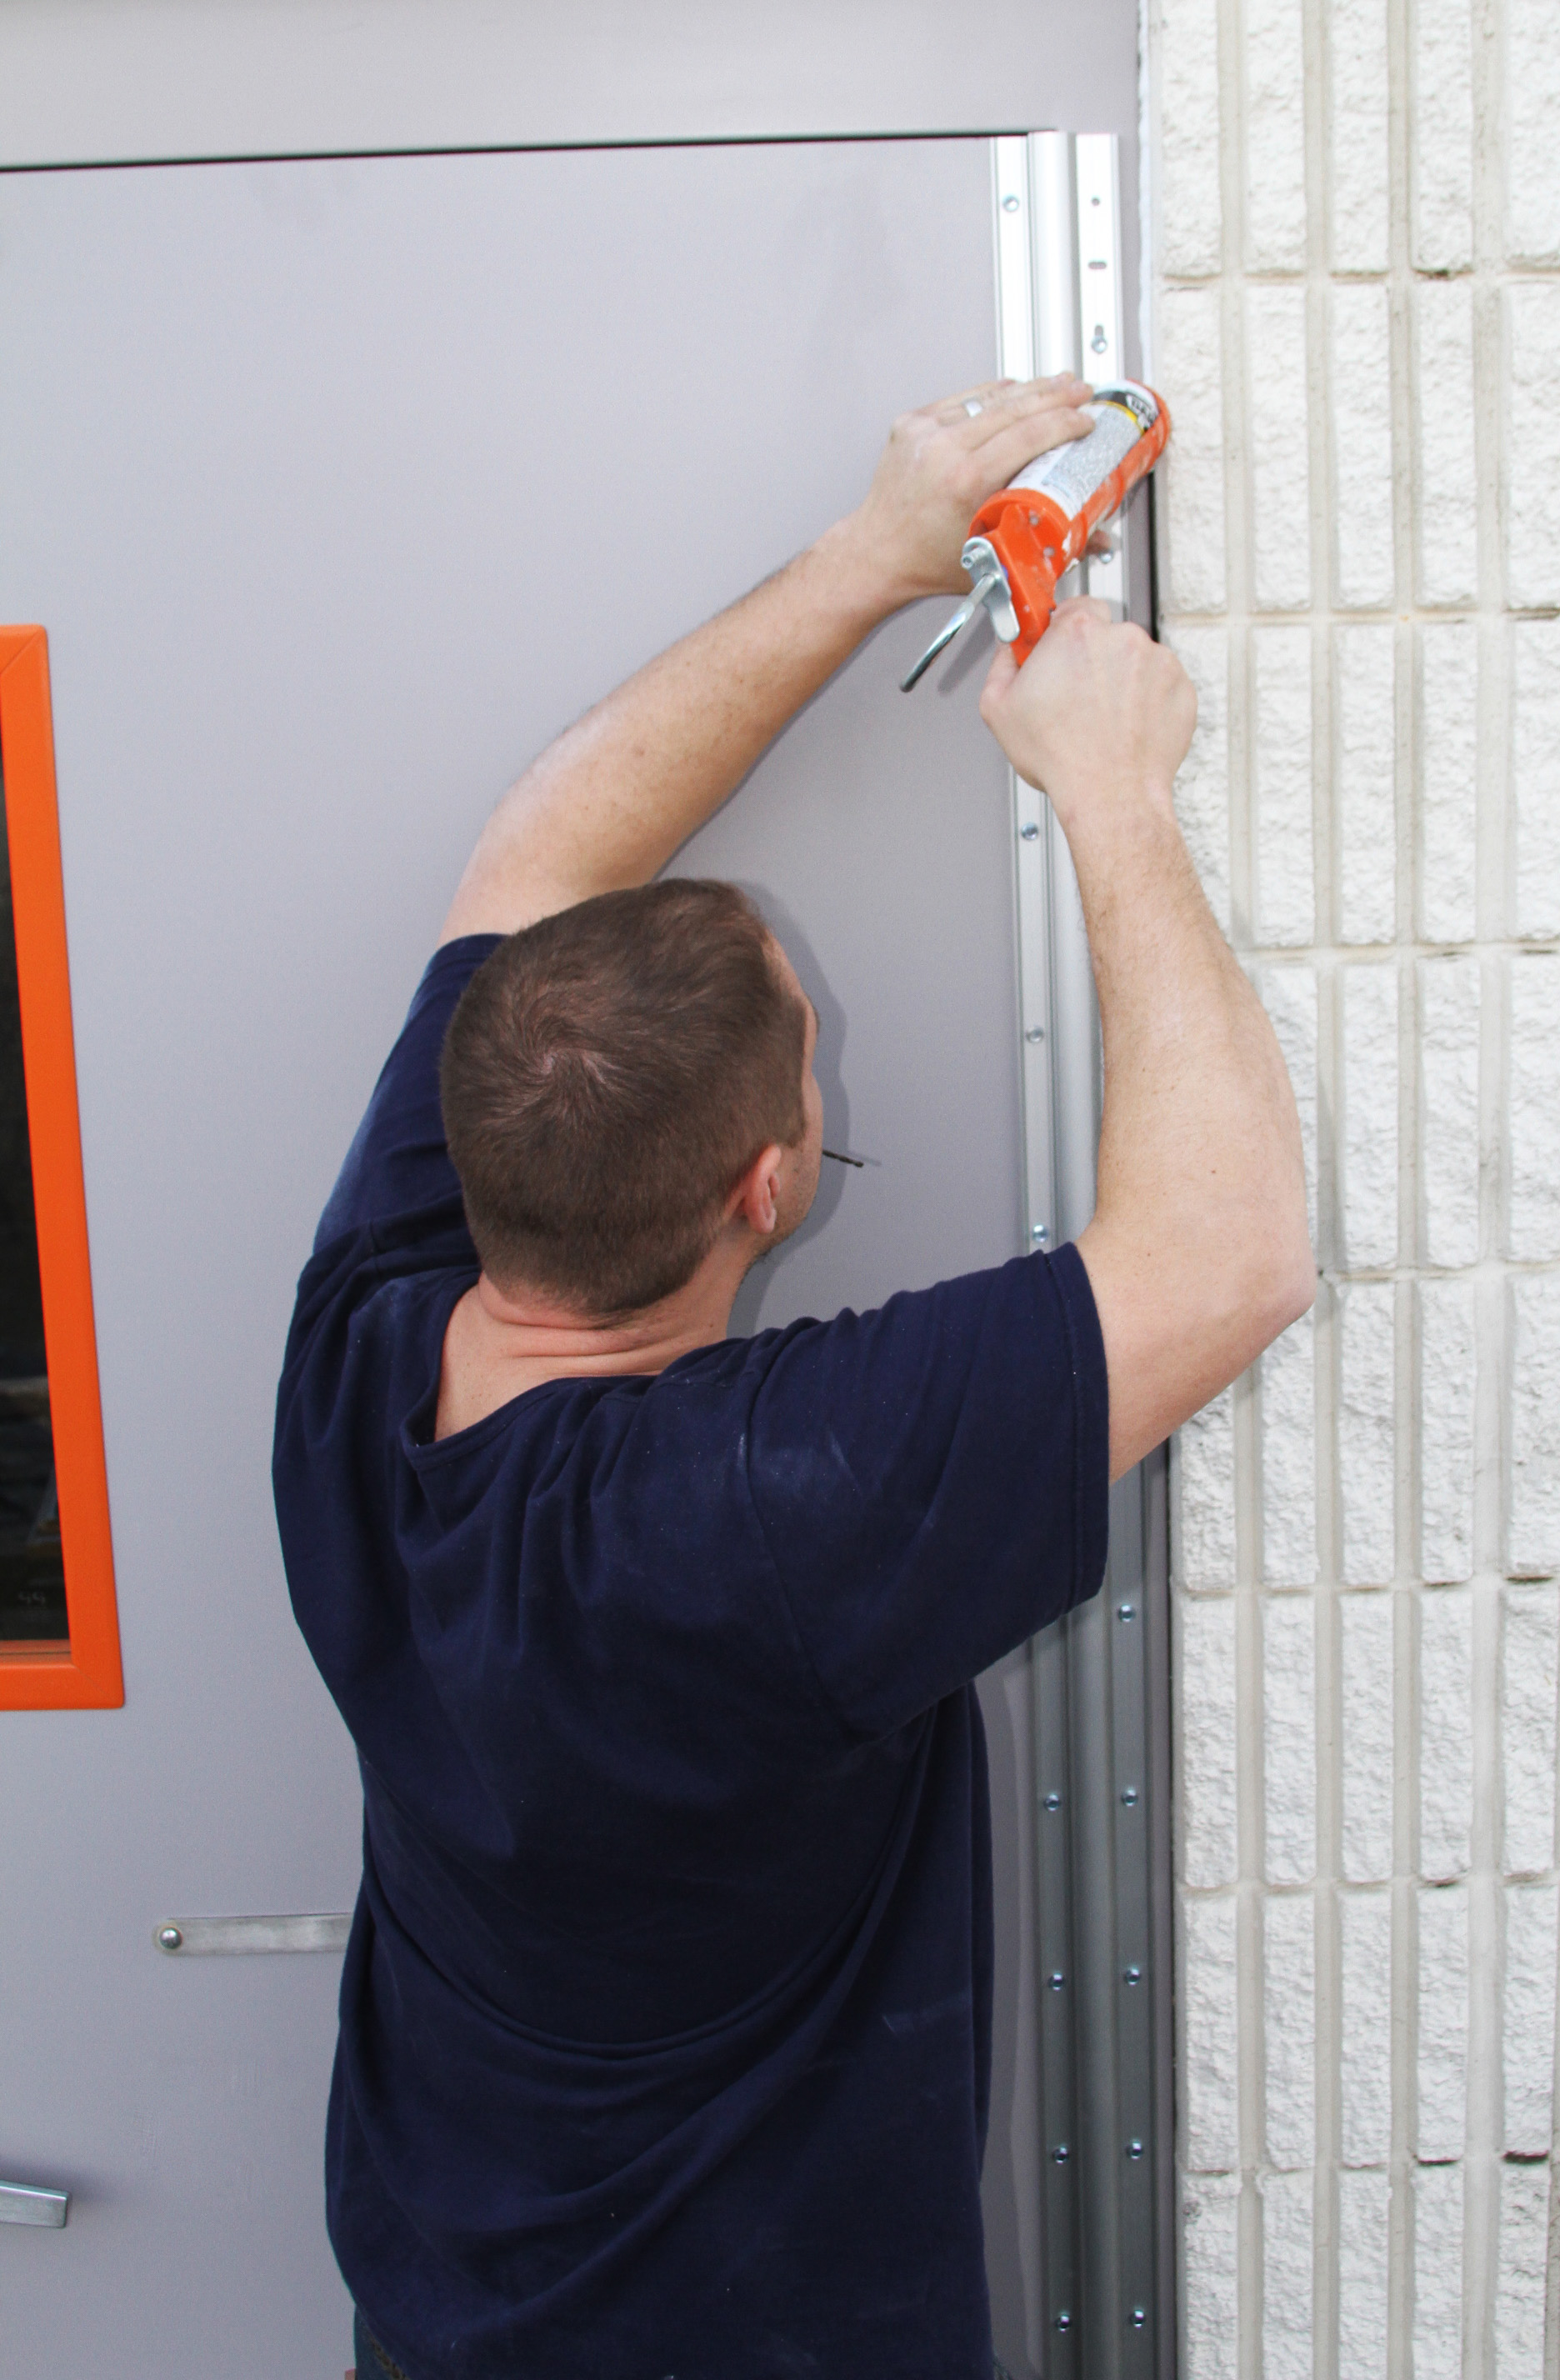
The finish line is in site as the frame is caulked! Caulking the frame seals the exit door to the wall and prevents the amount of moisture that can come in contact. This assists in the long term durability and integrity of the door.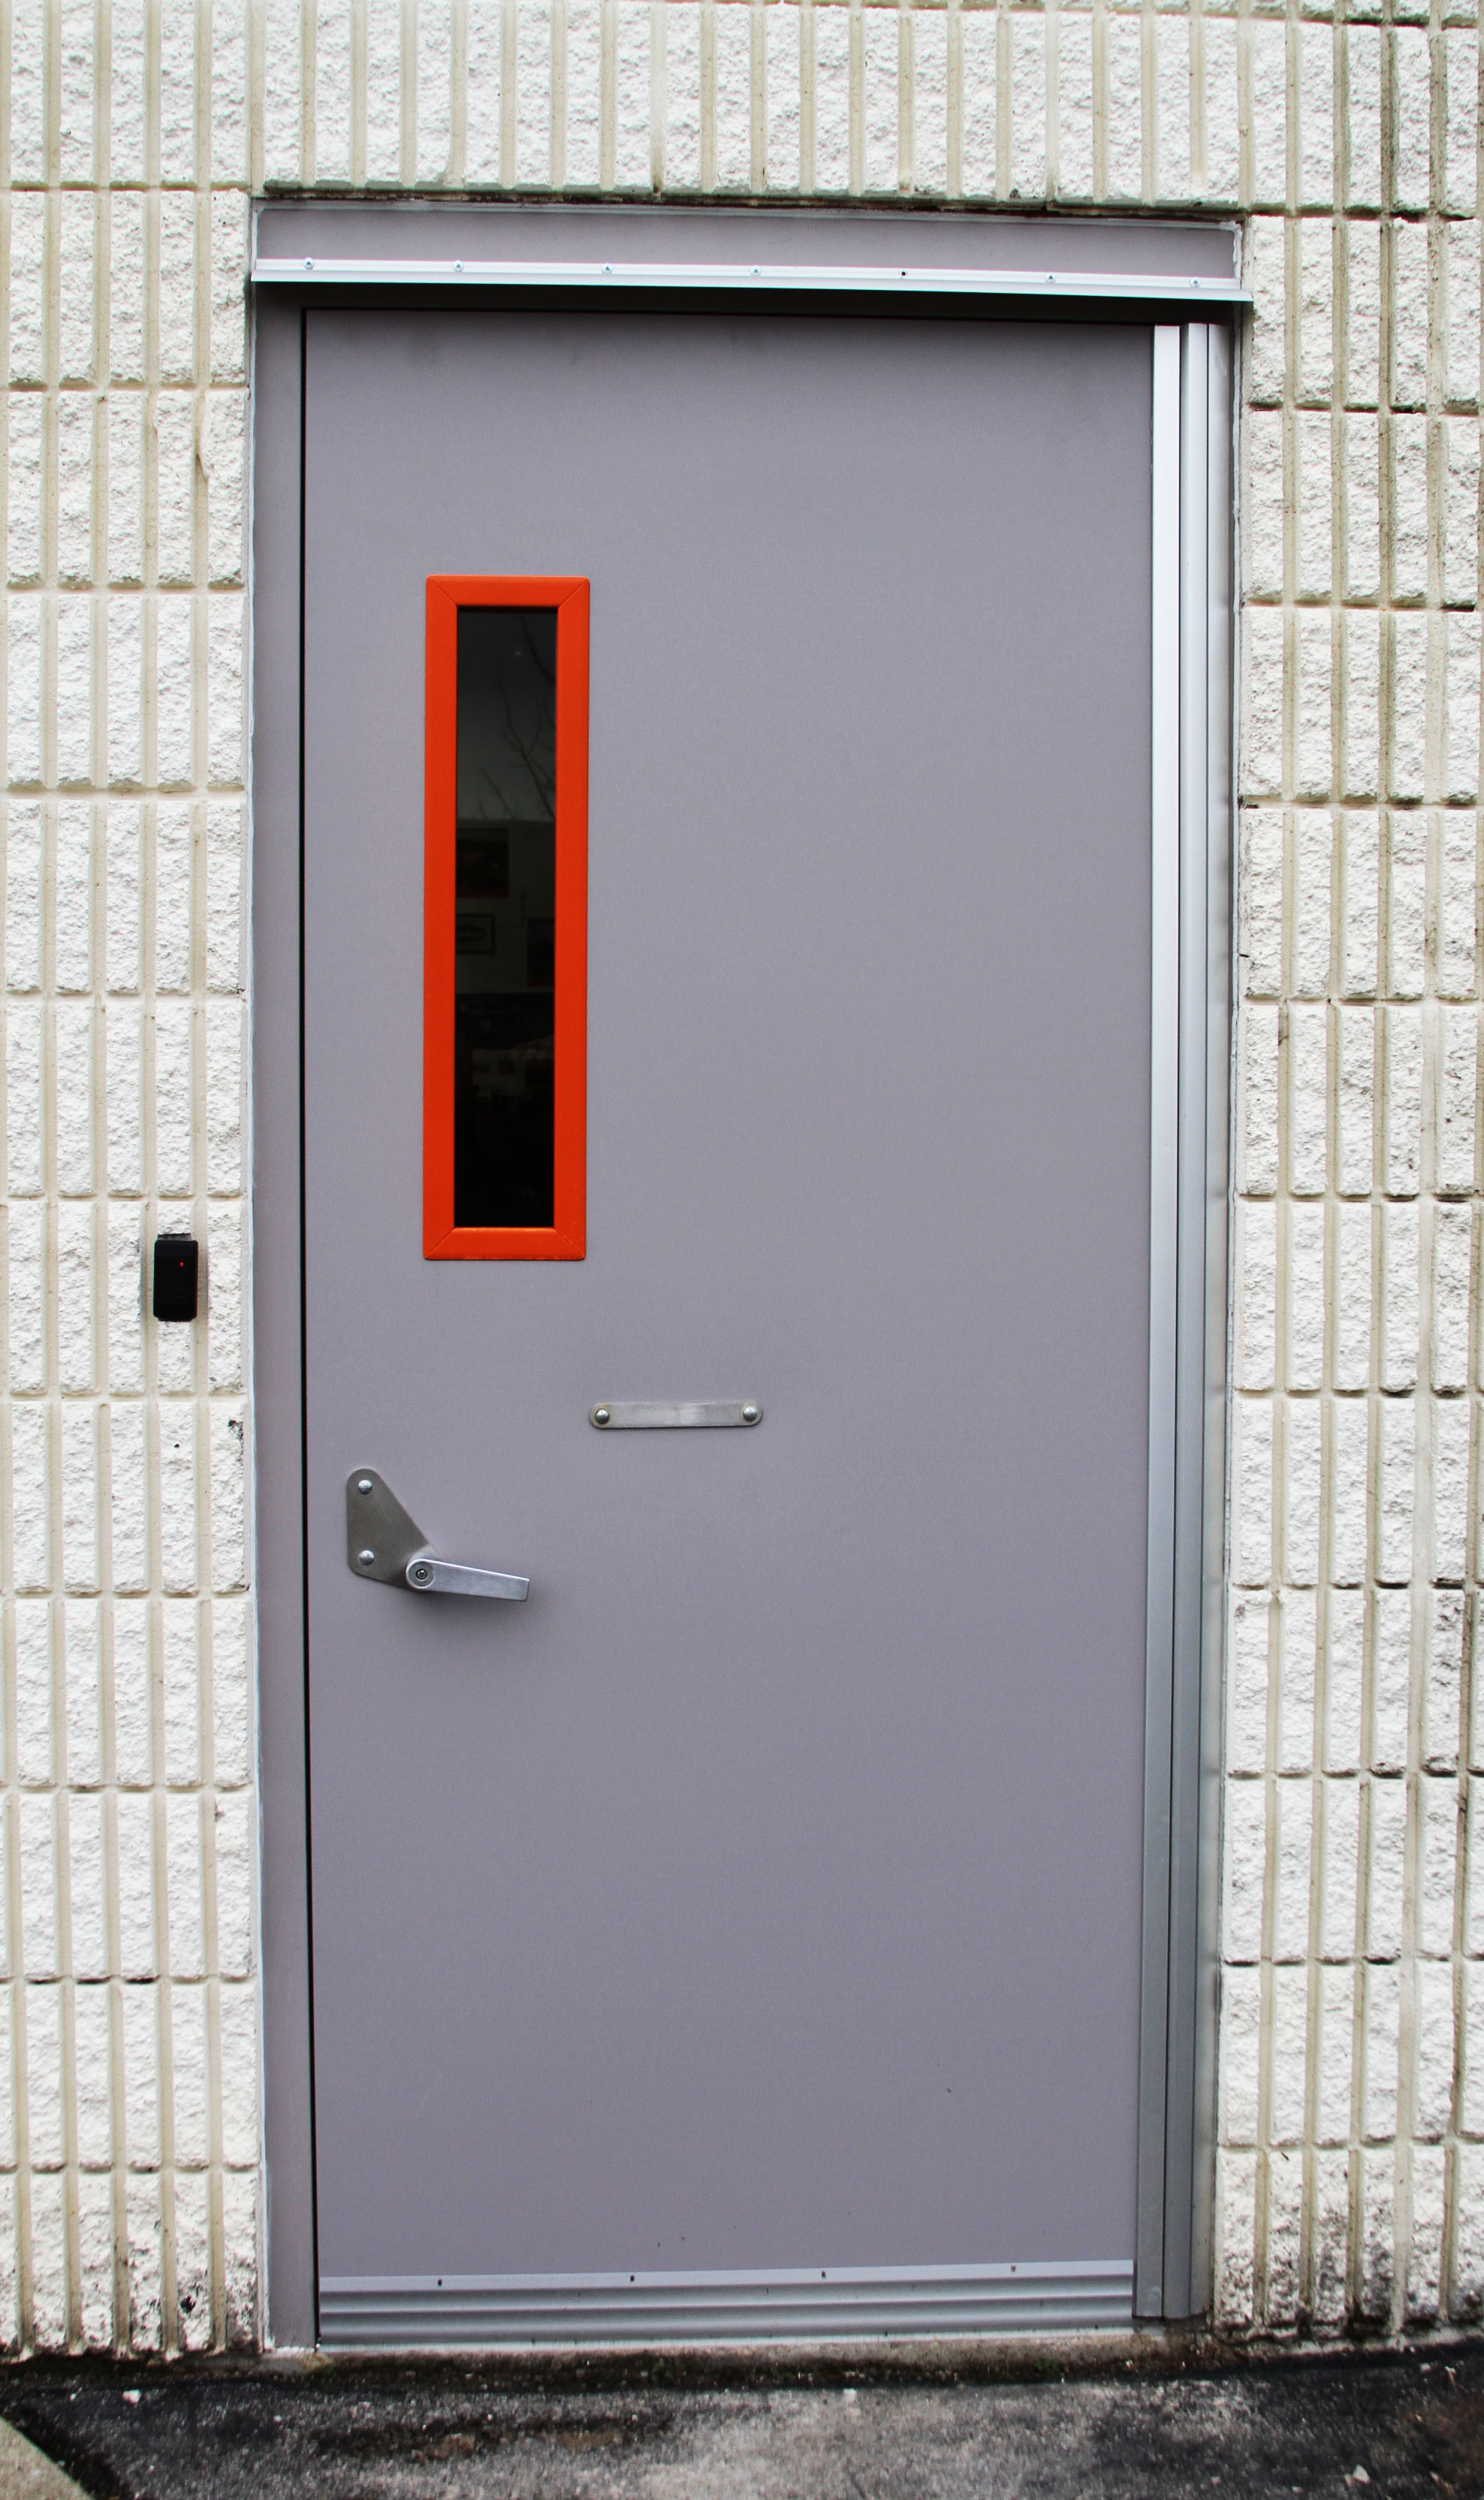
That’s it; we have a new exit door! Unfortunately, these guys didn’t wait on the photographer before they removed the previous one, but I’m scouring our photo archives to find a before picture so stay tuned.
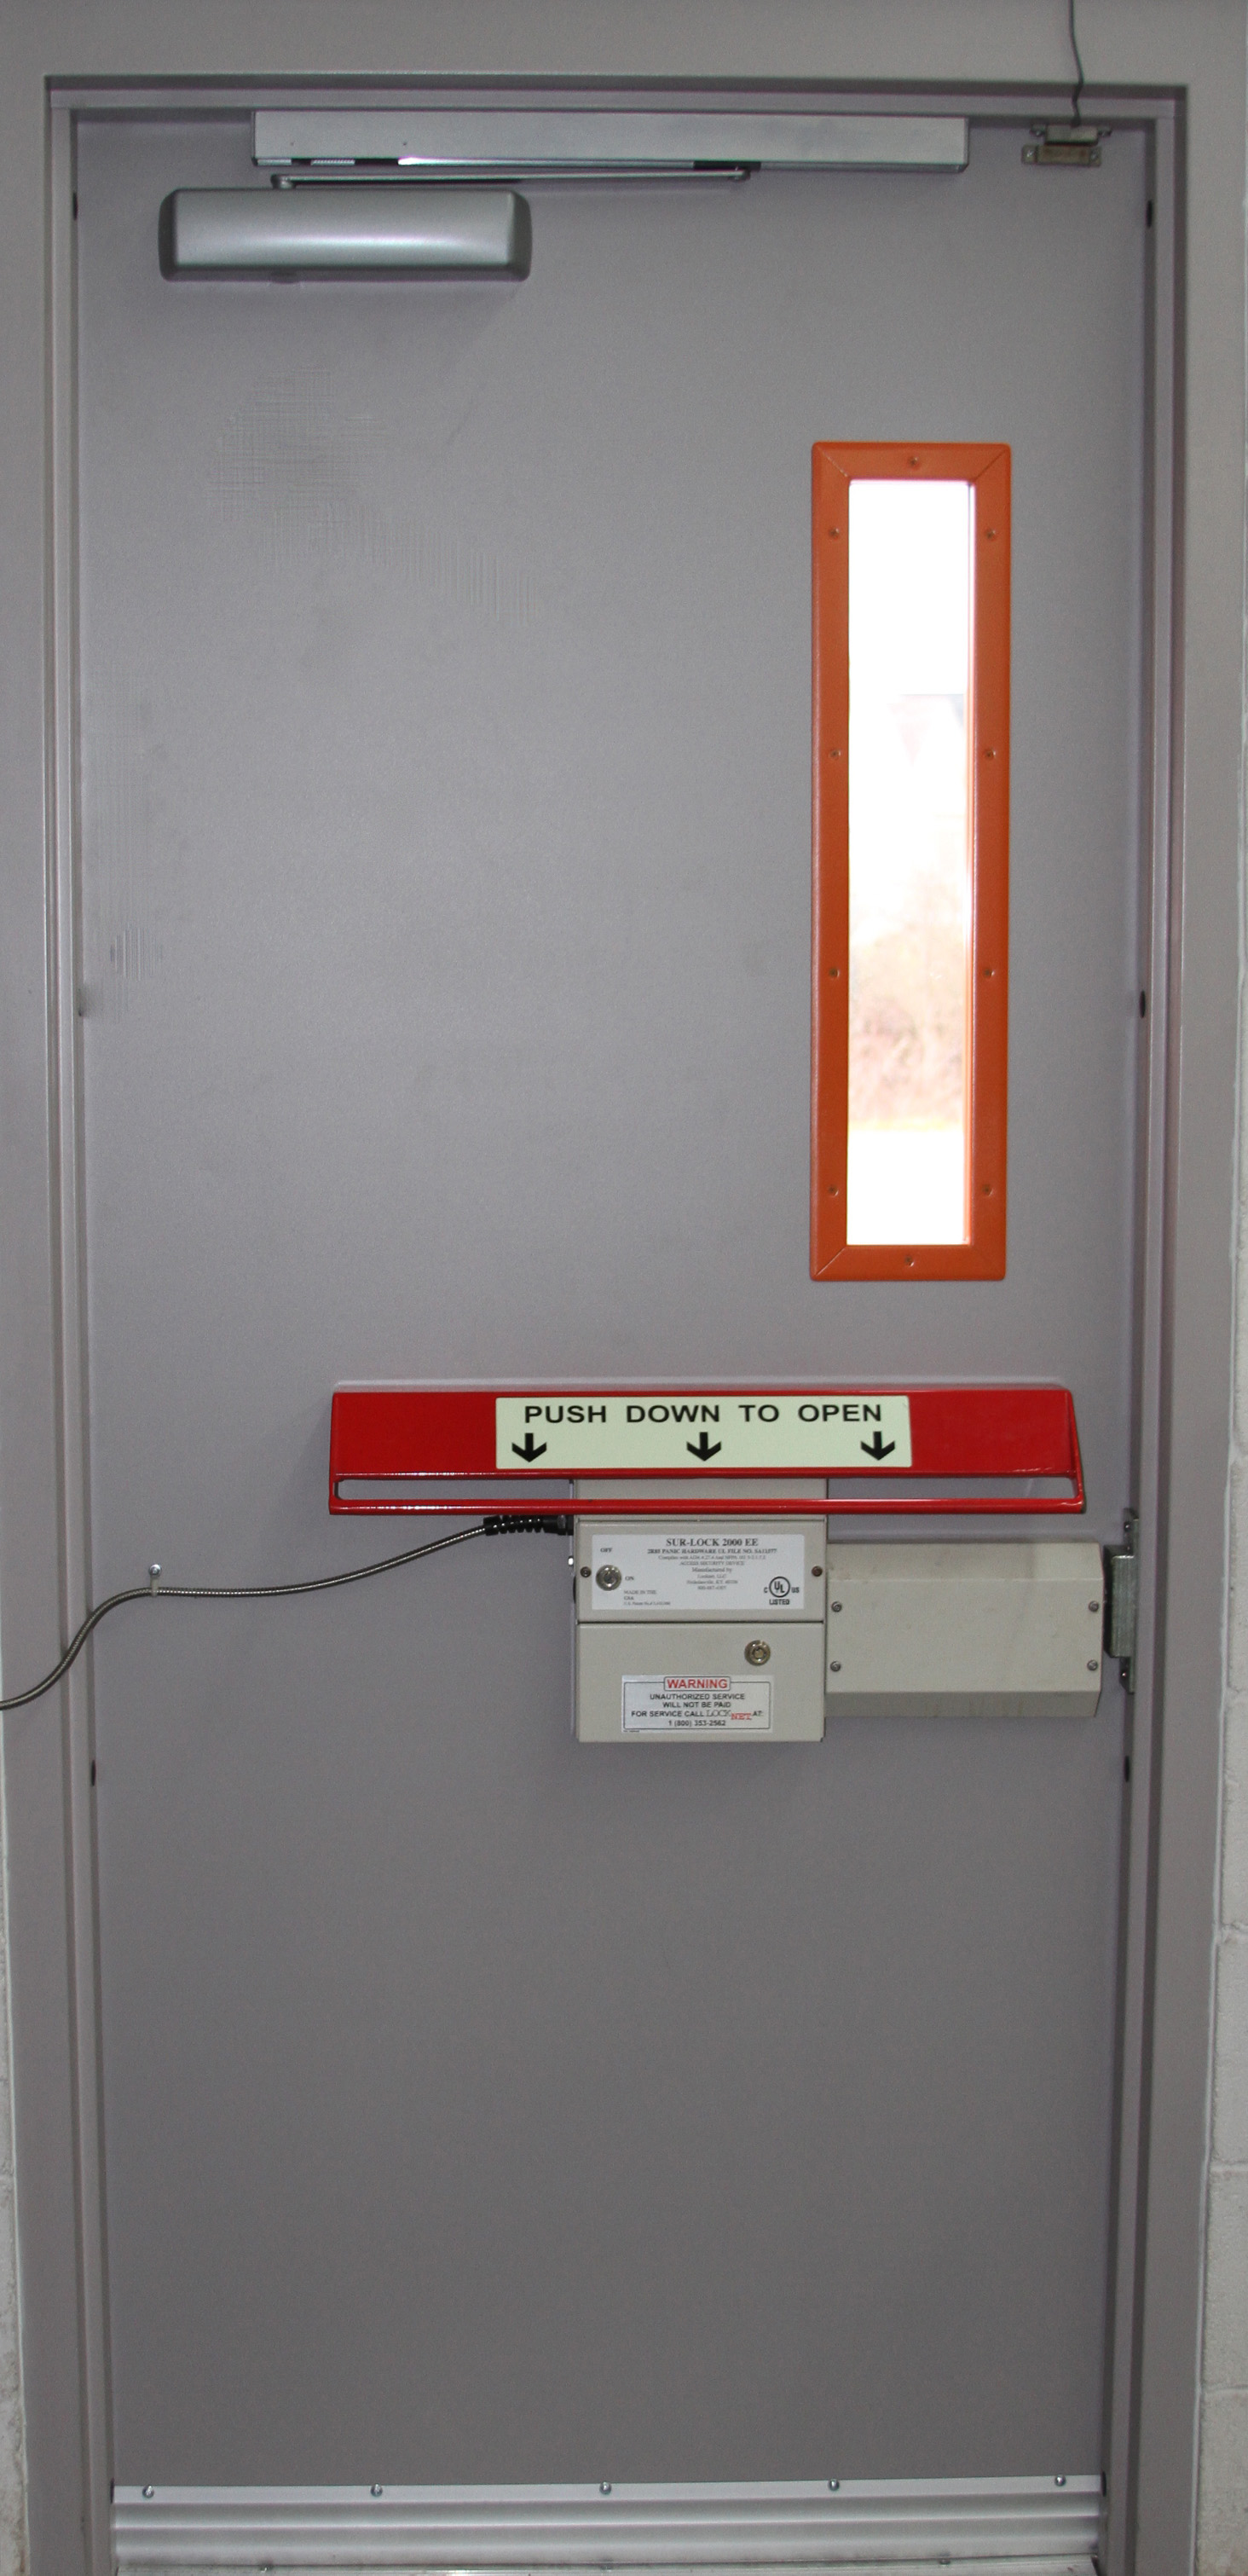
Last but not least an interior view of LockNet’s [much needed] new exit door.
When was the last time your exit door was replaced? Did you get a chance to observe any of the installation? Were there issues or additional steps/expenses after the technician started removing the old one? Send us pictures if you have them or leave your experiences/questions in the comments!